Concrete floor grinding Lynn MA
How to grind a concrete floor (practical overview)
Concrete floor grinding Lynn MA - Grinding a concrete floor is mainly about (1) choosing the right machine + diamonds, (2) controlling silica dust, and (3) working through grit steps until you hit the surface profile you need (especially if you’re prepping for epoxy, urethane, or other coatings).
> Safety note (important): Concrete grinding can generate respirable crystalline silica, which is a serious health hazard. Use proper PPE and dust extraction (or wet methods where appropriate), and follow applicable safety rules (e.g., OSHA silica requirements in the U.S.).
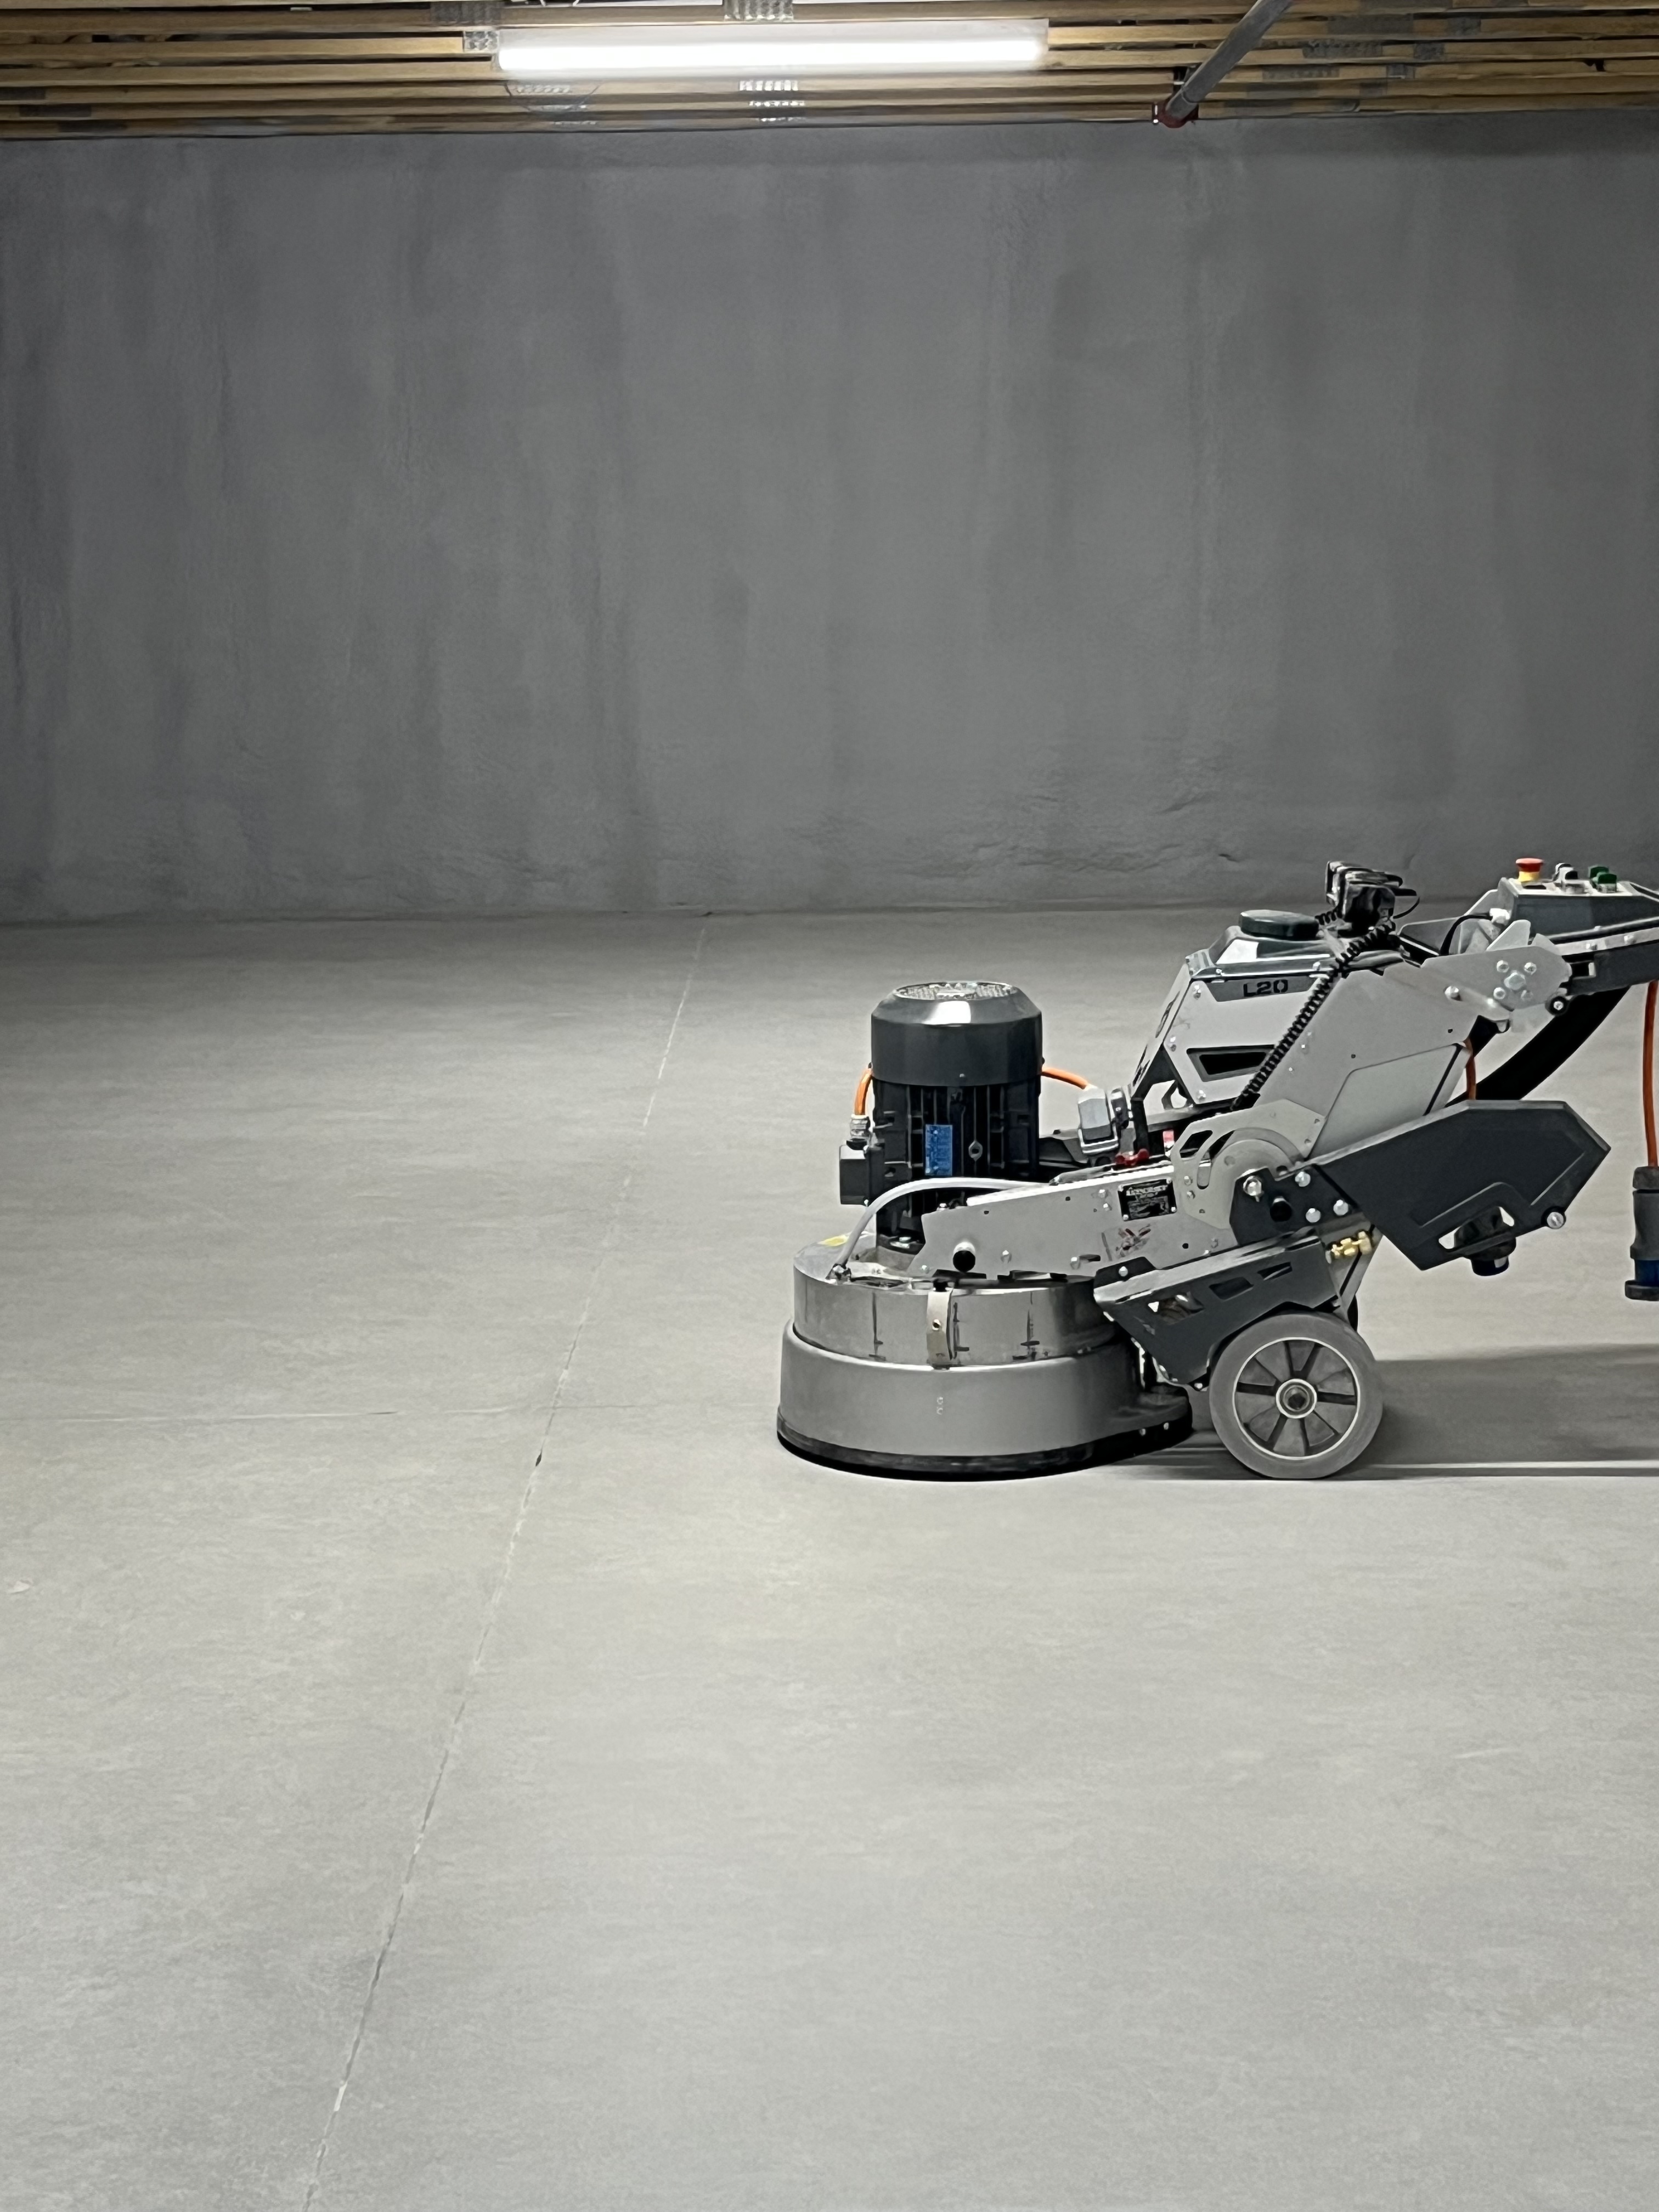
If you’re planning a new coating, epoxy system, glue-down flooring, or a polished concrete finish, proper concrete floor grinding is the step that determines whether the project bonds well, looks right, and lasts. At G & S Floor Service, we provide professional concrete grinding for garages, basements, and living spaces across Lynn, Boston, and the surrounding North Shore area—with a focus on clean results and jobsite control.
Contact us today 781-632-108 to discuss your floor, your timeline, and the finish you’re planning—then we’ll recommend the right prep approach and provide a clear estimate.
G & S Floor Service Concrete floor grinding Lynn MA
1) Tools & equipment you’ll typically need
Grinding machines (size matters)
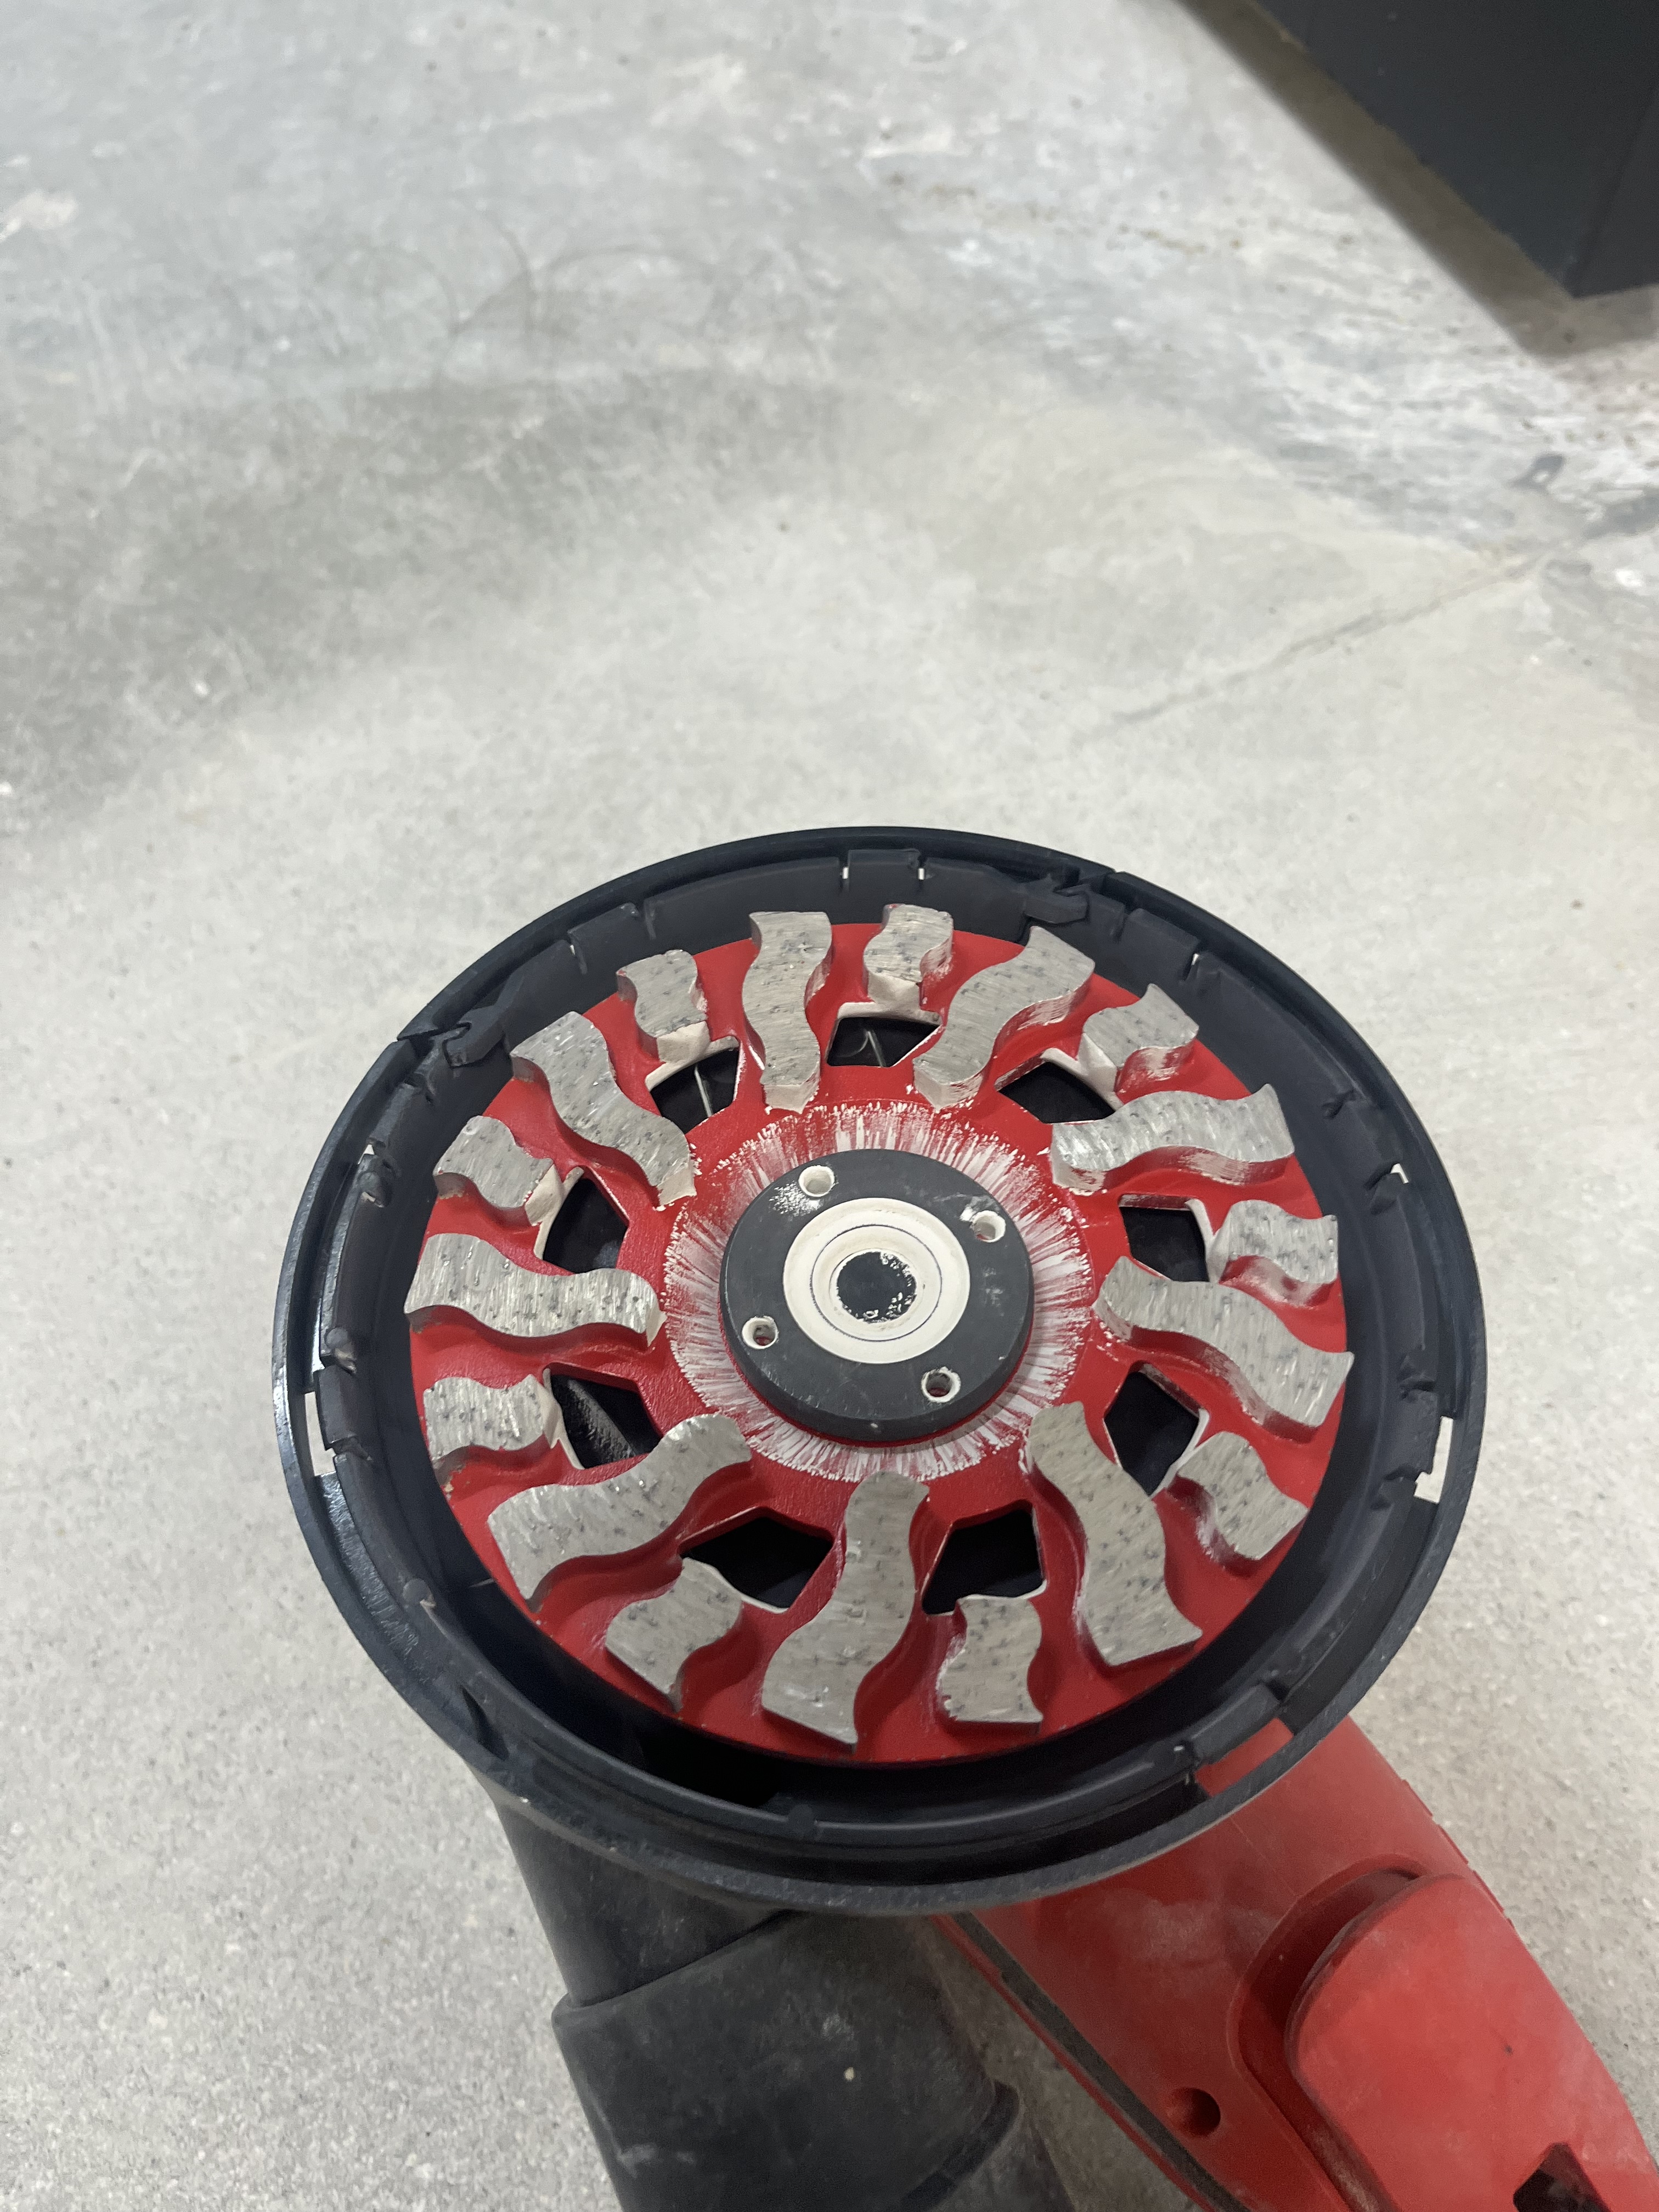
- Handheld angle grinder (4–7"): Best for edges, small areas, and detail work. Easy to create waves/gouges on large floors if you try to do the whole slab with it.
- Walk-behind floor grinder (typically 10–30"+): The workhorse for full floors.
- Planetary grinders (multi-head): Generally produce a more consistent, flatter finish across larger areas.
Why machine size affects flatness and productivity
- Productivity: Bigger machines cover more square footage faster and maintain consistent scratch patterns with fewer passes.
- Flatness: Larger, heavier grinders tend to “bridge” minor surface variations better than small tools. Small grinders are more likely to follow dips/high spots, and it’s easy to create unevenness (“dishing” or “waves”) on a big slab.
2) Dust control (don’t skip this)
Best practice: HEPA dust extraction (“dustless grinding”)
- Use a grinder that can connect to a commercial dust extractor with:HEPA filtration
- A cyclone/pre-separator (recommended) to keep filters from clogging
- Correct CFM for the grinder (the grinder and vacuum should be sized together)
Alternative: wet grinding (situational)
- Wet grinding controls airborne dust but creates slurry you must contain, collect, and dispose of properly.
- Wet grinding can also affect certain flooring/coating plans if moisture is driven into the slab or if cleanup isn’t thorough.
Rule of thumb: For interior prep for coatings, contractors often prefer dry grinding with HEPA extraction because cleanup and verification are clearer (and no slurry).
3) Concrete hardness & picking the right diamonds (this is huge)
Concrete varies a lot by:
- Mix design and aggregate
- Curing method and age
- Trowel finish (burnished vs open)
- Surface contaminants and coatings
- Regional material differences
Why hardness changes your diamond choice
Diamond tooling has two main variables:
- Bond hardness (of the metal matrix holding the diamonds)
- Grit size (coarser = more aggressive removal; finer = smoother finish)
General principle:
- Hard concrete → use a softer-bond diamond
(so the matrix wears away and exposes fresh diamonds) - Soft concrete → use a harder-bond diamond
- (so diamonds don’t release too fast and burn through tooling)
If diamonds are wrong for the slab:
- They can glaze over (stop cutting and just polish/overheat)
- Or they can wear out extremely fast
Grit choice (what it changes)
- Coarse (e.g., 16/20/30 grit metal): aggressive coating/adhesive removal, opens slab fast
- Medium (e.g., 40/60 metal): refines scratches, levels remaining ridges
- Finer (e.g., 80/120+): more relevant to polish paths; not always needed for coating prep
If you’re unsure, start with a small test section and adjust tooling based on cut rate and scratch pattern.
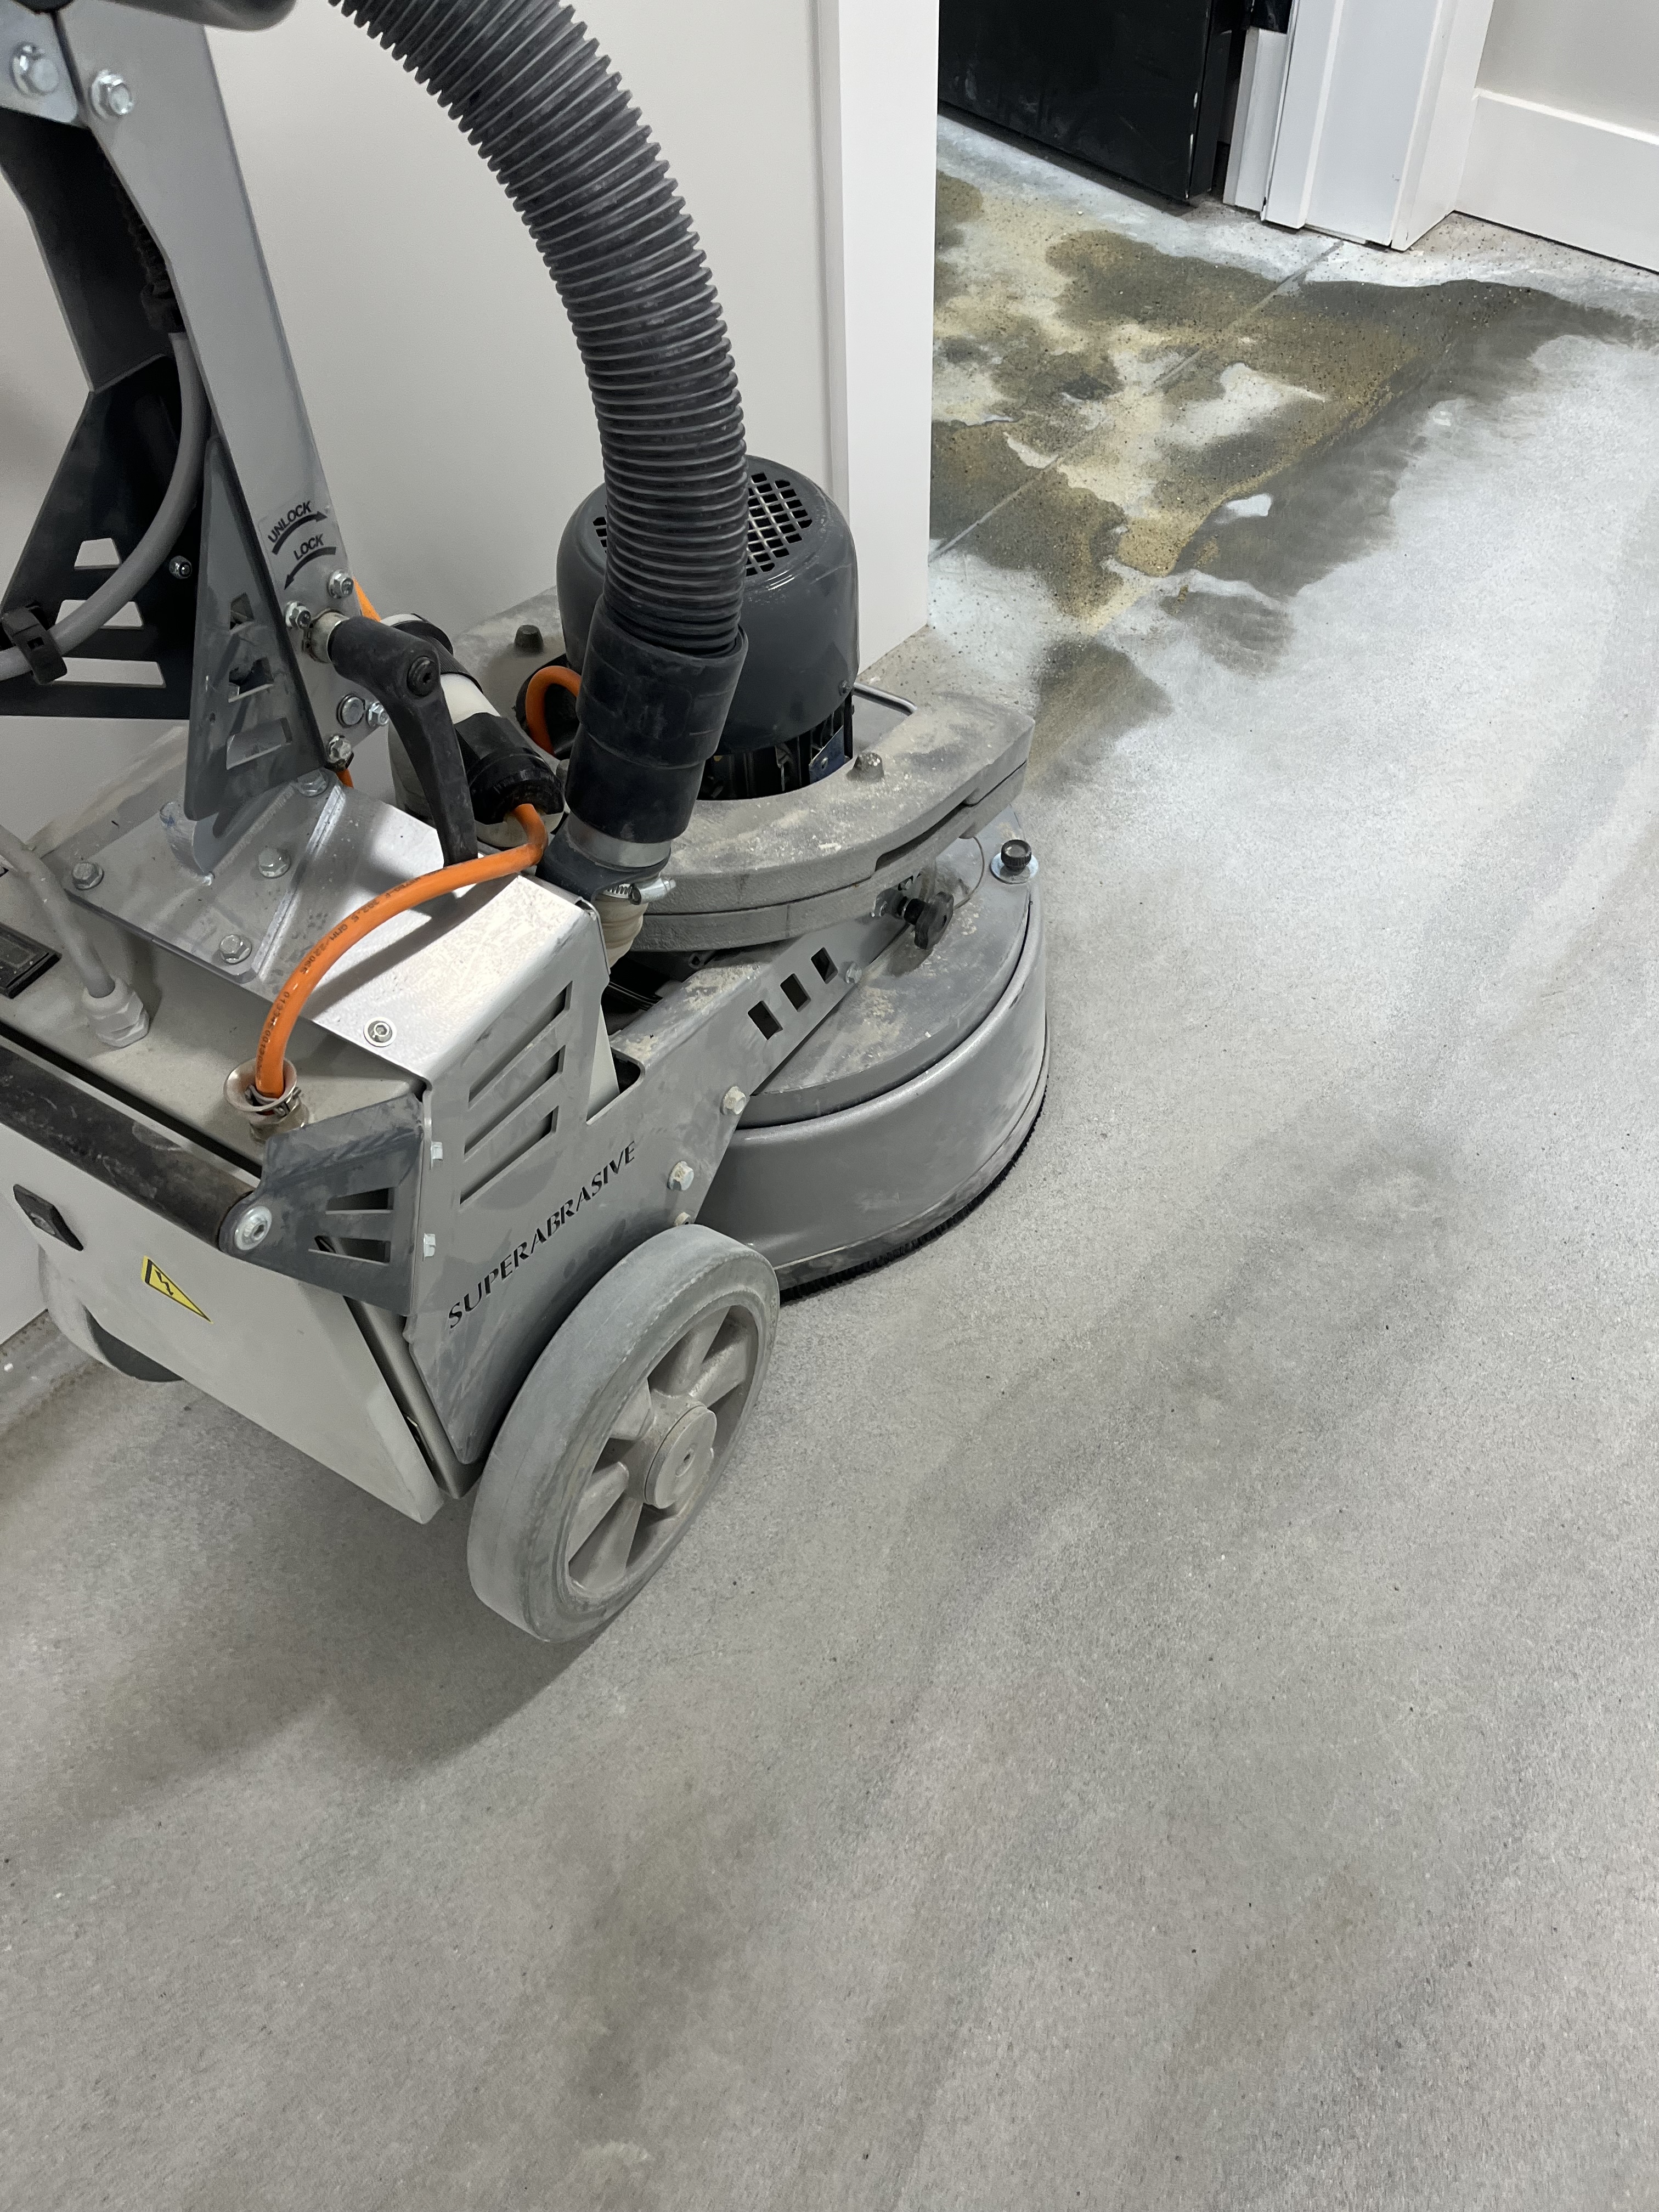
4) Step-by-step: grinding for flooring prep (typical workflow)
Step 1: Inspect and plan
- Identify any coatings, sealers, paint, adhesive, or curing compounds
- Check for cracks, spalls, soft spots, high ridges
- Decide the goal:
- Removing coatings?
- Flattening/leveling?
- Creating a surface profile for a new coating?
Step 2: Clear the area & protect adjacent spaces
- Mask walls/doors if needed
- Cover HVAC returns (dust migration is real)
- Remove baseboards if you’re refinishing to edges
Step 3: Choose the target surface profile (CSP)
If you’re installing:
- Epoxy / polyaspartic / urethane coatings: manufacturers often specify a CSP range (commonly CSP 2–3, sometimes CSP 3–4 depending on system thickness).
Always confirm with the product’s technical data sheet.
Step 4: Field grind (bulk removal)
- Start with an aggressive metal-bond diamond appropriate for the slab hardness.
- Make slow, consistent passes. Don’t force the machine—let the diamonds cut.
Goal here: remove coatings and expose clean concrete uniformly (no “shadowing” of paint/adhesive in pores).
Step 5: Edge grinding
- Use an edge grinder/hand grinder with compatible diamonds.
- Blend edges into the field so the floor behaves consistently under coatings/adhesives.
Step 6:Refine the scratch pattern (as needed)
This depends on the finish:
- Epoxy / coating systems: You’re usually aiming for a manufacturer-specified CSP, commonly around CSP 2–3 (sometimes higher for thicker systems).
Always defer to the coating manufacturer’s data sheet. - Vinyl plank & hardwood: You need flatness more than roughness. Overly aggressive gouges can telegraph or cause adhesive issues. Often you grind to remove contaminants and flatten, then address low spots with an appropriate patch/leveling approach.
- Polished concrete: You’ll follow a multi-step grit progression (metal to resin, progressively finer). That’s a different workflow than “prep for coating.”
Step 7: Crack/spall repair (often after initial grind)
- Grind first so repairs bond to clean concrete.
- Then repair cracks/spalls with a compatible system, and re-grind to flush.
Step 8: Thorough dust removal and verification
This is critical for epoxy/coatings and for glue-down floors:
- HEPA vacuum thoroughly
- Don’t leave fine dust in pores (it becomes a bond breaker)
- Many installers do a simple “wipe test” (white cloth) and re-vacuum until clean
5) Rough vs smooth: why “rougher” often bonds better
For most coatings and many adhesives, a properly profiled (roughened) surface provides better mechanical bond than a smooth/burnished one. A too-smooth surface can reduce adhesion and increase the risk of:
- Peeling/delamination
- Hot-tire pickup (for some garage coatings)
- Bond-line failure over time
That said, “rough enough” should mean manufacturer-approved CSP, not random gouges. Uniform profile beats aggressive damage.
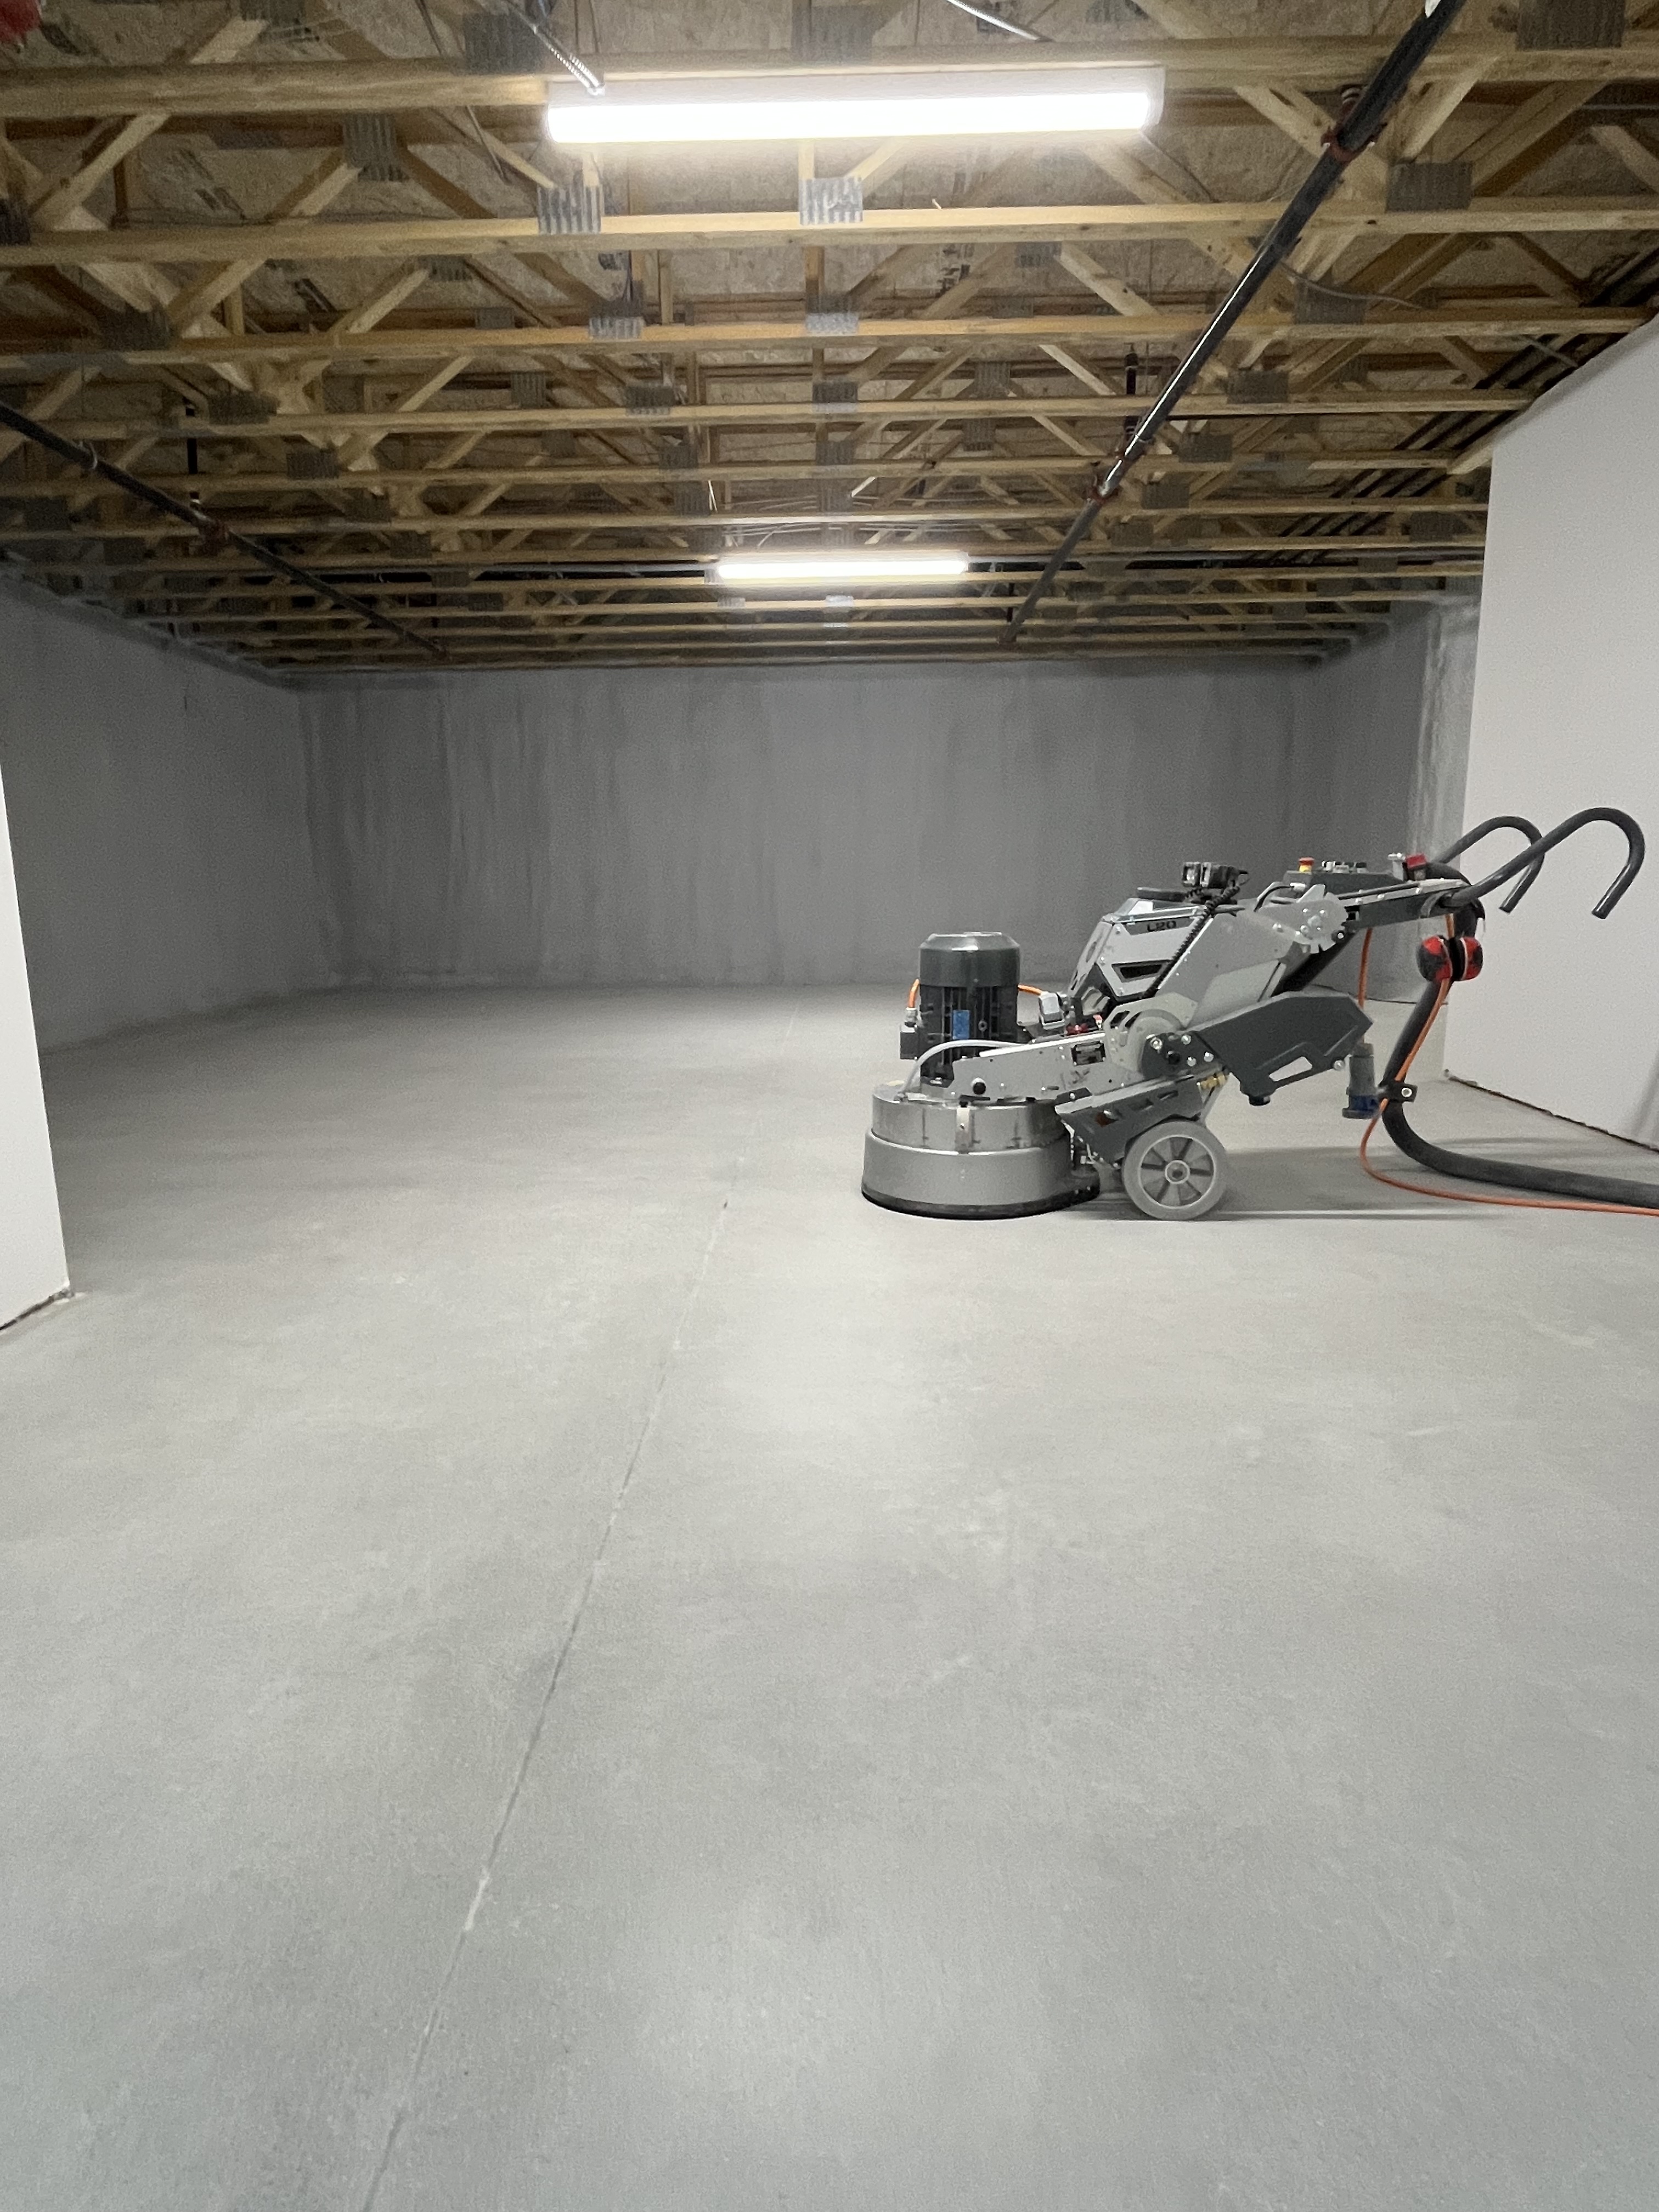
6) Professional-grade vs DIY: what usually makes the difference
Pros tend to win on:
- Correct grinder size (faster, flatter)
- Multiple diamond bonds/grits on hand for unknown slabs
- True HEPA extraction and containment
- Knowing how to remove adhesive without smearing it into pores
- Producing consistent profile and cleanliness needed for warranty-level installs
DIY common failure points:
- Underpowered grinder + wrong diamonds = glazing or gouging
- Inadequate dust extraction = contamination + health risk
- Incomplete adhesive removal = bonding problems later
If you’re planning a new coating, epoxy system, glue-down flooring, or a polished concrete finish, proper concrete floor grinding is the step that determines whether the project bonds well, looks right, and lasts. At G & S Floor Service, we provide professional concrete grinding for garages, basements, and living spaces across Lynn, Boston, and the surrounding North Shore area—with a focus on clean results and jobsite control.
Contact us today 781-632-108 to discuss your floor, your timeline, and the finish you’re planning—then we’ll recommend the right prep approach and provide a clear estimate.
G & S Floor Service Concrete floor grinding Lynn MA
Concrete floor grinding Lynn MA:
How to grind a concrete floor (general slabs) when you must remove paint/sealer/old adhesive — garages, basements, living spaces
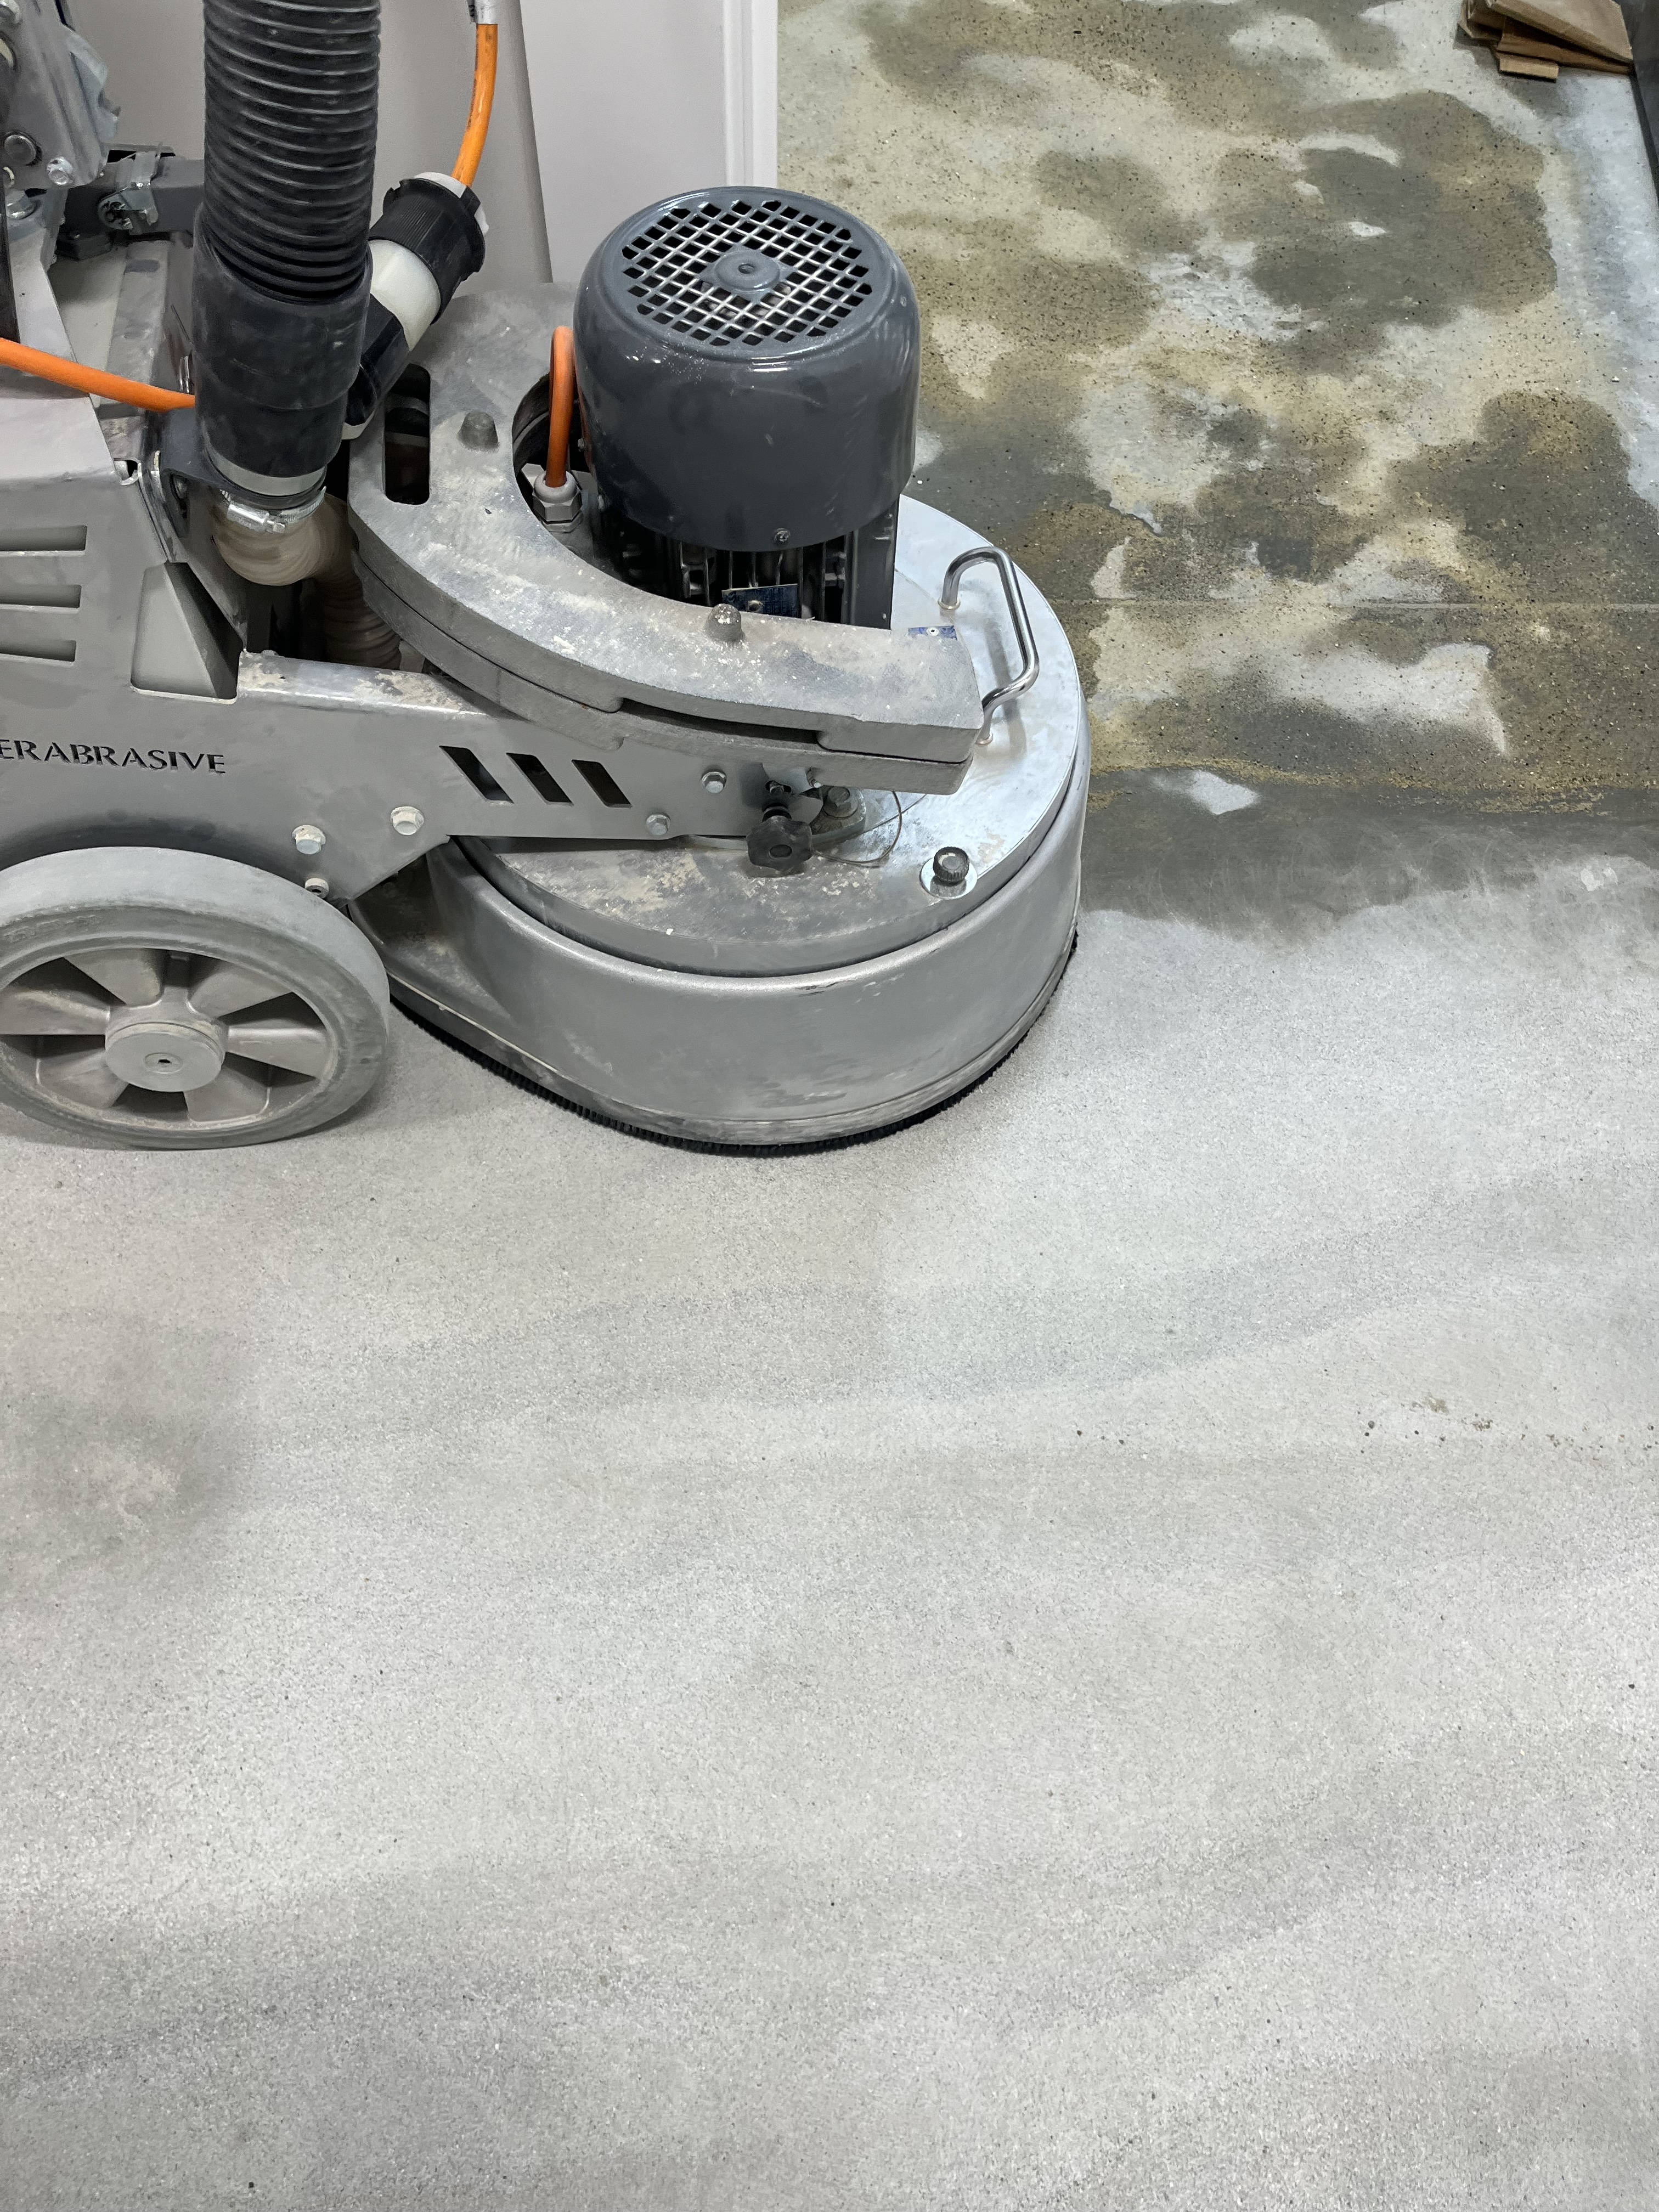
Concrete floor grinding Lynn MA - Since you’re targeting multiple possible finishes (epoxy, vinyl plank, hardwood, polished concrete) and you must remove coatings/adhesive, the “right” grind is really about achieving:
- Clean, contaminant-free concrete (no paint/sealer/adhesive left in pores)
- The surface profile (CSP) required by the next layer (or the scratch pattern needed for polishing)
- Flatness appropriate for the finish (especially important for vinyl plank and hardwood)
- Dust control (silica) + proper final cleanup
Non-negotiable safety checks (especially in basements/living spaces)
- Silica dust: Dry grinding must be paired with true HEPA dust extraction (not just a shop vac).
- Old adhesive “cutback” mastic: Some older mastics can contain asbestos. If the building is older and you’re not sure, pause and test before grinding aggressively.
- Lead paint: If you’re grinding painted concrete in older homes, treat unknown paint as suspect until confirmed otherwise.
If you’re planning a new coating, epoxy system, glue-down flooring, or a polished concrete finish, proper concrete floor grinding is the step that determines whether the project bonds well, looks right, and lasts. At G & S Floor Service, we provide professional concrete grinding for garages, basements, and living spaces across Lynn, Boston, and the surrounding North Shore area—with a focus on clean results and jobsite control.
Contact us today 781-632-108 to discuss your floor, your timeline, and the finish you’re planning—then we’ll recommend the right prep approach and provide a clear estimate.
G & S Floor Service Concrete floor grinding Lynn MA
Epoxy moisture mitigation for glue-down flooring (new slab / “engineered” concrete)
Concrete floor grinding Lynn MA - If you mean moisture vapor mitigation (MVB) under glue-down flooring (LVT/LVP glue-down, engineered wood glue-down, carpet tile, etc.), the right “epoxy” is not a decorative coating—it’s a 2-part epoxy moisture mitigation system designed to block moisture vapor and high alkalinity so adhesives don’t fail.
1) Confirm you actually need mitigation (don’t guess)
Even “new” slabs can be too wet for glue-down. Before you pick a system, confirm what the flooring/adhesive manufacturer allows:
- ASTM F2170 (in-situ RH probes) — widely preferred for modern specs
- ASTM F1869 (MVER / calcium chloride) — still requested sometimes
- ASTM F710 — general slab prep guidance (includes pH considerations)
Also check slab pH (high alkalinity can attack adhesive). If you don’t know your numbers yet, your mitigation system choice becomes guesswork.
Rule: the flooring adhesive and the mitigation epoxy must be compatible as a system.
2) Surface prep is the make-or-break step (especially on hard, new slabs)
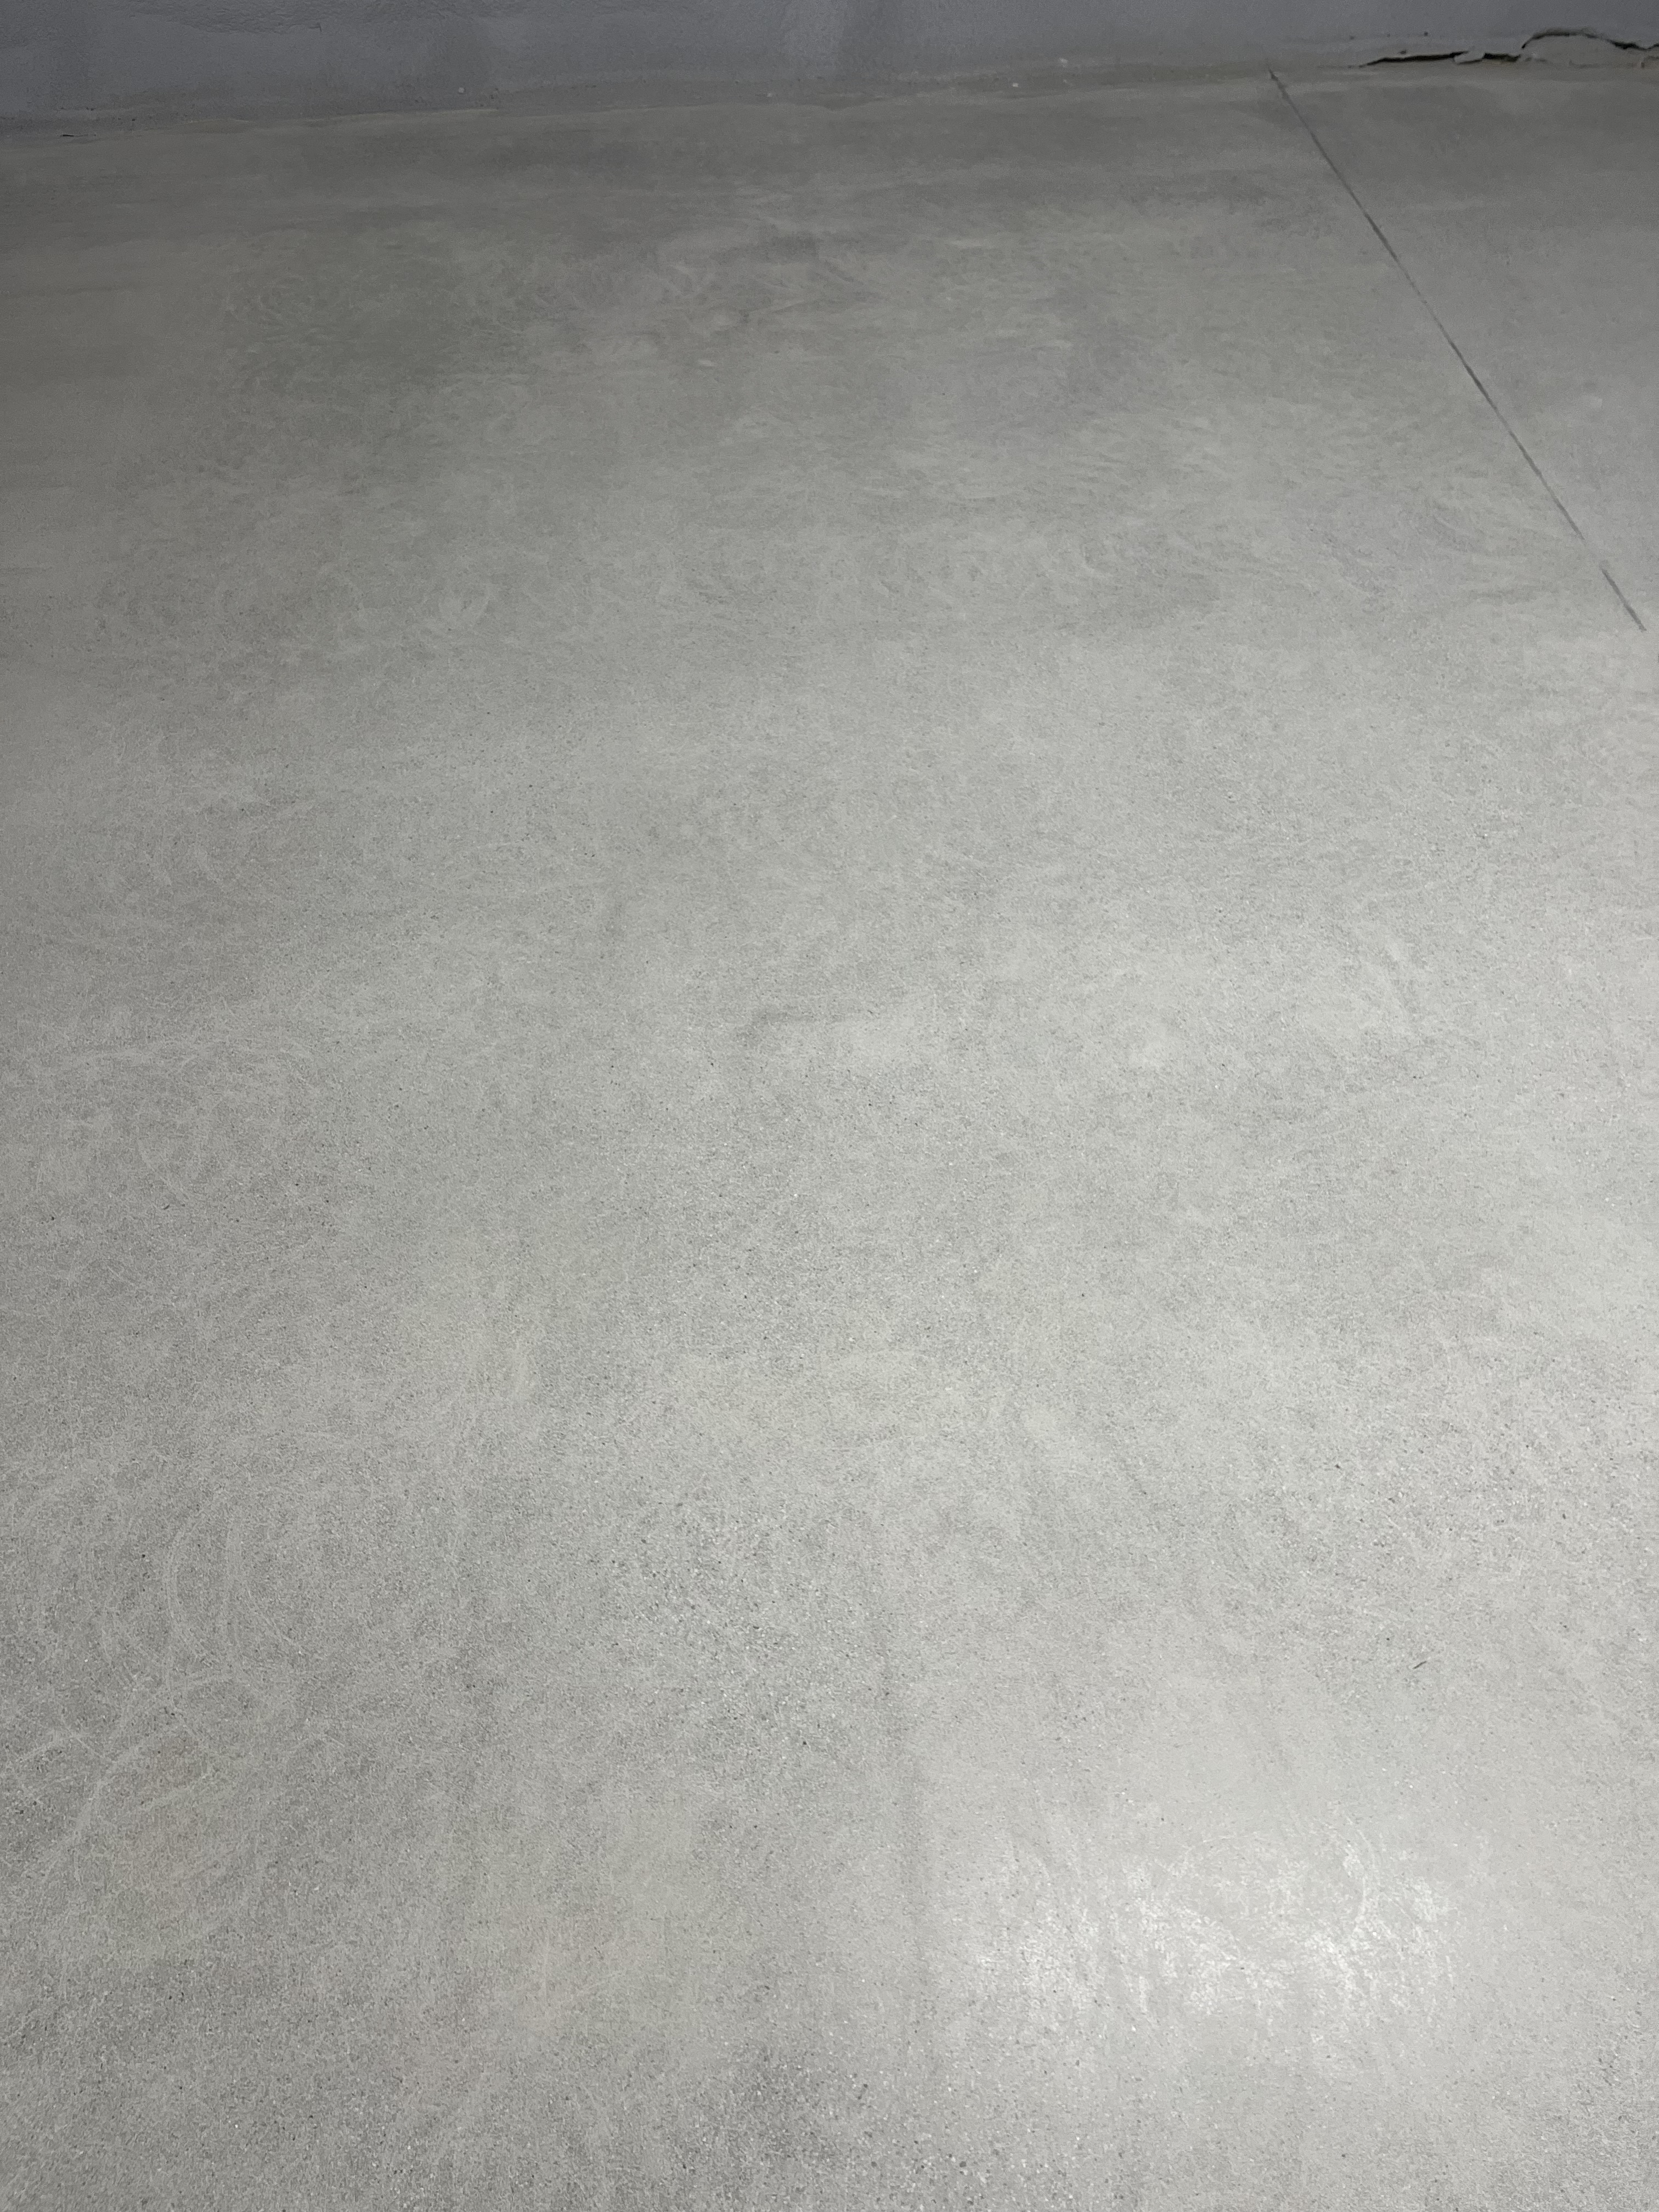
Most new slabs are hard-troweled and/or dense. For mitigation epoxy to bond, you generally need:
- Mechanical prep (grinding/shot blasting) to a manufacturer-specified profileCommon target: CSP 3 (varies by product)
- Remove curing compounds, sealers, laitance, overspray, drywall mud, paint etc.
- Achieve a sound, open concrete surface—not polished, not “burnished”
If the slab is very dense/high-strength (“engineered”), expect it to be harder to profile and more prone to “glazing” when grinding—meaning you may need the right diamonds (softer bond for hard concrete) or shot blasting to get a consistent CSP.
3) Typical epoxy mitigation build (generic, verify by product spec)
Most moisture mitigation systems follow a pattern like this:
- Prep to CSP + HEPA vacuum (dust left behind = bond breaker)
- Crack/joint treatment (varies: honor joints vs fill; depends on flooring type and spec)
- Apply 2-part epoxy MVB at required coverage rate/film thickness
- While epoxy is wet, broadcast sand (often required) to create a mechanical tooth
- After cure, scrape/vacuum excess sand
- Apply approved patch/skimcoat if needed for smoothness/flatness
- Install approved adhesive and flooring
That sand broadcast step is often what makes glue-down succeed, because it gives the adhesive a surface it can bite into.
4) Flatness matters as much as moisture (especially for glue-down)
Moisture mitigation doesn’t fix flatness. Glue-down resilient and wood products usually have strict flatness tolerances (varies by manufacturer). Plan for:
- Grinding high spots (bigger grinders help maintain flatness and productivity)
- Patching/leveling low areas with products approved to go over the mitigation system
Concrete Floor Grinding Lynn MA
(Dust-Controlled Prep) —
G & S Floor Service
If you’re planning a new coating, epoxy system, glue-down flooring, or a polished concrete finish, proper concrete floor grinding is the step that determines whether the project bonds well, looks right, and lasts. At G & S Floor Service, we provide professional concrete grinding for garages, basements, and living spaces across Lynn, Boston, and the surrounding North Shore area—with a focus on clean results and jobsite control.
What concrete floor grinding does (and why it matters)
Concrete floor grinding removes weak surface layers, old coatings, and contaminants so your next layer can properly adhere. It can also help improve floor flatness and reduce high spots that cause problems under finished flooring.
Grinding is commonly used to:
- Remove paint, sealers, and old adhesive
- Prep for epoxy coatings and other floor systems
- Improve bond strength for glue-down flooring (a properly profiled surface typically bonds better than overly smooth concrete)
- Create a consistent surface for further finishing or refinishing
Professional equipment + dust control for occupied spaces
Concrete dust isn’t just messy—it can be hazardous. That’s why we emphasize dust-controlled grinding using professional-grade grinders paired with HEPA-filtered dust extraction whenever dry grinding is appropriate. This helps keep the work area cleaner, reduces dust migration through the home, and supports a safer work environment—especially important in basements and living areas.
Why “DIY grinder rentals” often fall short
Small tools can be useful for edges and tight spots, but they can be slow on full floors and may leave uneven results. Professional grinders cover more area efficiently and help produce a more consistent finish—especially when removing tough coatings or adhesive.
Request a Quote
If you’re in Lynn, Boston, or nearby communities and need concrete floor grinding for a garage, basement, or interior space, G & S Floor Service is ready to help.
Contact us today 781-632-1018 to discuss your floor, your timeline, and the finish you’re planning—then we’ll recommend the right prep approach and provide a clear estimate.
G & S Floor Service Concrete floor grinding Lynn MA
Resource: Super Abrasive
Gandswoodfloors professional development - About us



Anti Spam Policy - Copyright - Linking - Privacy - Terms - Website Disclaimer
Copyright 2026. All rights reserved gandswoodfloors.com
Contact:
G & S Floor Service - Sye Phommachanh
Lynn,Ma. 01904 - Phone: (781)-632-1018