Installing Hardwood Over Concrete (Complete How‑To Guide)
Installing hardwood over concrete slab (basement, addition on slab, condo, or ground-level room) can work beautifully—but it’s also one of the easiest ways to end up with cupping, gapping, hollow spots, adhesive failure, moldy odors, or a floor that just “never feels right” if moisture and prep aren’t handled correctly.
This guide walks you through the do’s and don’ts, moisture mitigation, concrete grinding and prep, leveling, adhesive differences (and what matters more than brand), how to choose the right hardwood product, how to choose the right contractor, and a clear Call to action for challenging jobs.
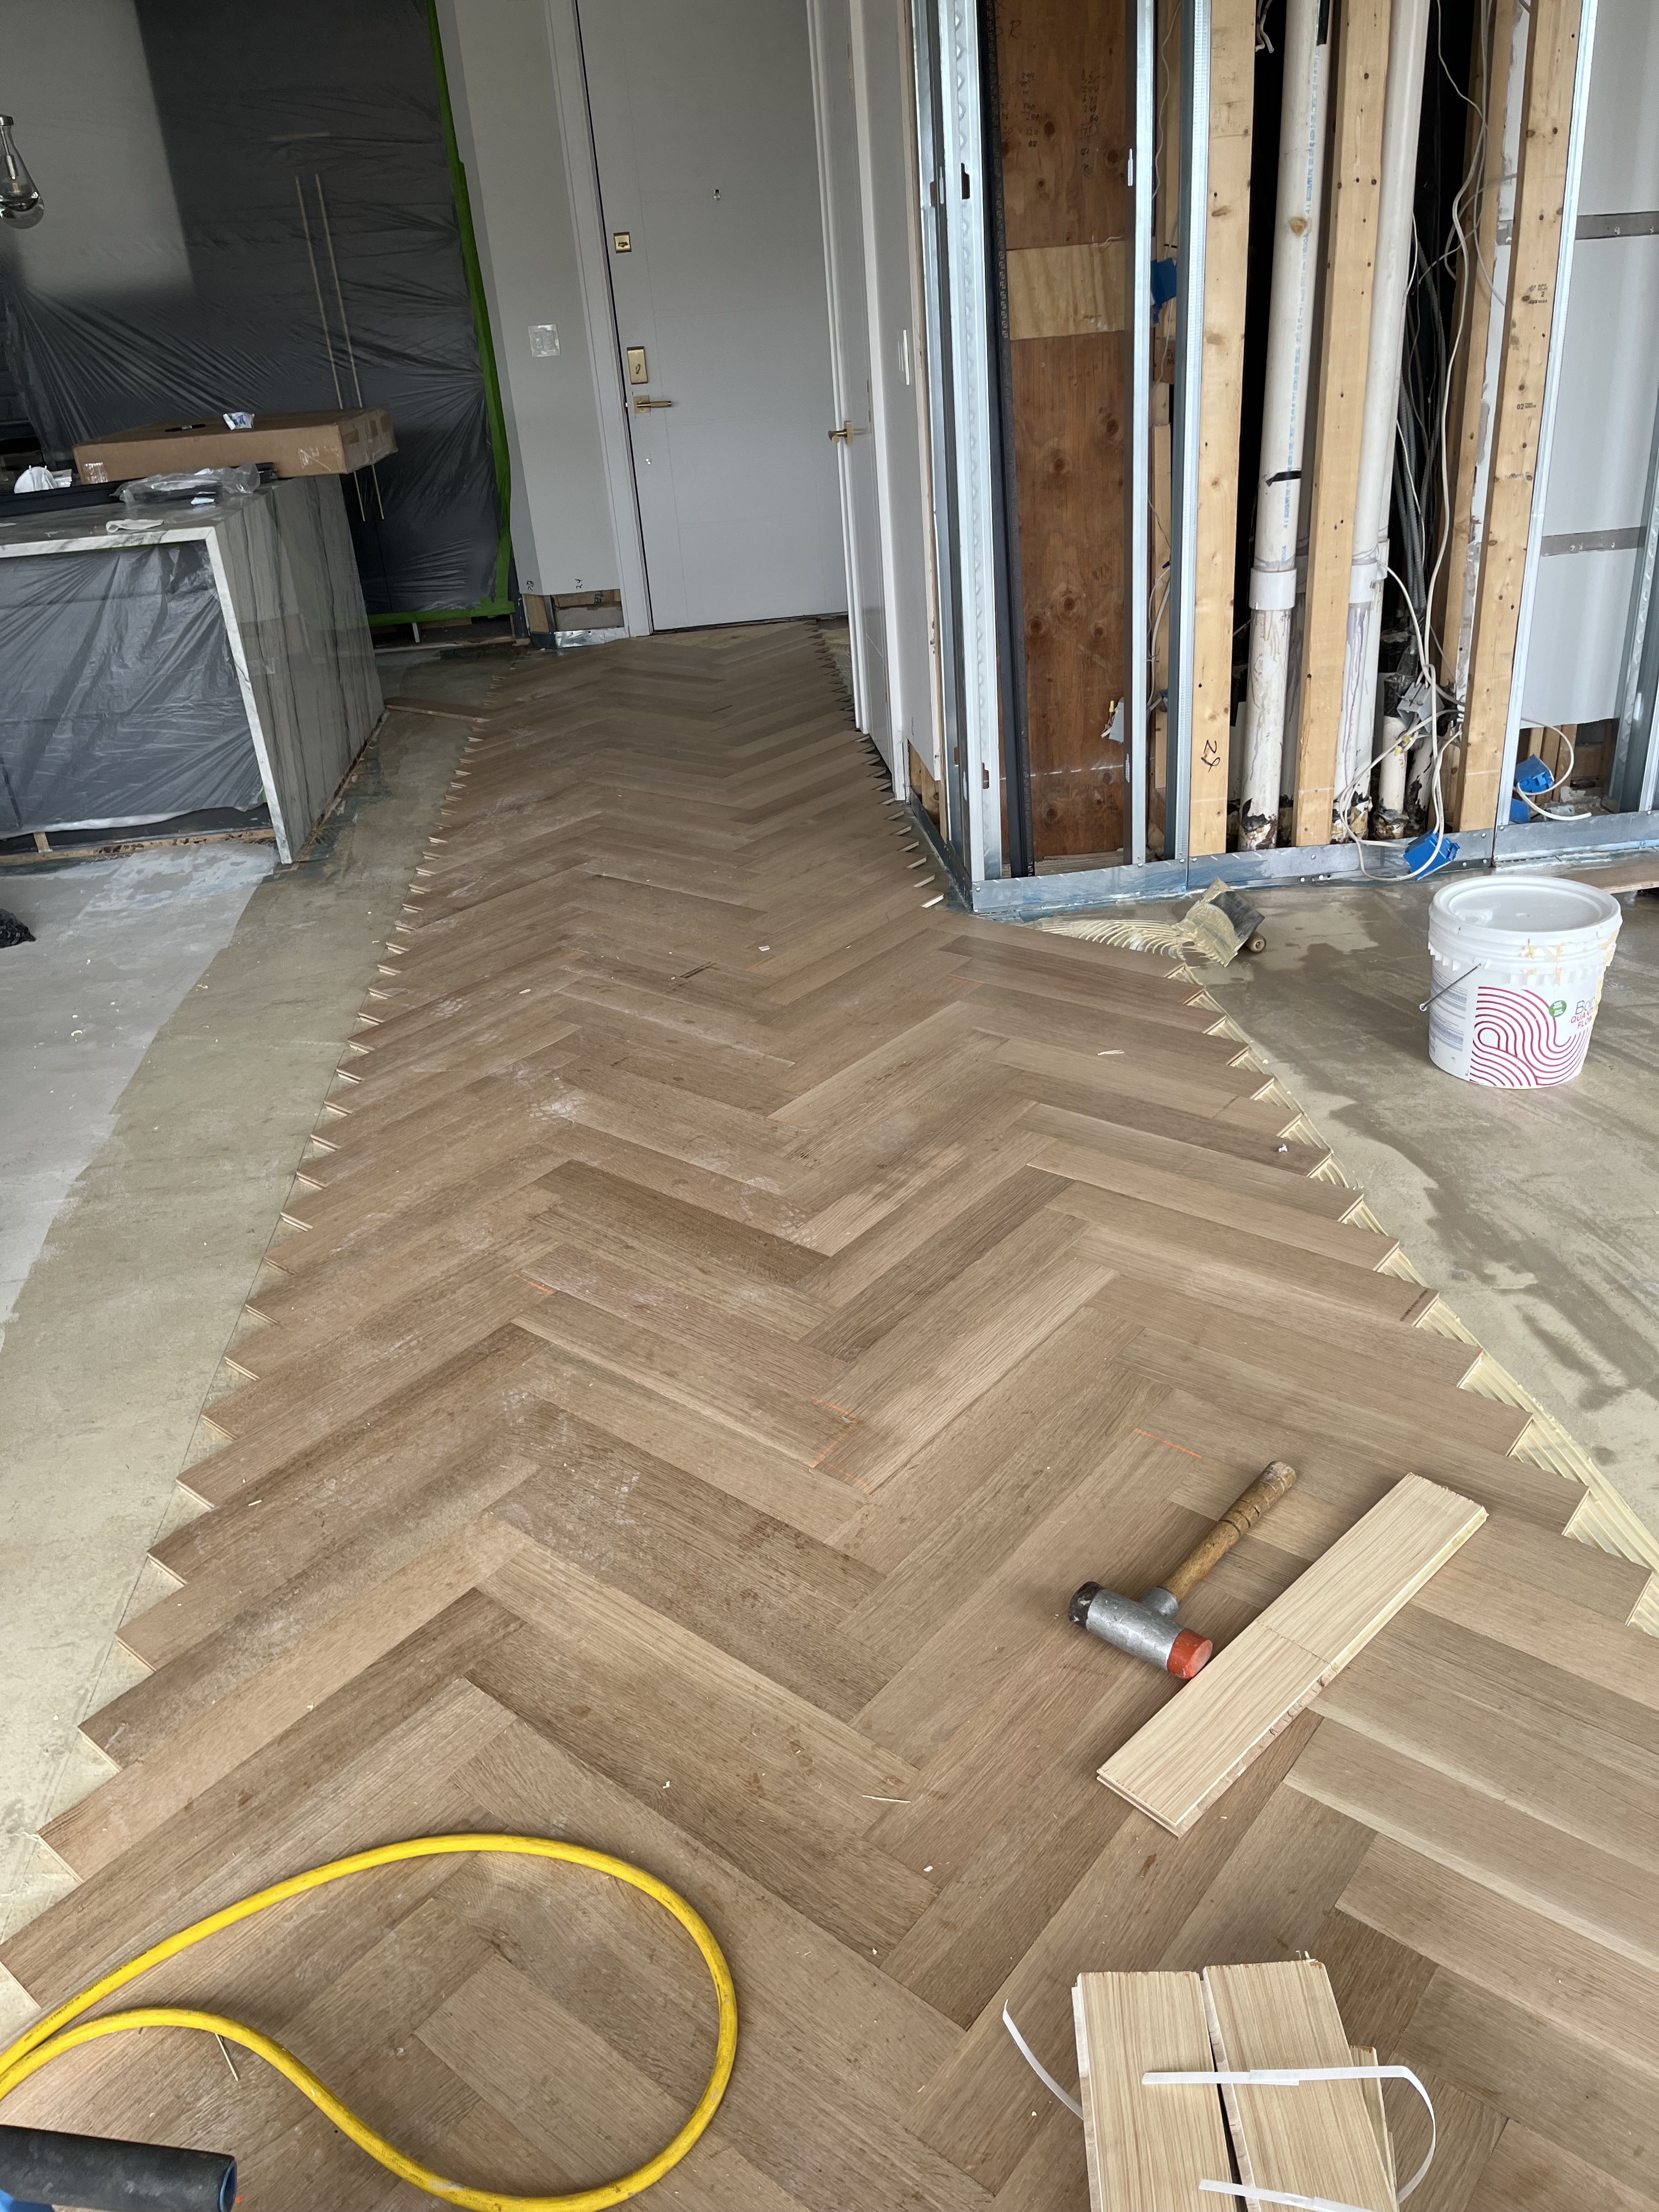
Quick Reality Check: Should You Install Hardwood Over Concrete?
When it can be a great choice
- You want real wood underfoot (engineered hardwood is usually the best fit)
- The slab can be confirmed dry enough (or can be mitigated)
- The slab can be made flat enough
- You’re willing to follow a system: test → prep → mitigate/level → install
When it’s often a bad idea (or requires a different strategy)
- You have active seepage, standing water, or chronic basement mustiness you’re not addressing
- The slab is very uneven and you’re not planning to correct it properly
- You’re trying to install solid hardwood directly to concrete without a designed subfloor system
Installing hardwood over concrete slab can be a beautiful upgrade—but it’s also one of the easiest flooring projects to get wrong if moisture, slab prep, and flatness aren’t handled correctly.
G & S Floor Service helps homeowners across Lynn, MA and Boston and vicinity installing hardwood over concrete the right way, using a proven, system-based approach: test → prep → mitigate/level → install.
Call now: 781-632-1018 or email
The Big Three Rules (Memorize These)
Installing Hardwood Over Concrete Options (Pick the Right System)
Option A: Floating engineered hardwood (click/lock or tongue-and-groove float)
Pros
- Often faster
- No adhesive bond to slab
- Can be forgiving if you use the correct underlayment system
Cons
- Demands excellent slab flatness
- Can sound hollow if underlayment/flatness is wrong
- Moisture can get trapped if the wrong underlayment is used
Option B: Glue-down engineered hardwood
Pros
- Solid feel (when done right)
- Great for wider planks and high-end looks
- No build-up height like plywood systems
Cons
- Prep is critical (grind/profile/clean)
- Moisture limits must be respected
- Adhesive selection and trowel technique matter
Option C: Solid hardwood over concrete (case-by-case)
Solid hardwood is not typically glued directly to concrete. It’s usually installed over a wood subfloor system designed for concrete:
- sleeper system
- plywood subfloor panels
- insulated subfloor assemblies
Pros
- True solid hardwood experience
- Traditional nail-down is possible over the wood subfloor
Cons
- Adds height (doors, stairs, transitions)
- More labor/material cost
- Still requires slab moisture management
DO’s and DON’Ts (Short List)
DO
- Test slab moisture with an industry method and compare to flooring/adhesive limits
- Grind to remove contaminants and create the correct surface profile
- Fix flatness to your flooring manufacturer’s tolerance
- Use a compatible moisture mitigation system when moisture exceeds limits
- Keep indoor conditions stable before, during, and after installation
- Follow the flooring brand’s approved installation methods (floating vs glue-down)
DON’T
- Don’t skip moisture testing because “the slab looks dry”
- Don’t glue to sealed/painted concrete without proper removal
- Don’t use leveling compound without primer/system compatibility
- Don’t install solid hardwood over concrete without a designed subfloor system
- Don’t ignore basement wall moisture/odor issues and expect the floor system to “fix it”
- Don’t mix random products (primer/epoxy/leveler/adhesive) without checking compatibility
Step 1: Moisture Evaluation and Testing (The Most Important Step)
Concrete moisture issues show up later as:
- adhesive release
- cupping/crowning
- black staining/mildew smell
- gaps that grow year over year
- hollow spots and movement
Moisture “screening” signs
- Musty odor
- Condensation on pipes/ducts
- Efflorescence on walls/floor edges
- History of water intrusion
- Dehumidifier runs constantly
Standard test methods (common in the flooring world)
- ASTM F2170 (in-slab RH testing): often the most meaningful for slabs
- ASTM F1869 (calcium chloride/MVER testing): still used in many specs
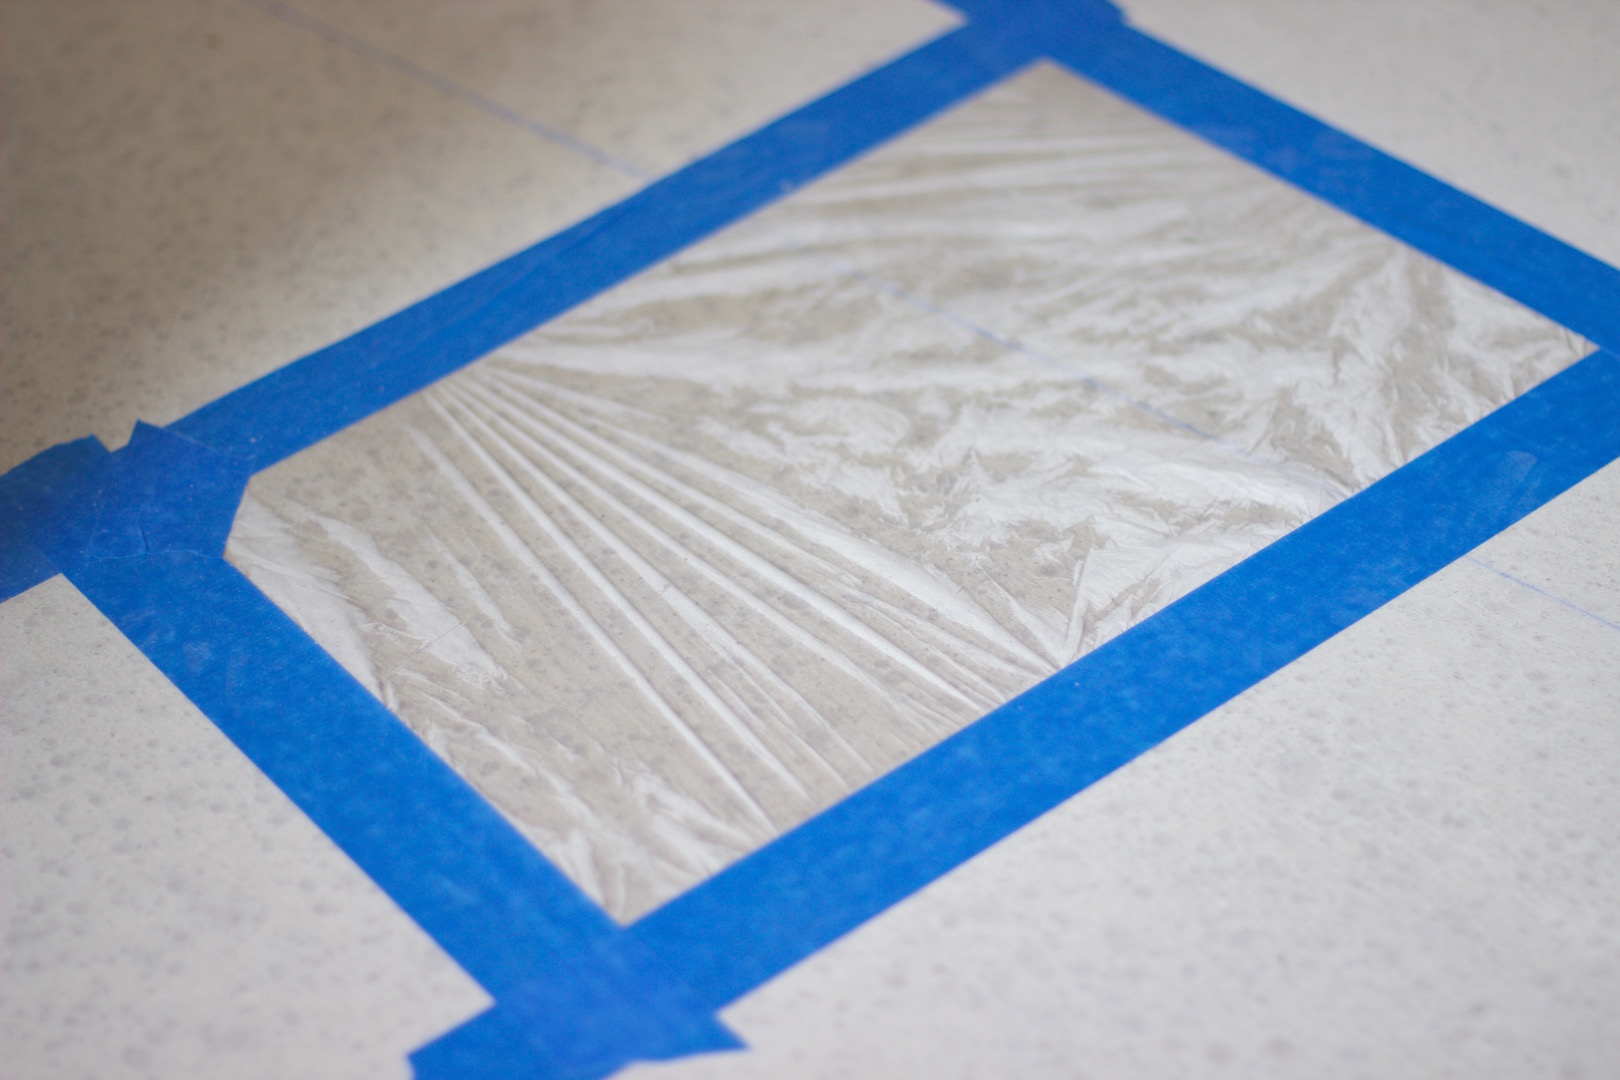
- Plastic sheet test: acceptable as a quick red flag, not a real spec test
How to use results
Don’t chase a generic “safe number.” Use the moisture results to decide:
- whether you can proceed normally
- whether you need epoxy moisture mitigation
- whether you should choose a different floor strategy entirely
Step 2: Moisture Mitigation (When the Slab Is Over Spec)
If your test results exceed the flooring/adhesive limits, you generally have three paths:
Path 1: Fix moisture sources (“moisture control”)
- drainage, gutters/downspouts, grading
- dehumidification strategy
- address seepage or groundwater pressure
This is foundational—especially in basements.
Path 2: Install a moisture mitigation system (“moisture mitigation”)
Often an epoxy moisture vapor barrier designed for high-moisture slabs.
What makes mitigation succeed
- correct concrete profile (usually mechanical prep)
- correct film build/thickness (per manufacturer)
- compatibility with levelers/adhesives above
Path 3: Change the floor system
Sometimes the best solution is an assembly that tolerates moisture better:
- air-gap membranes + floating floors
- raised subfloor panel systems
- (or not installing wood in that space)
Important: Epoxy mitigation on the floor slab does not solve block wall moisture. If a basement is musty due to wall moisture, you still need a wall/humidity plan.
Step 3: Concrete Grinding and Surface Prep (Bond Depends on This)
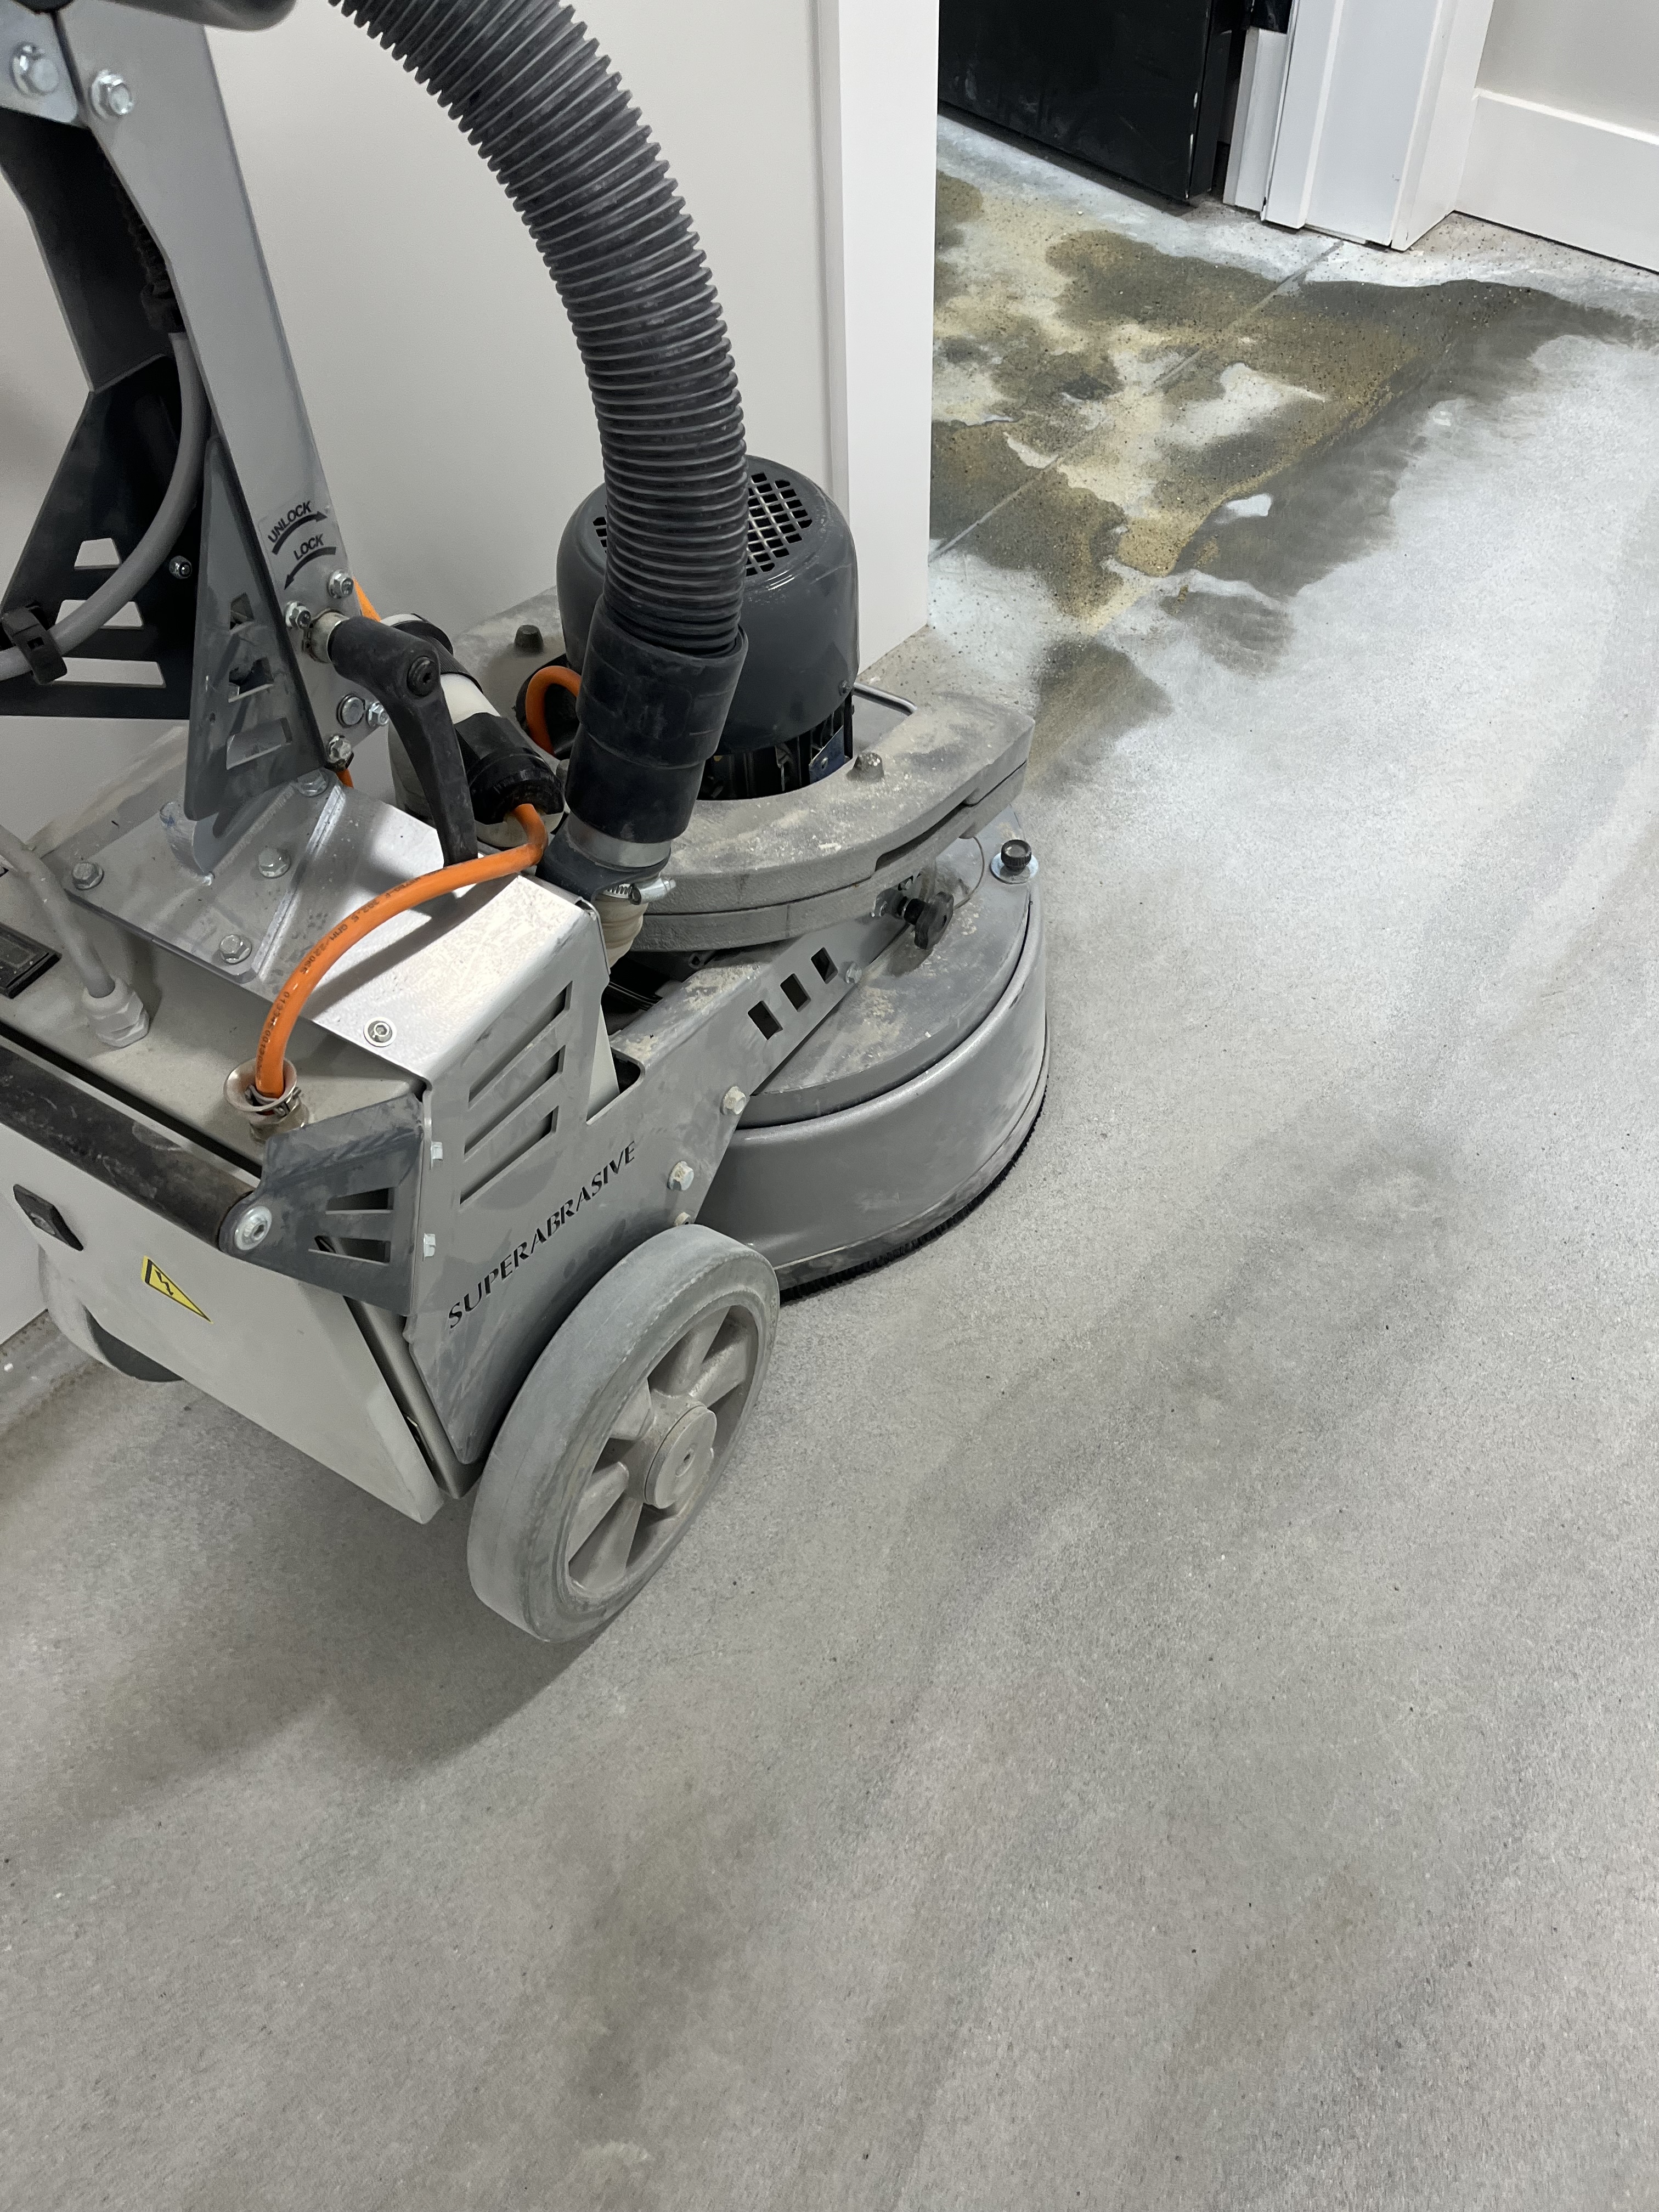
If you’re doing glue-down engineered hardwood—or applying mitigation/leveler—surface prep is non-negotiable.
What you’re removing
- paint, sealers, curing compounds
- old adhesive/mastic residues
- drywall mud, overspray, grease/oils
- weak dusty surface layers (laitance/dusting)
Why grinding matters
- creates the correct surface profile (micro-texture for bonding)
- removes contamination that causes adhesive failure
- gives mitigation and primers a reliable substrate
Cleaning after grinding
- vacuum thoroughly (HEPA is best)
- avoid sweeping that re-distributes fine dust
- do not wet-mop unless your system allows it and the slab can fully dry
Step 4: Concrete Leveling and Flatness (Not “Perfectly Level”—Flat Enough)
Most engineered hardwood and LVP failures blamed on “product” are actually flatness failures.
Flatness targets
Use your flooring manufacturer’s tolerance (always). Common standards often look like:
- maximum deviation over a certain span (e.g., over 6–10 feet)
- stricter for click/lock floating systems and wide planks
Leveling methods
- Grind high spots (fast and permanent)
- Patch low spots (feather finish products)
- Self-leveling underlayment (SLU) for widespread correction
SLU success rules
- use the correct primer
- respect thickness requirements
- check compatibility with any epoxy mitigation layer
- re-check flatness after cure
Step 5: Choosing the Right Flooring Product for Concrete
Engineered hardwood (usually best over concrete)
Look for:
- manufacturer approval for concrete slabs and your install method
- stable core construction (plywood core often performs well)
- appropriate plank width for your space and your flatness reality
- clear moisture and acclimation requirements
Solid hardwood (use carefully)
Solid wood moves more with seasons. Over concrete, it typically needs:
- a designed subfloor system and moisture plan
- room-to-room movement planning and expansion space
Prefinished vs site-finished
- Prefinished: faster occupancy, factory finish consistency
- Site-finished: seamless look and custom stain, but requires finishing phase
Step 6: Adhesives—What Matters More Than Brand (and How to Compare)
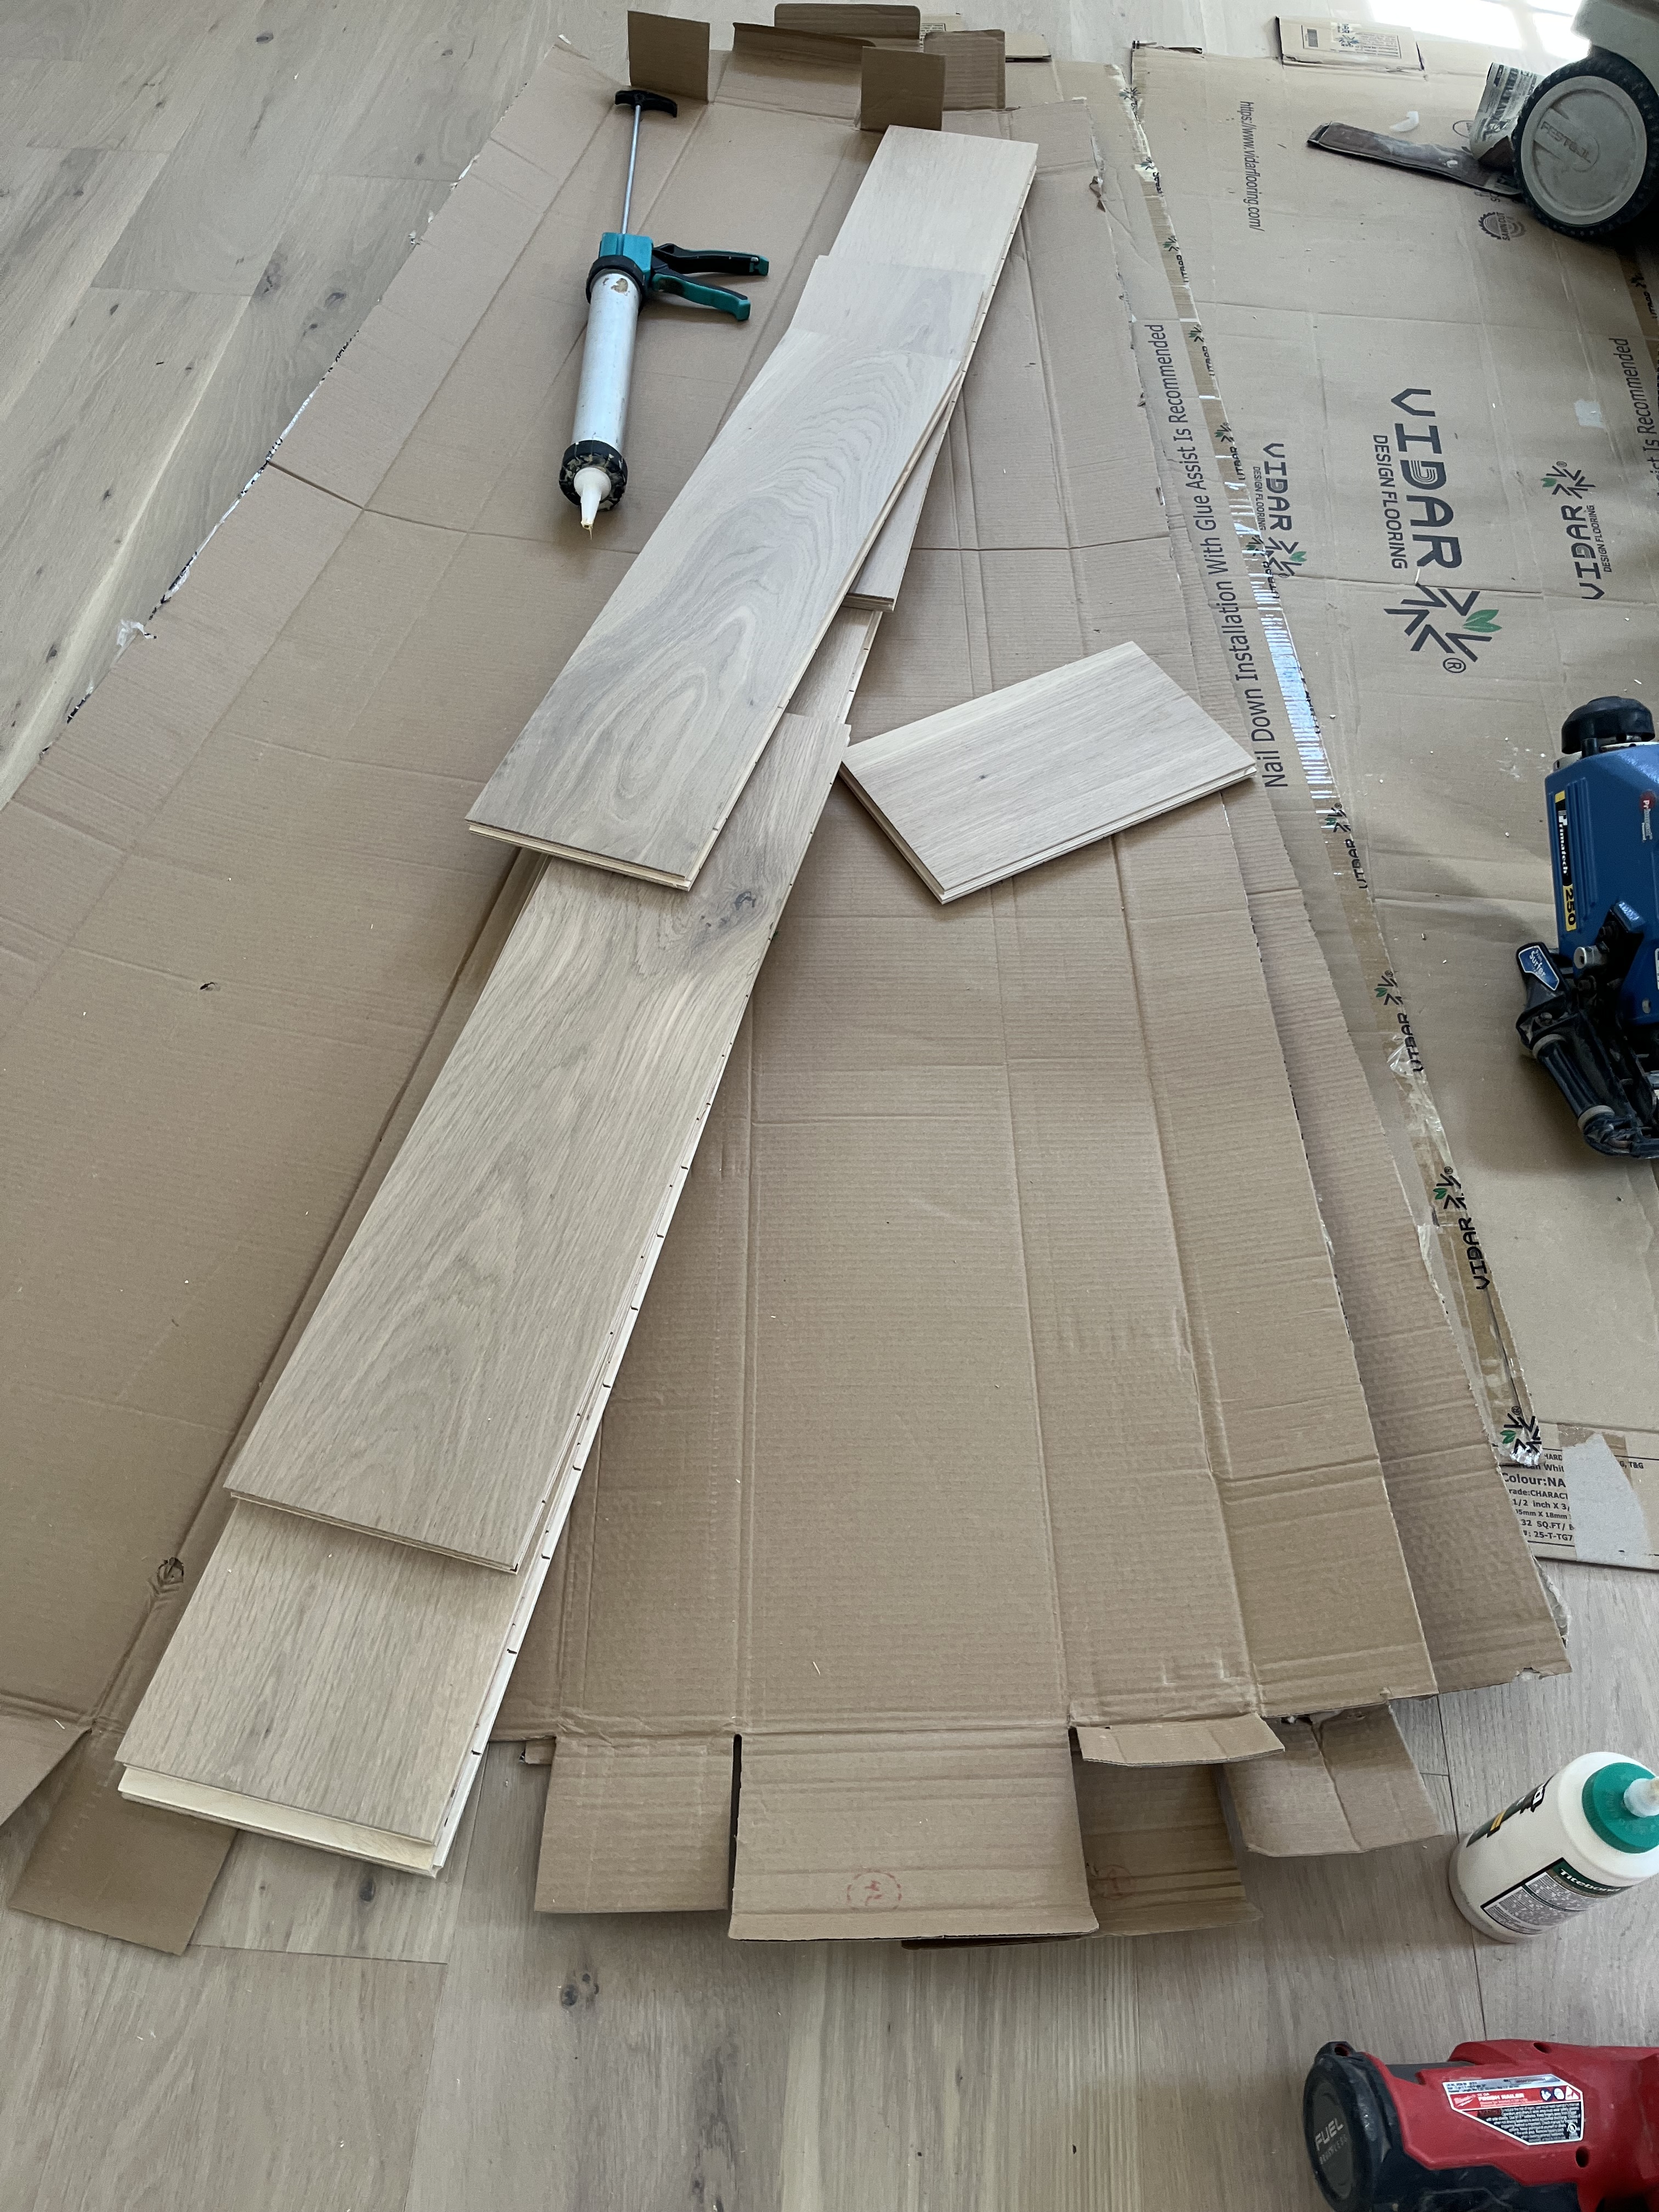
People often ask “Which adhesive brand is best?” In practice, the best adhesive is the one that:
1. is approved by your flooring manufacturer
2. matches slab moisture conditions (or your mitigation plan)
3. matches your installation method (trowel size/spread rate)
4. is applied on a properly prepped substrate
Key adhesive characteristics to compare
- Moisture tolerance (what the adhesive allows, and under what test method)
- Sound/feel (some adhesives reduce hollow sound)
- Elasticity (helps with seasonal movement)
- Open time and working time
- Cleanup characteristics
- VOC/odor profile
- Approved trowel notch and coverage rate
Brand examples (common in the market)
Depending on your region and supplier, you may see professional systems from brands such as:
- Bona, Bostik, Sika, Mapei, Wakol, Taylor, Pallmann, and others.
Rather than picking by name, pick by:
- the specific adhesive line (each brand has tiers)
- the published technical data sheet (TDS)
- compatibility with primers/mitigation and your hardwood manufacturer
Pro tip: The single biggest adhesive mistake is wrong trowel notch/coverage and trying to “stretch” adhesive too far.
Step 7: Installation (High-Level Best Practices)
Acclimation and indoor conditions
- Maintain stable indoor temperature and humidity consistent with the flooring manufacturer’s expectations.
- Keep conditions stable before, during, and after install (this affects movement and gaps).
Layout planning
- Decide plank direction based on structure, aesthetics, and transitions.
- Plan clean transitions at:
- doorways
- stairs
- slab-to-subfloor changestile/carpet boundaries
Expansion space
Even engineered hardwood moves. Follow manufacturer expansion guidance—especially at:
- perimeter walls
- columns
- long runs and pinch points
Choosing a Hardwood-Over-Concrete Contractor (The Checklist)
The right contractor will talk more about testing and prep than about “great deals.”
Ask these questions:
- How do you test concrete moisture? (Which method, and how results affect the plan)
- What’s your mitigation plan if the slab is over spec?
- Do you mechanically prep (grind) the slab? What equipment and dust control?
- How do you verify flatness before install?
- What system do you propose? (floating vs glue-down vs subfloor build-up) and why
- Will you provide a written scope? Including prep steps, products, and exclusions
- What warranties apply (workmanship vs manufacturer)?
Red flags
- “We never test moisture; we’ve been doing this for years.”
- “We’ll just use extra adhesive.”
- No written scope, no prep details, vague answers about mitigation.
Call for Challenging or Technical Situations
Installing Hardwood over concrete is most likely to fail when moisture and prep are borderline—basements, coastal climates, additions on slab, wide planks, dark stains, or glue-down installs without a system plan.
If your project includes any of the following, it’s worth getting a pro evaluation:
- basement musty odor, efflorescence, or constant dehumidifier use
- glue-down engineered hardwood on slab
- wide plank engineered with strict flatness requirements
- moisture mitigation epoxy + leveling + glue-down system (multi-layer compatibility)
If you’re in or near Lynn, MA (Boston and vicinity / North Shore):
Call G & S Floor Service at 781‑632‑1018 to discuss your slab conditions, testing, prep plan, and the best installation system for long-term performance.
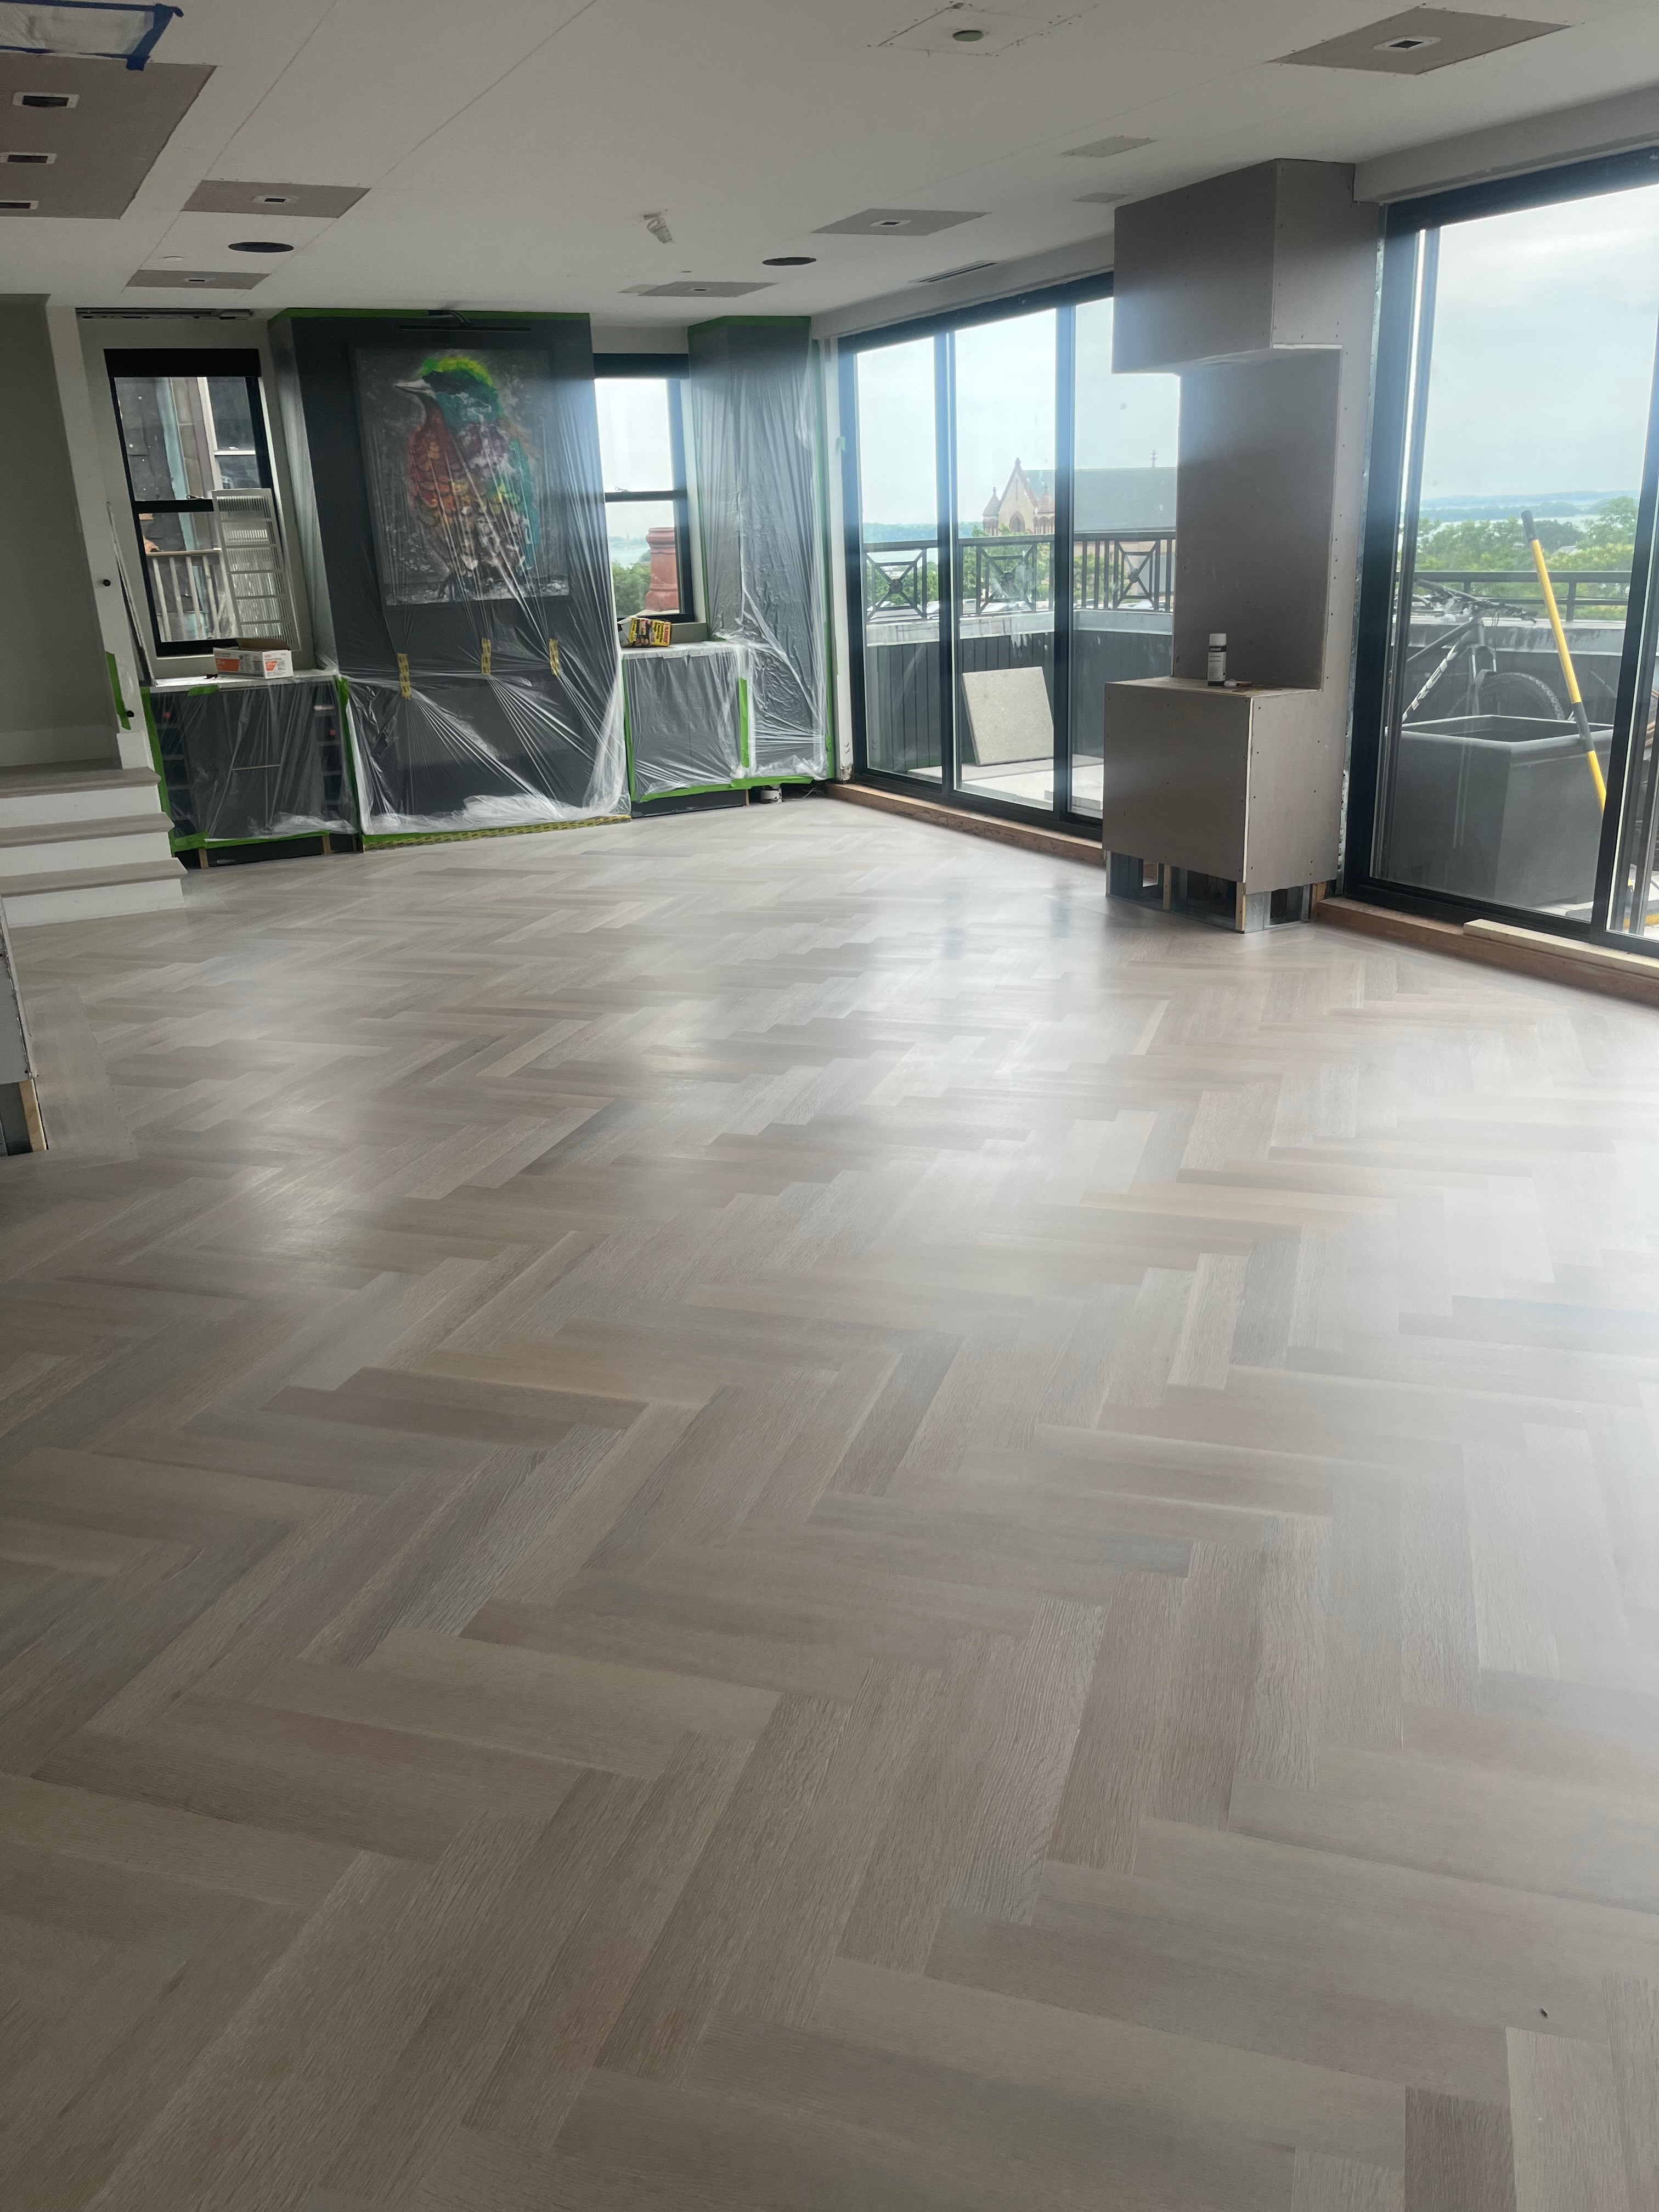
Installing Hardwood Over Concrete (Engineered & Solid) — Lynn, MA (Boston & North Shore)
Installing hardwood over concrete slab can be a beautiful upgrade—but it’s also one of the easiest flooring projects to get wrong if moisture, slab prep, and flatness aren’t handled correctly.
G & S Floor Service helps homeowners across Lynn, MA and Boston and vicinity installing hardwood over concrete the right way, using a proven, system-based approach: test → prep → mitigate/level → install.
Call now: 781-632-1018 or email
Why Hardwood Over Concrete Fails (and How We Prevent It)
Most problems blamed on “bad flooring” actually come from slab conditions:
- Moisture vapor coming up through the slab (even when concrete looks dry)
- Slab not flat enough (especially for wide planks and floating systems)
- Poor surface prep (adhesives don’t bond to dust, paint, sealers, or old glue)
- Wrong installation system for the space (floating vs glue-down vs subfloor build-up)
Our job is to eliminate the guesswork before the first plank goes down.
Hardwood Over Concrete Options We Install
1) Floating engineered hardwood
A great option when the slab is flat and the underlayment/moisture strategy is correct.
Best for: many living areas, condos, and renovation projects
Key requirement: slab flatness + the right underlayment system
2) Glue-down engineered hardwood
Ideal when you want a more “planted” feel and the slab is properly prepped.
Best for: premium feel, wider planks, long runs
Key requirement: grinding/profile + moisture compliance + correct adhesive system
3) Solid hardwood over concrete (case-by-case)
Solid hardwood typically needs a designed subfloor build-up over concrete—not a simple glue-down.
Best for: specific projects where height/build-up and moisture conditions allow it
Key requirement: system design + moisture plan + transitions/door clearances
Our Process: Test → Prep → Mitigate/Level → Install
Step 1: Concrete moisture evaluation (no guessing)
Concrete can emit moisture vapor even when it appears dry. When conditions warrant, we recommend mechanical moisture testing and use the results to choose the correct installation system.
Step 2: Concrete grinding & surface prep (bond depends on this)
For glue-down installs and many mitigation/leveling systems, we mechanically prep the slab to:
- remove contaminants (paint, sealers, old adhesives, residue)
- create a proper bonding profile
- reduce dusting/weak surface layers
Step 3: Concrete leveling & flatness correction
Hardwood over concrete needs the slab flat, not necessarily perfectly “level.”
We correct:
- high spots (grinding)
- low spots (patching and/or self-leveling underlayment where appropriate)
Step 4: Moisture mitigation (when needed)
If a slab is over spec or shows moisture-risk indicators, we can plan for epoxy moisture mitigation systems as part of a complete assembly—selected based on slab conditions and compatibility with the install system.
Step 5: Professional installation
We install to manufacturer specs for:
- layout and transitions
- expansion requirements
- adhesive spread rates (where applicable)
- clean detailing at edges and doorways
Adhesives: What Matters (More Than the Brand Name)
Homeowners often ask for “the best adhesive.” The truth is: the best adhesive is the one that matches your flooring product, slab condition, moisture plan, and installation method.
We select adhesives based on:
- moisture tolerance (per system requirements)
- elasticity and long-term hold
- working time/open time
- compatibility with primers/mitigation/leveling products
Service Area
Based in Lynn, MA, serving Boston and vicinity (including much of the North Shore).
Call to confirm scheduling: 781-632-1018 or email
Book a Hardwood-Over-Concrete Consultation
If you’re installing hardwood over concrete—especially in a basement, addition, or any space with humidity swings—getting the prep and moisture plan right is the difference between a floor that lasts and a floor that fails.
Call G & S Floor Service: 781-632-1018 or email
When you call, it helps to have:
- your town/location
- approximate square footage
- slab type (basement / slab-on-grade / condo)
- flooring goal (floating engineered / glue-down engineered / solid—if applicable)
- any moisture signs (musty odor, condensation, efflorescence, past water issues)
Resource: NWFA.org
Gandswoodfloors professional development - About us



Anti Spam Policy - Copyright - Linking - Privacy - Terms - Website Disclaimer
Copyright 2026. All rights reserved gandswoodfloors.com
Contact:
G & S Floor Service - Sye Phommachanh
Lynn,Ma. 01904 - Phone: (781)-632-1018