Sanding Hardwood Floors
Sanding Hardwood Floors - Every home these days have hardwood floors or soft wood floors. It is the most popular choice for interior designs. And it increases your home value, more than any other flooring types. It is a sustainable and renewable product. Trees are harvested responsibly, ensuring continued growth throughout our kid's kids future. And most forest are privately owned, so it will be cared for.
Hardwood floors is a luxury item to have in our home. We choose it to enhance the look and feel of our home. With the right purchase and maintenance, hardwood floors will last a decade or outlive the house itself. Salvaging and Reclaiming wood floors to give it a new life. So, why would you ever allow anyone to ruin it by a botched sanding job? Reducing the lifespan of the hardwood floors, cutting your investment short -why?
Sanding hardwood floors - Things you should know
Sanding hardwood floors - Whether you are a do-it-yourselfer or planning to hire a professional. The purpose of sanding hardwood floors is to achieve a perfect surface, so that it can accept stains, sealers and finishes evenly. Know the process, equipment and sandpaper needed to achieve the perfect surface. Here is a list of things you should know, before tackling your project.
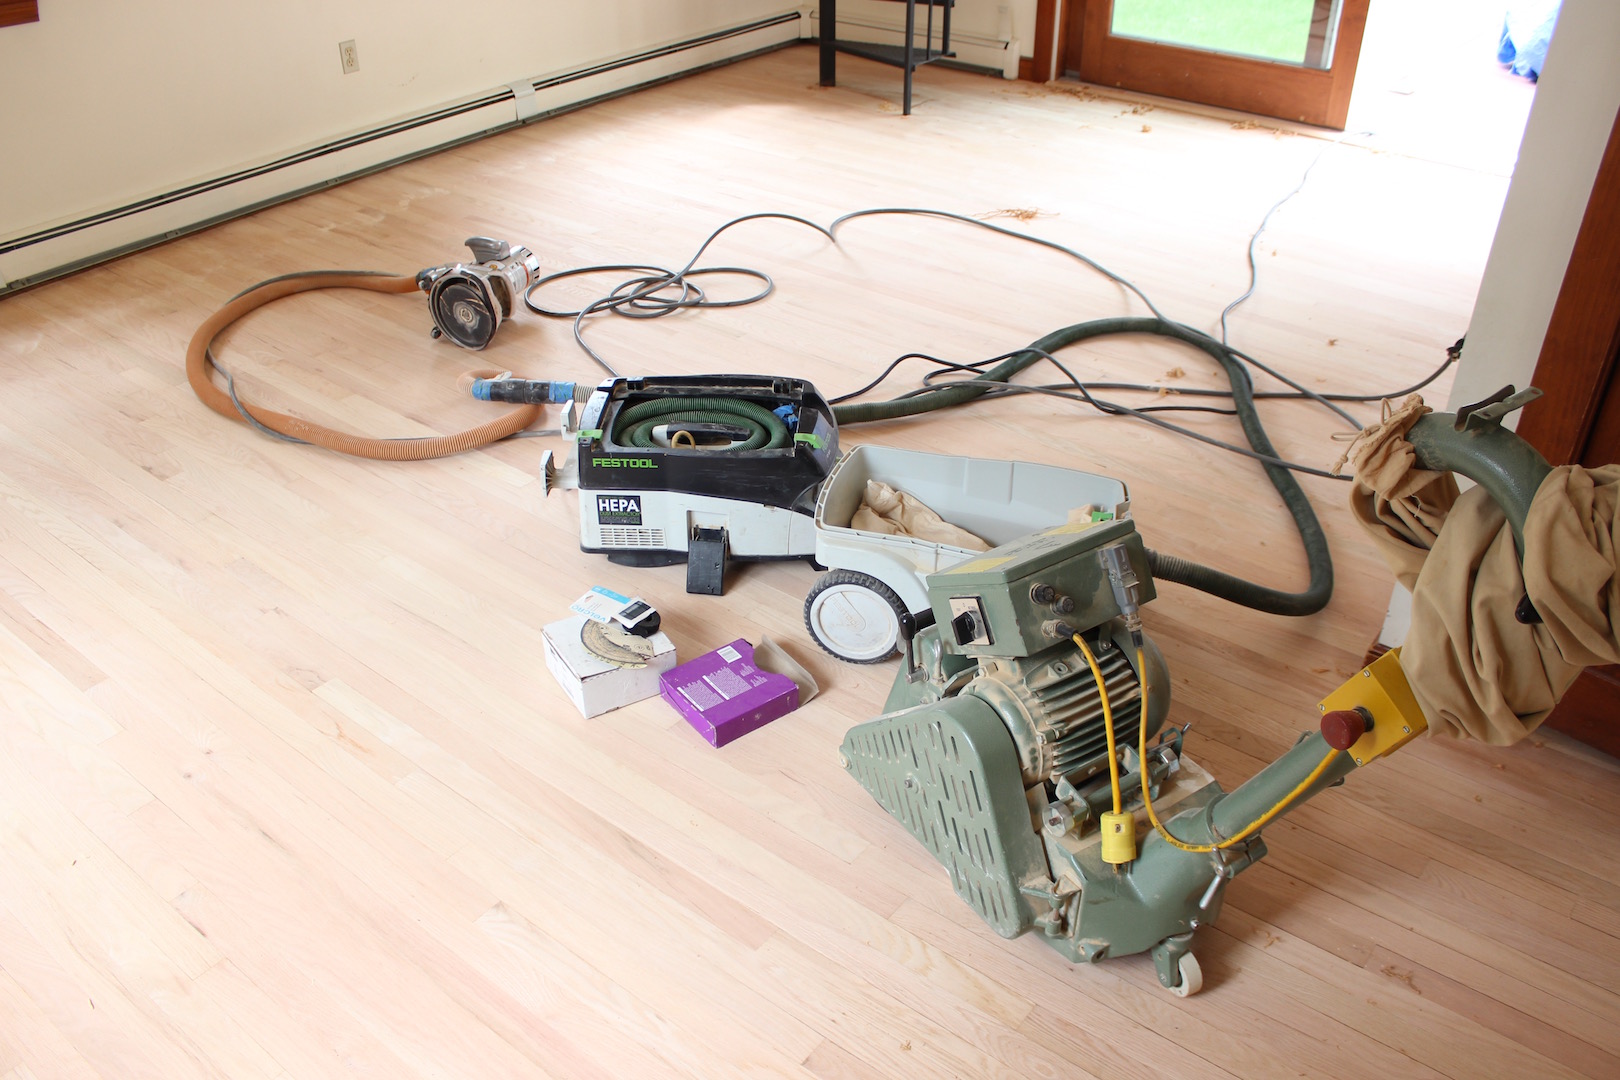 Basic sanding equipment - Hummel belt sander and Clarke B2+ edger
- Time - It takes time. A professional will not come in and rush a sanding job. Sanding hardwood floors is the most critical part of the process. Hardwood floors need to be properly sanded and prep to accept the finish and achieve a flawless look. If, you are tight on time, reschedule to another time.
- Humidity - Check and maintain indoor humidity. NWFA recommended indoor relative humidty normal living condition should be maintained between 30-50% RH, one week before, during and after completion. Failing to do so can cause excessive shrinking or expanding of the floor boards.
- Moisture - Check for any visible moisture and measure for hidden moisture, using a dual depth moisture meter. Do not sand your floor if, you have a moisture issue. Moisture issues should be addressed, before you begin sanding. Failing to do so can result in cupping. Sanding a wet floor will result in crowning.
- Machines - Know your machine, its ability and uses. There is no individual machine that will do everything. You will need several pieces of floor sanding equipment and attachments to achieve the perfect surface. Drum sander, edger, radiator/toe kick sander, orbital sander, floor buffer with hard plate system, scrapers and vacuums.
- Abrasives - Know your abrasives, abrasives are made with different minerals, for different aggressiveness, smoothness and scratch pattern. You can't just pick up any sand paper and start sanding. Know the mineral and which ones to use. There are platinum, diamond, ceramic, zirconia, carbide and aluminum oxide available for minerals, platinum being the most aggressive. Each have different fracture rate and cut width. Do not over use your sandpaper. A dull sandpaper will cause dish out in your wood floors. Use sand paper for floor sanding not general uses. General use sandpaper cost less but is not designed to last long. Costing you more money in the long run.
- Process - Know the process to achieve the perfect surface. Average wood floors can be roughed with 50 grit ceramic on drum sander and edger. A second sanding with 80 grit zirconia and a third sanding with 100 grit silicon carbide. Corners are then scraped. The perimeters is then sanded with an orbital using 120 grit ceramic. And the field is sanded with a floor buffer using a hard plate system with 100 grit zirconia and 120 grit carbide sandpaper.
- Hardplate - If, you want a flat surface, use a hard plate system. A hard plate system will knock down high spots, such as waves or chatter and will ride over soft grains, avoiding dish outs. Leaving you with a flatter surface, compared to the traditional pad and screen system. There are equipment designed just for this purpose such as the Bona Powerdrive, Lagler Trio and other similar rotary sanders . There are also, hard plate attachments by Bona, Ceno, Malish, American Sanders and Satellite that you can purchase for floor buffers.
- Inspect - Inspect your work for mistakes and flaws, fix as needed. So, many flooring contractors avoid this simple step. It always cost them more in the end.
- Light - Yes, use a light to inspect your sanding. This is how you separate the craftsman from the pros. A bright LED light will help you see things you cannot see under normal lighting. Inspect your sanding, fixing any mistakes or flaws, before moving onto the next step. There are aftermarket parts that attaches directly to sanders, available on the market.
- Intercoat abrasion - In between coat abrasion should be done with 220 grit ceramics to avoid deep scratches and swirls in the finish. All rough spots and debris should be removed, before applying your finish. You can combine sandpaper with a maroon pad which is 320 grit to knock downtime swirl marks. I like using 220 grit ceramic disc on a multi-head floor buffer attachment. It sounds aggressive to some, but the unique sanding pattern the multi-head provides, eliminates swirls in the finish.
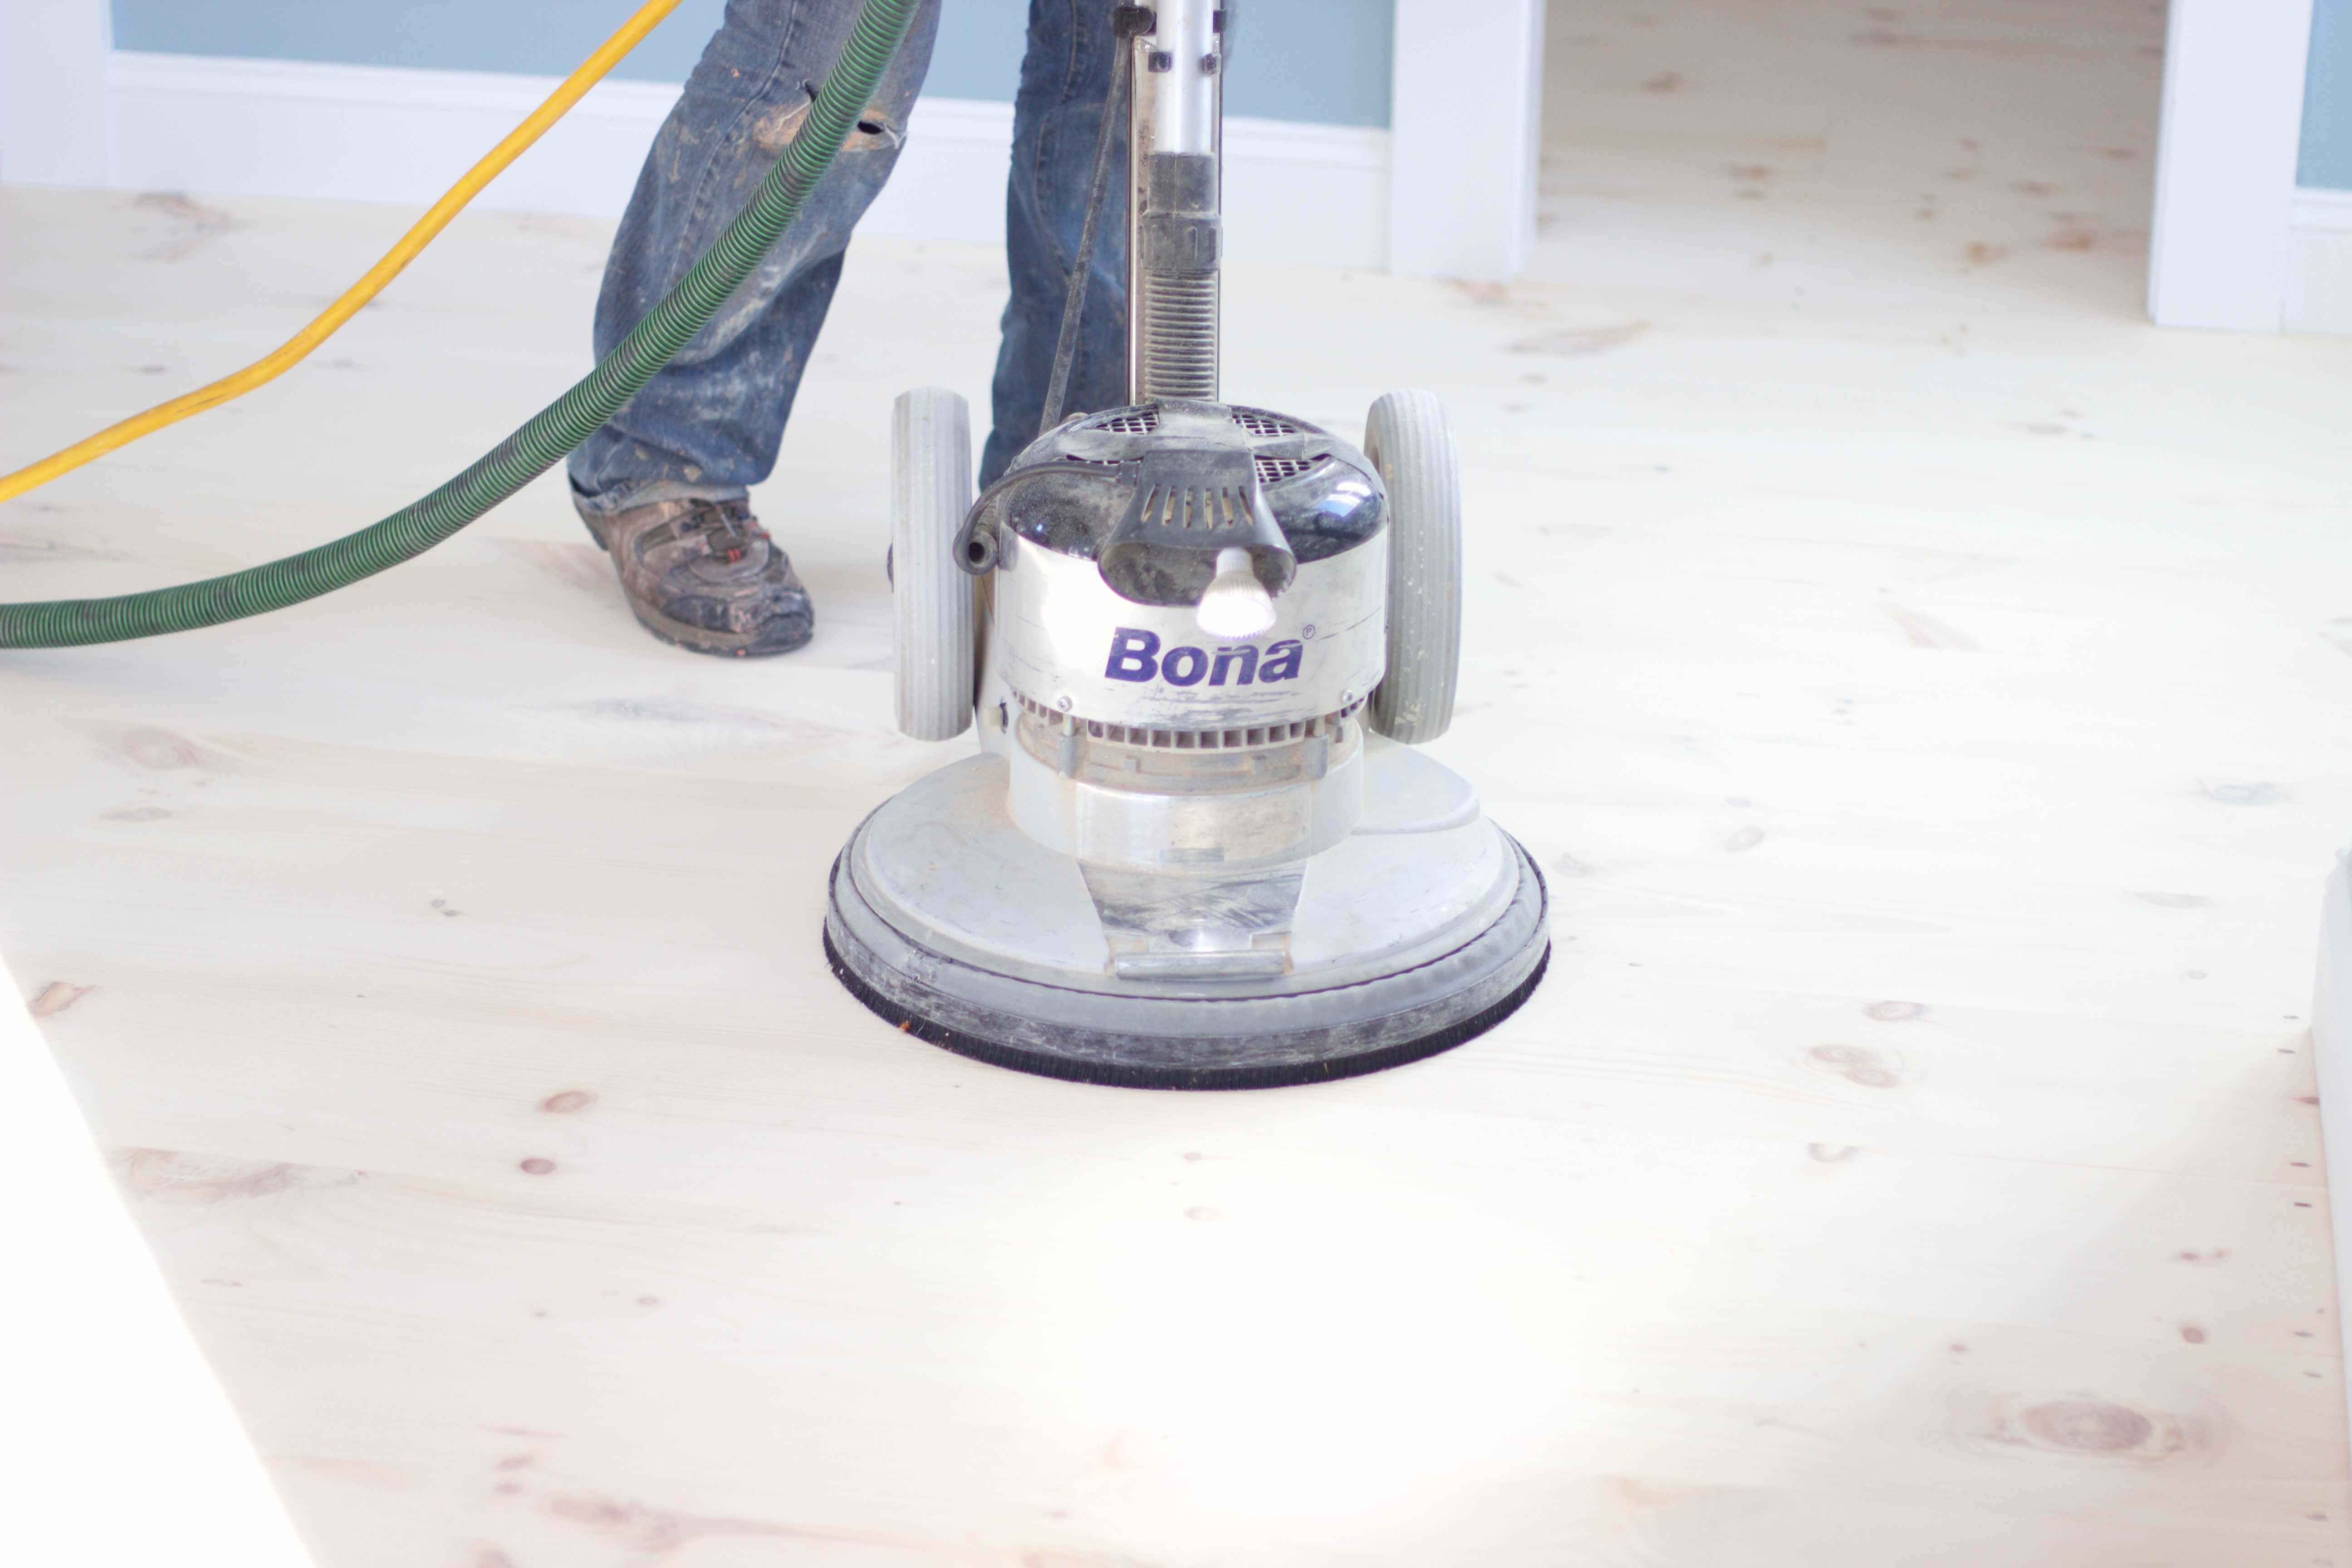 Rotary sander with hard plate system by Bona.
You are probably wondering why, we didn't just stick with one type of mineral for the entire sanding. In order to achieve the perfect sanded surface. You need to reduce the aggressiveness of your sanding as you reach the end. Start with aggressive sandpaper and finish with the least aggressive sandpaper to minimize deep, wide scratches. Scratches and swirls will show through our finish, especially a stained wood floor. Control the scratches for a perfect surface.
Sanding hardwood floors versus soft wood
Hardwood floors
When you are sanding hardwood floors, you can be more aggressive with the sanding grits and process. And not worry about damaging the wood floors. Because of its hardness, stock removal is not as aggressive, especially when you are sanding Maple, Brazilian cherry or Ipe. It makes sense to stick with a more aggressive mineral longer and then back off as you get towards the final sanding. Sand the drum and edger to the highest grit possible - 120 grit, do not skip grits. Then remove all sanding scratches with a rotary sander with a hard plate system, making sure you have a uniform scratch pattern. It is not uncommon to sand to as high as 150 grit. These hardwood are tough to work with and the scratches are difficult to remove. The extra sanding makes a big difference in the final result.
Soft wood floors
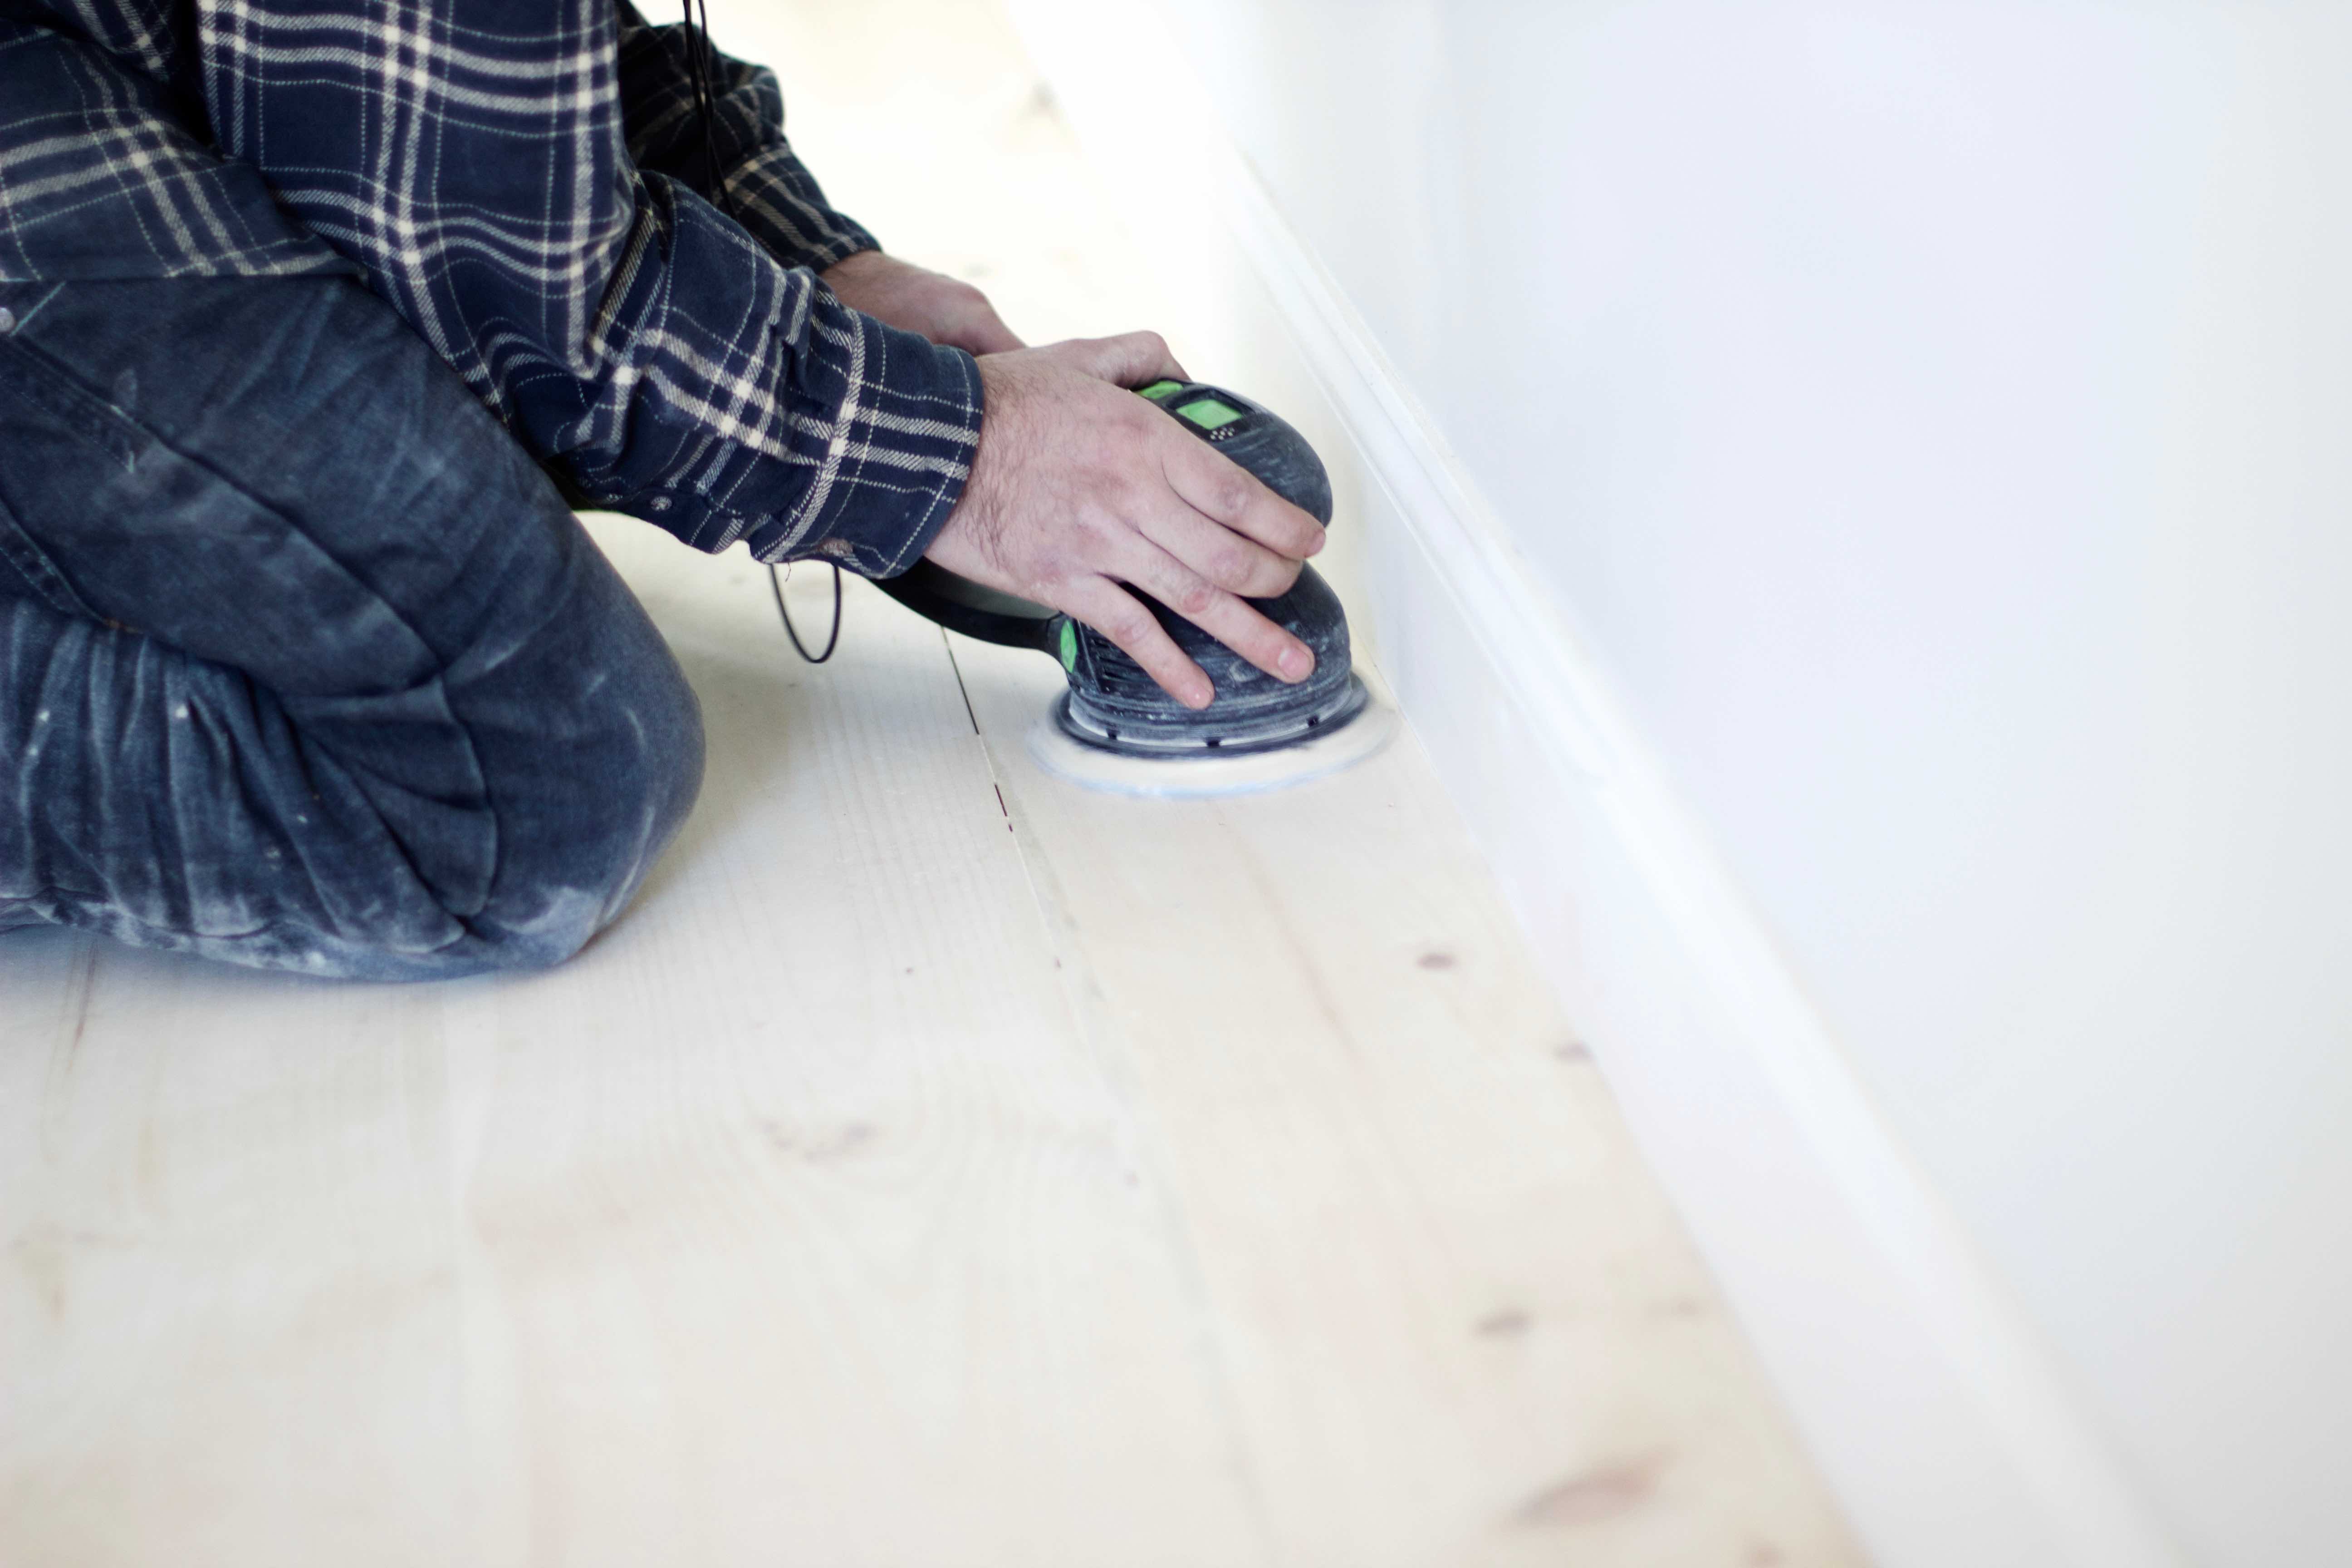 Finish sanding the edges with an 120 grit on an orbital sander by Festool
The biggest challenge in sanding soft wood floors is keeping your sand paper from clogging up. Soft wood means rapid stock removal. And if the machine can throw away the dust fast enough. The dust will get trapped in the sandpaper, clogging it up. Clogging slows down the sanding process and additional sand paper cost money.
The best way to sand soft wood is to sand up to 60 grit on the drum and 80 grit on the edger. And finish off with a rotary sander using a hard plate system, starting from 80 grit zirconia to 120 or 150 carbide grit. Do not skip any grits. The low rpm speed of a rotary sander will prevent clogging, allowing your sandpaper to last longer and be more efficient.
Knowledge is power. Take your new found knowledge and start sanding hardwood floors for money. You now, know how to achieve a perfect surface, take your time and do not skip grits.
For more information on sanding hardwood floors visit NWFA.org
Click the link here . For more information on sanding hardwood floors - softwood.
Gandswoodfloors professional development - About us


Anti Spam Policy - Copyright - Linking - Privacy - Terms - Website Disclaimer
Copyright 2026. All rights reserved gandswoodfloors.com
Contact:
G & S Floor Service - Sye Phommachanh
Lynn,Ma. 01904 - Phone: (781)-632-1018