Hardwood flooring refinishing
Hardwood flooring refinishing is not hard to do, just takes time and patience.Regardless of what type of wood specie, they can all be refinished. Some are more difficult to sand than others, but it can all be done, using the same floor refinishing method. If, you can commit some time, you can have a beautiful looking floor, that you can enjoy and save money at the same time.
Hardwood flooring refinishing like a pro
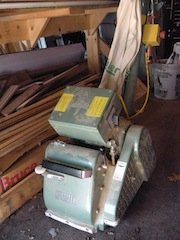
 Professional belt sander
So put your work wear on, and let's get started.
Warning - If, you are not physically fit and nervous around power tools. Hire a professional contractor.
You've completed your new wood floor installation. Now, it's time to finish it. Have you decided how you want your wood flooring to look like? If, you haven't done so yet, visit the interior design idea page and our gallery for some ideas, then come back when you're ready. Whether, it's a natural wood floor look, or a stain look, you'll be able find one that suits you.
Refinishing Oak Wood Flooring
We're going to focus on sanding Oak wood flooring. This hardwood floor is common in most homes in the U.S. And it's one of the easiest type of wood flooring to work with. Hardwood flooring refinishing consist of preparing the wood flooring, by sanding, then applying the wood floor finishes. That's all, not much to it. So don't be overwhelmed. This step by step guide will help get the job done.
Hardwood Flooring Refinishing - Tool List
Flooring Tools needed: all tools can be rented
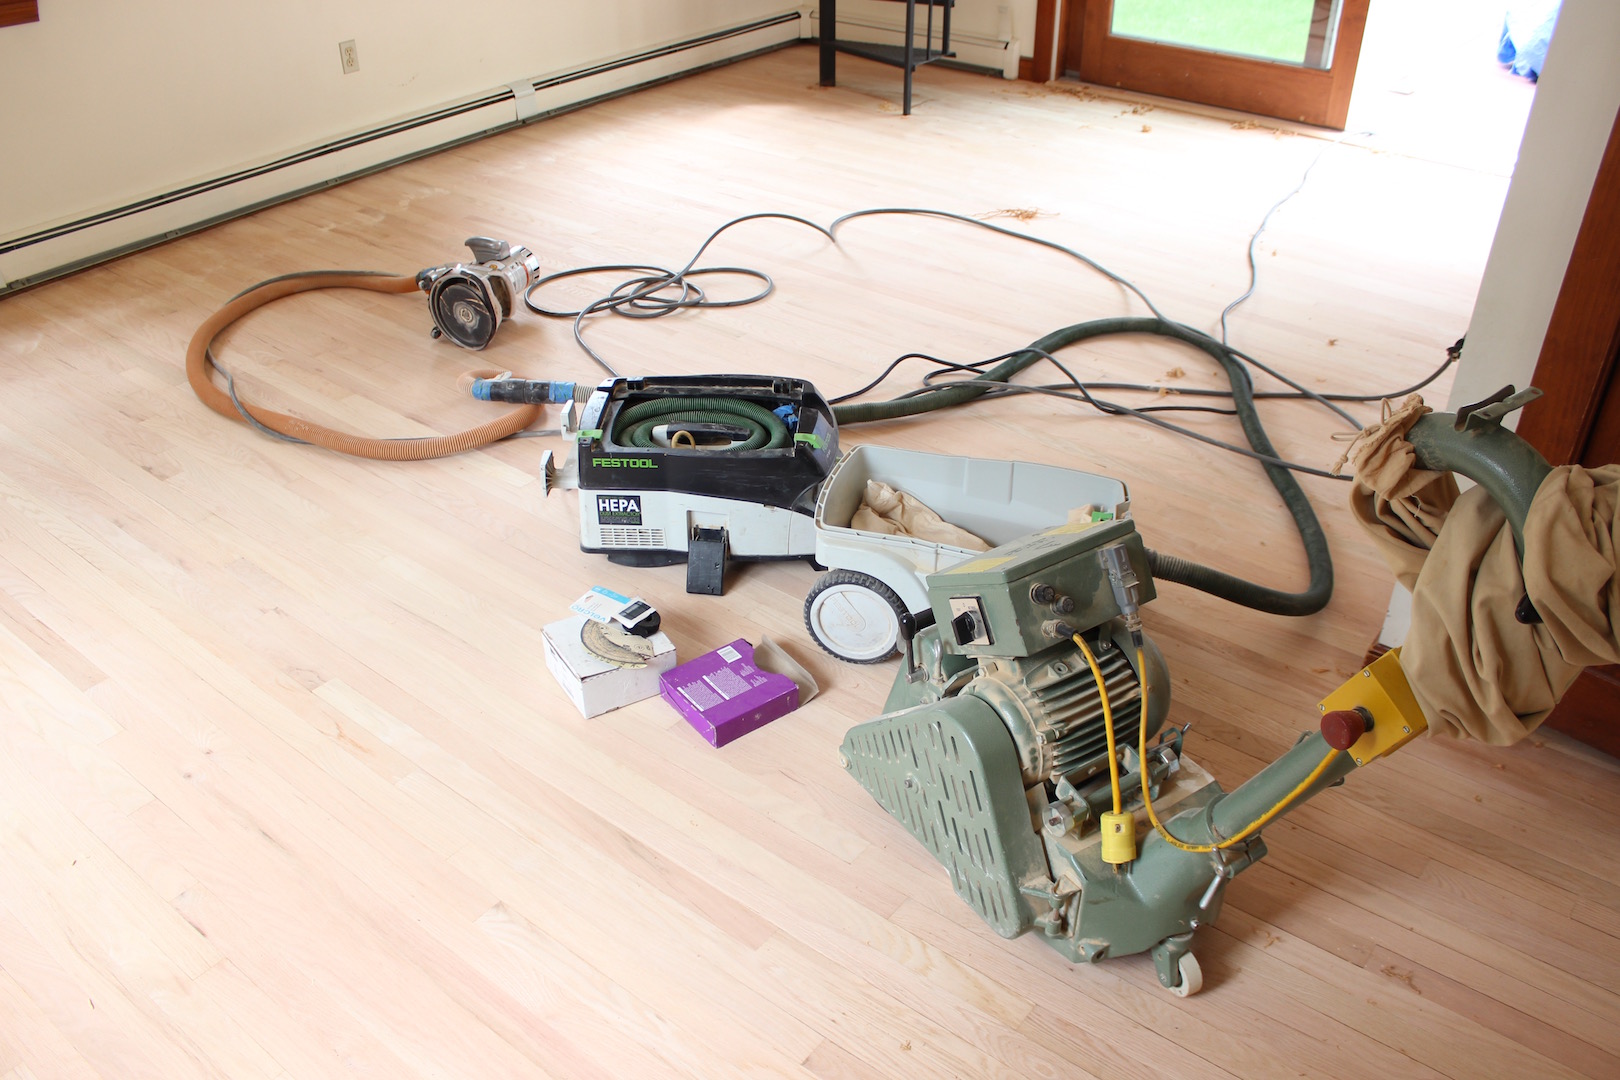
Drum or Belt Floor sander - Use to sand the field of the floor. Home centers offer 110v machine, which plugs into a wall outlet. It's not as powerful as a professional hardwood flooring refinishing machine, but will do the job, just requires extra time. The 110v floor sander can cause overloads on your breakers and fuses, use a 20 amp outlet, commonly located in kitchens and baths.
Industrial tool rental suppliers carries 220v machine, which are wired directly to your electrical panel, with alligator clips. If, you're not sure about how to use alligator clips. Ask, if, they have twist and lock adapters for electrical dryers or ranges. These adapters will save you time, safe to use, and you'll avoid serious injury.
Edgers- Floor edgers are used for sanding along walls and small areas, where the drum sander cannot reach. Such as Hallways, closets, thresholds, stair treads and landings.
Floor buffer - Use this tool with a 120 grit screen after sanding is complete, and 220 grit in-between coats, when refinishing hardwood floors. This machine will blend in the edger and the drum sander, sanding patterns together, to prevent a picture frame effect. Use it to remove brush marks, bubbles and raised wood grains, during in-between coat abrasions.
Vacuum - After sanding wood floors, Clean, clean, clean, before finishing your hardwood floors
Microfiber mop - This will make your finish smooth by removing fine dust particles that are not visible to the naked eye, when done properly. Dry tack your floors as many times as needed. Just use a vacuum to remove the dust from the mop head.
Abrasives - Use 60, 80, and 100 grit for drum, edger, and radiator sanders. If, you're refinishing hardwood floors, that are old. Use 36, 60, 80, 100 grit abrasive. If, they're really stubborn finishes, start with 15 or 20 grit sandpaper.
Use a new 120 grit screen, with a white cleaning pad for floor buffer. After the wood floor sanding is complete. Then use a 220 grit screen for in-between coats of oil base polyurethane floor finishes.
Hand held random orbital sander - Use this tool to detail your edges or for minor touch ups and fixes. Excellent for when applying wood floor stains.
Mineral spirit - For cleaning and tacking
Plastic and masking tape - Use a low tack tape for those delicate surfaces. Seal off any areas that you're not working in. Consider a stick-on zipper, for those frequent traveled areas, to get in and out.
Preparation
Before we begin with our hardwood flooring refinishing. Let's start with sealing off our work area with plastic and tape. Set all our nails and apply wood putty in any necessary areas, like over nail holes and unwanted gaps. You'll be repeating this process as the project progresses. It's okay if you missed some spots. Some of the wood putty will be removed by the sanding, so I wouldn't worry too much, either. Although, the more you do now, it will save you time later. Just something to consider.
Click on a page to learn how to perform each hardwood flooring refinishing operation. Or visit NWFA.org for more floor refiinishing information.
Sanding Under Radiators, Cabinets And Hard To Reach Areas
Hand scraping Corners And Edges
Fine Tuning The Edges And Corners
Buffing And Screening - how to use a buffer
Vacuum And Tack - how to clean
Choose an ideal company
You have done all the research and now have the knowledge. Don't choose the wrong flooring company.
Why work with average, when you can work with an ideal hardwood flooring company? Avoid opting for sub-par products, poor workmanship, the lack of industry knowledge and training for the sake of something new.
With G & S Floors, you will experience optimum personal service, with superlative, effective premium quality workmanship in the industry and high quality products. Homes are one of the biggest and most important investments and should be cared by an ideal company.
We've been in business over 19 years. We are a NWFA flooring contractor and follow industry standards and best practice for hardwood flooring installation, sand and finishing. We have access to training and ongoing professional development. We have a well trained staff and we never stop learning. We have a powerful network of talented professionals, distributors, manufactures and experts.
Invest in "Quality" for better service and hardwood flooring that can last a lifetime or centuries!


