Why Wood floor stain?
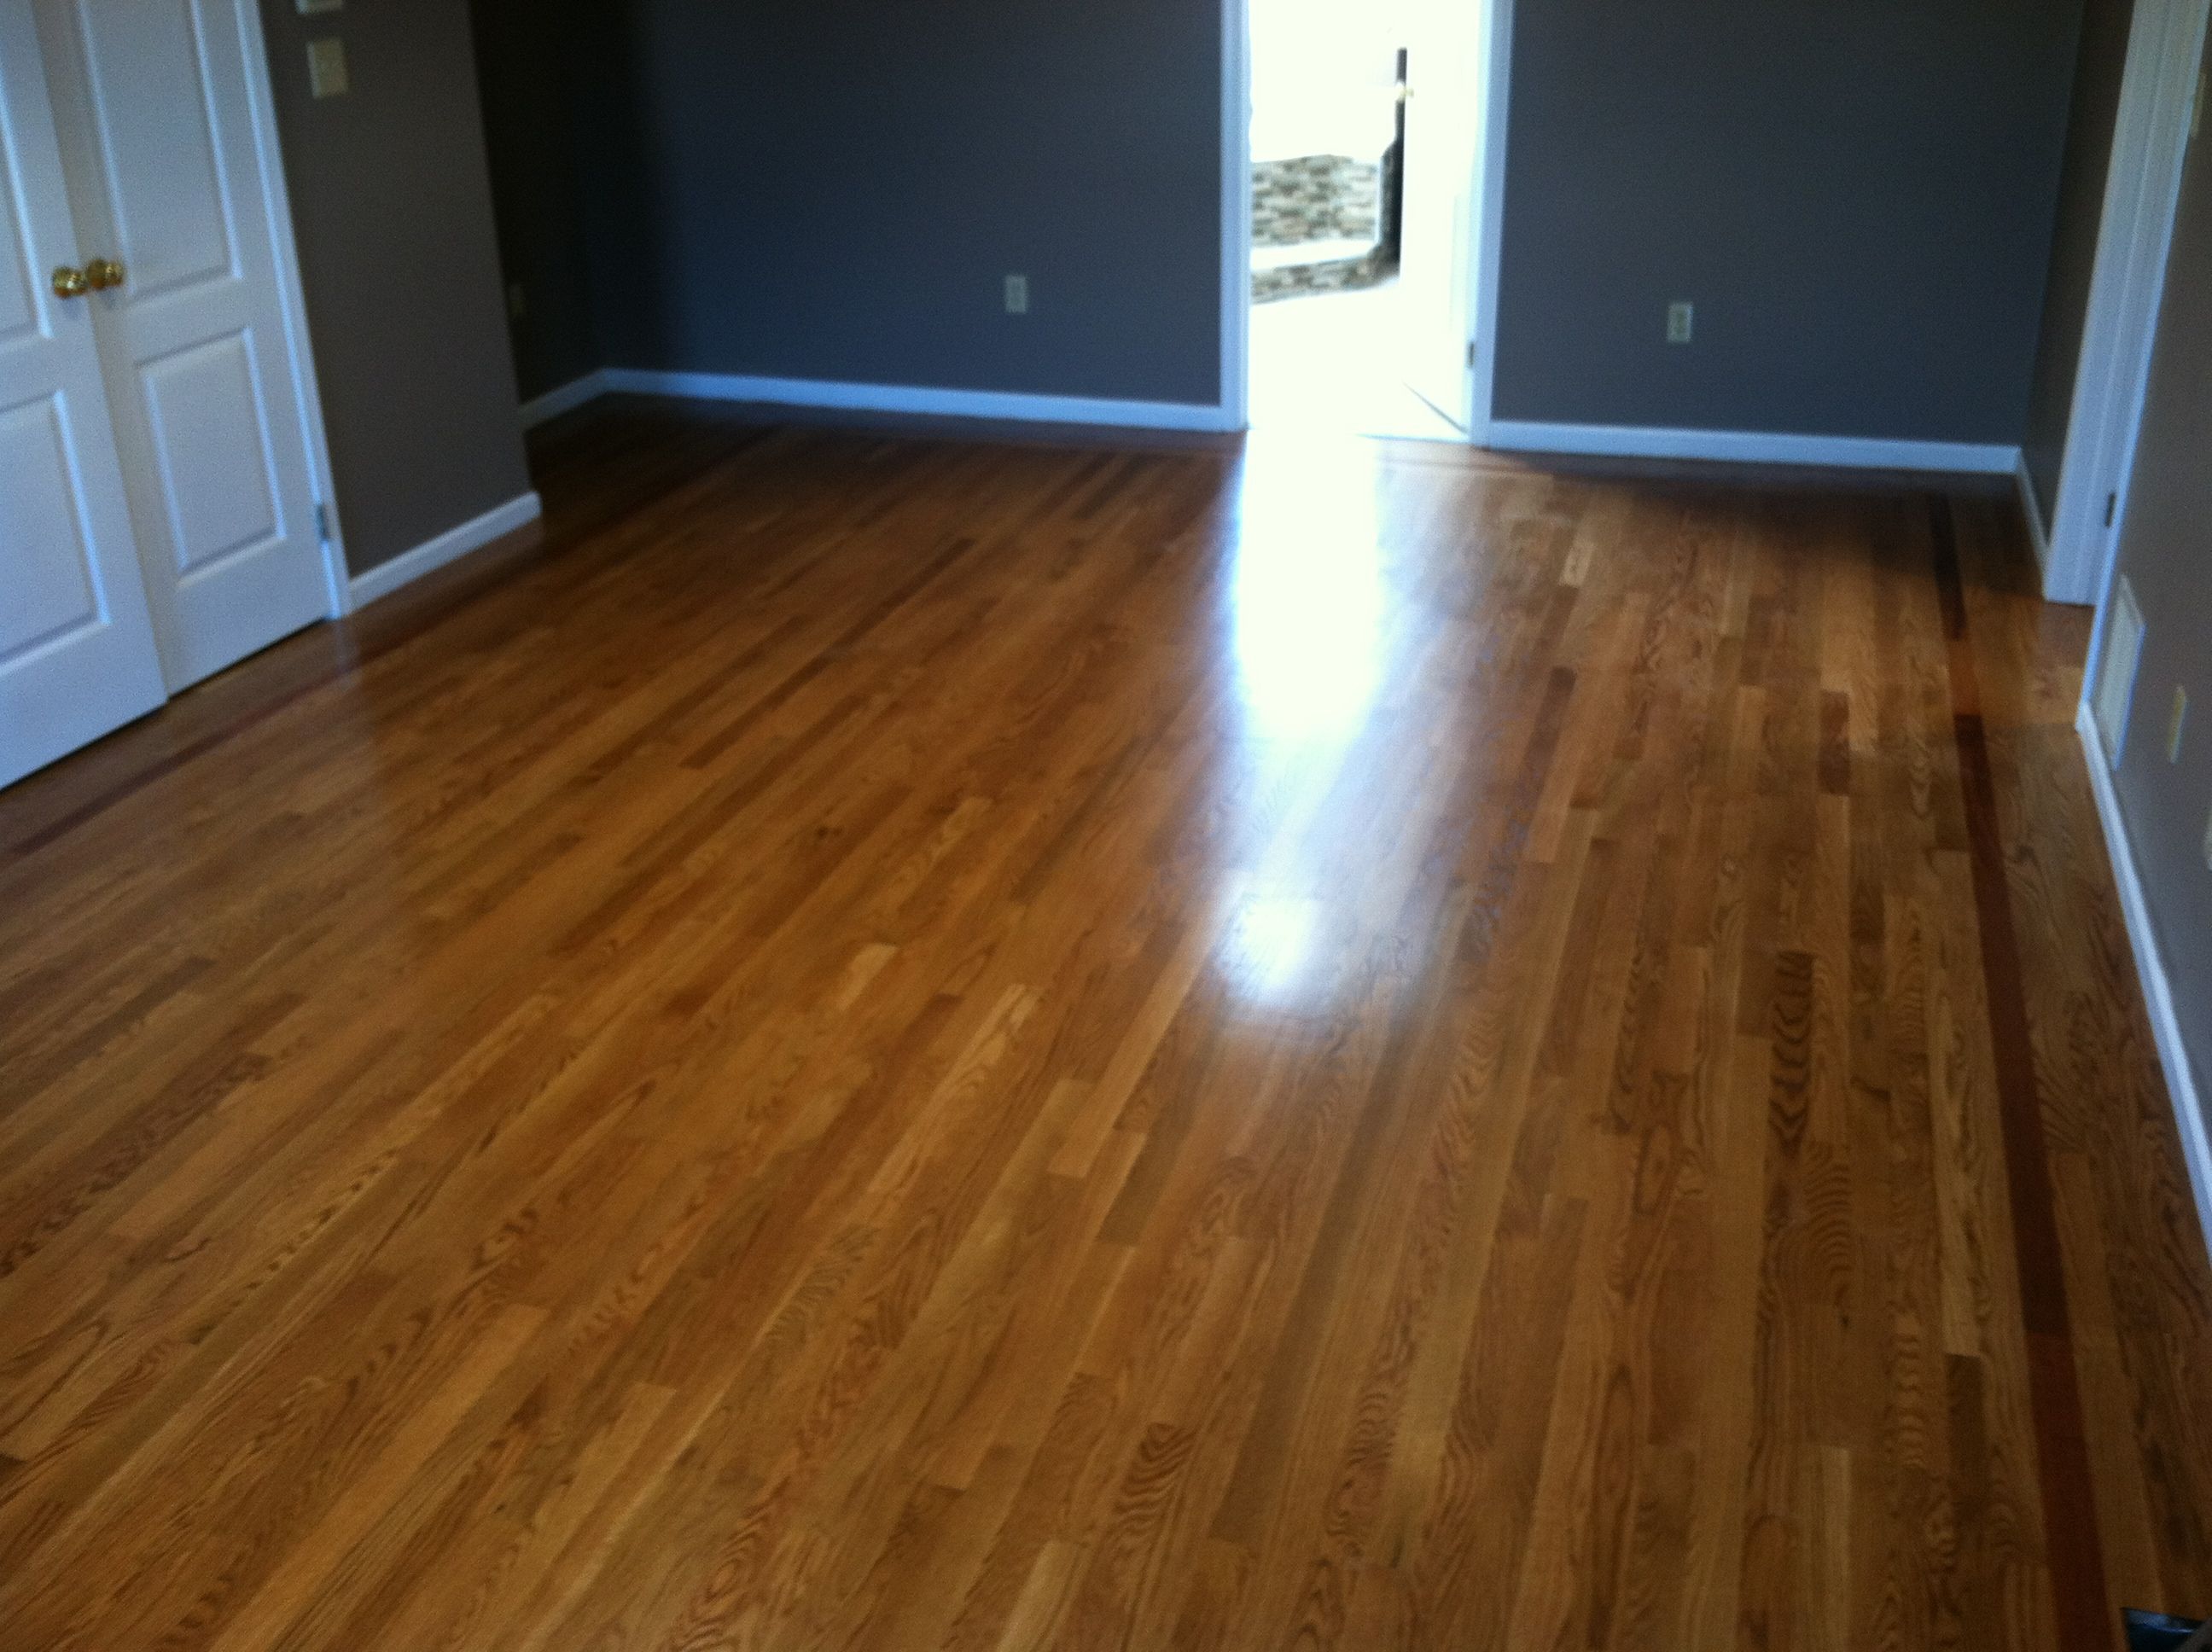
Why wood floor stain? If, you have an old worn tired and dated wood floors, that has the blah! Refinishing and staining hardwood floors is an inexpensive way to update to a new modern, traditional or trendy look, compared to replacing the entire floor.
What is wood staining? It is a process that alters the wood’s natural appearance. There are five types of wood floor stains. Each has it’s own unique application process with a unique effect. Manufacturer’s recommend using a system from the same brand to ensure compatibility and best adherence. There are different quality levels of stain. And the difficulty of application varies. Choose the best one that fits your skill level and needs.
Types of wood floor stain or colorants
Oil base wood stains - A pigment stain with a drier. The most commonly available and used on today’s market. Also, the easiest to learn how to apply. Oil base wood stains are available with three different types of drying solvents: mineral spirit, naphtha and ethanol. Mineral spirit dries slow, usually 8 to 72 hours. Naphtha and Ethanol dries fast, usually 2 to 4 hours depending on conditions. Ever wonder why stains don't dry? If, your stain project is not drying, it is because of the type of drier used by the manufacturer. Look for Naphtha or ethanol in the ingredients, these are fast driers. Many manufacturer's have more than one line of stain products. Read the manufacturer’s SDS (safety data sheet) specs for ingredients and proper handling and disposal.
Water base stains is a pigment stain with water as a dryer. This stain for wood has a very fast set-up time, making it very difficult to apply individually. Applying in small areas is best, when using a water base stain.
Wood Bleach - Bleach is not used too often as a colorant, but it is considered a colorant. It changes the natural wood appearance. Use bleach in specific situations only. There are three types of wood bleach specified for use with wood flooring. Use these types only.
- 2 part wood bleach - consist of sodium hydroxide & hydrogen peroxide. This type of bleach will change the natural wood tone. For example: red oak, a 2 part wood bleach would be used to change the red hue of the red oak to a light pink. Which would be useful, for an initial process, before applying a light or medium brown wood floor stain.
- Chlorine Bleach - laundry bleach is used to remove dye color but not the natural color.
- Oxalic acid -is used to bleach rust, water and pet stain
Note: All bleach products are harmful and hazardous. Always use gloves, goggles and respirators during application.
Reactive stains - Stains the wood by causing a reaction with the natural wood tannins. The outcome of this type of stain is unpredictable. Which means you may not have the same result each time. It is a good idea to stain all of your hardwood floors at the same time when using a reactive wood floor stain. There are three types used.
- Tannic acid - used in aging of wine, dyeing, and ink making. These reactive stains are available in over a dozen colors.
- Ammonia fume - darkens and turns the wood brown. This is a common type of reactive stain.
- Iron Acetate - darkens and turns the wood gray. This is another common type of reactive stain.
Note: water base finishes do not work well with reactive stains. It will reactivate the wood stain and move the colorant, brush, roll or t-bar is not recommended. Apply a coat of de-waxed shellac for a sealer, then apply your waterborne wood finish. Or the use of a air-assist HVLP sprayer is recommended, if a water base system is required. Otherwise, avoid using a water base system over a reactive stain.
Hard wax oils - a penetrating oil that hardens into a finish. Which does not require a top coat for surface protection. Most of these are available as a wood stain and finish system. Eliminating the need to do a multiple step wood floor finishing process.
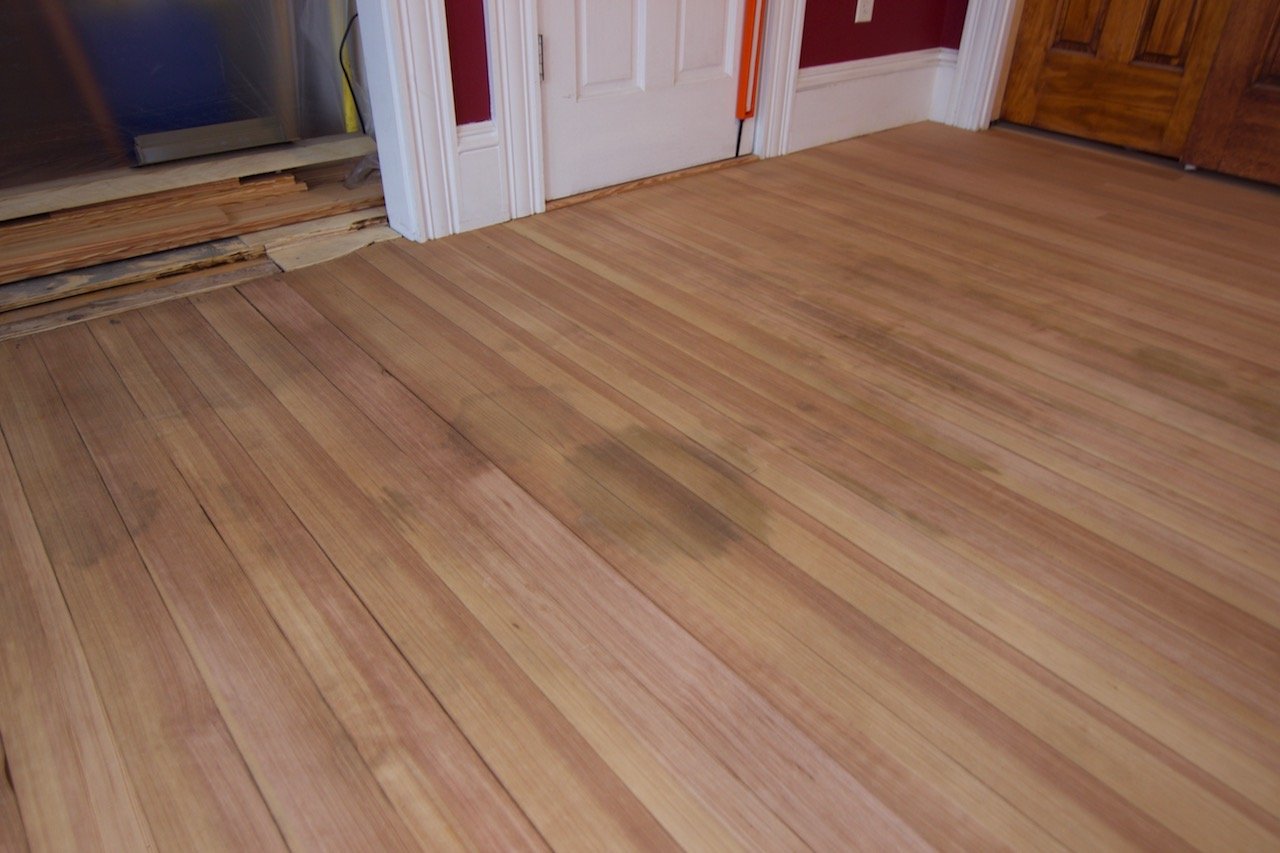 Before: water, rust and pet stain wood floors Before: water, rust and pet stain wood floors |
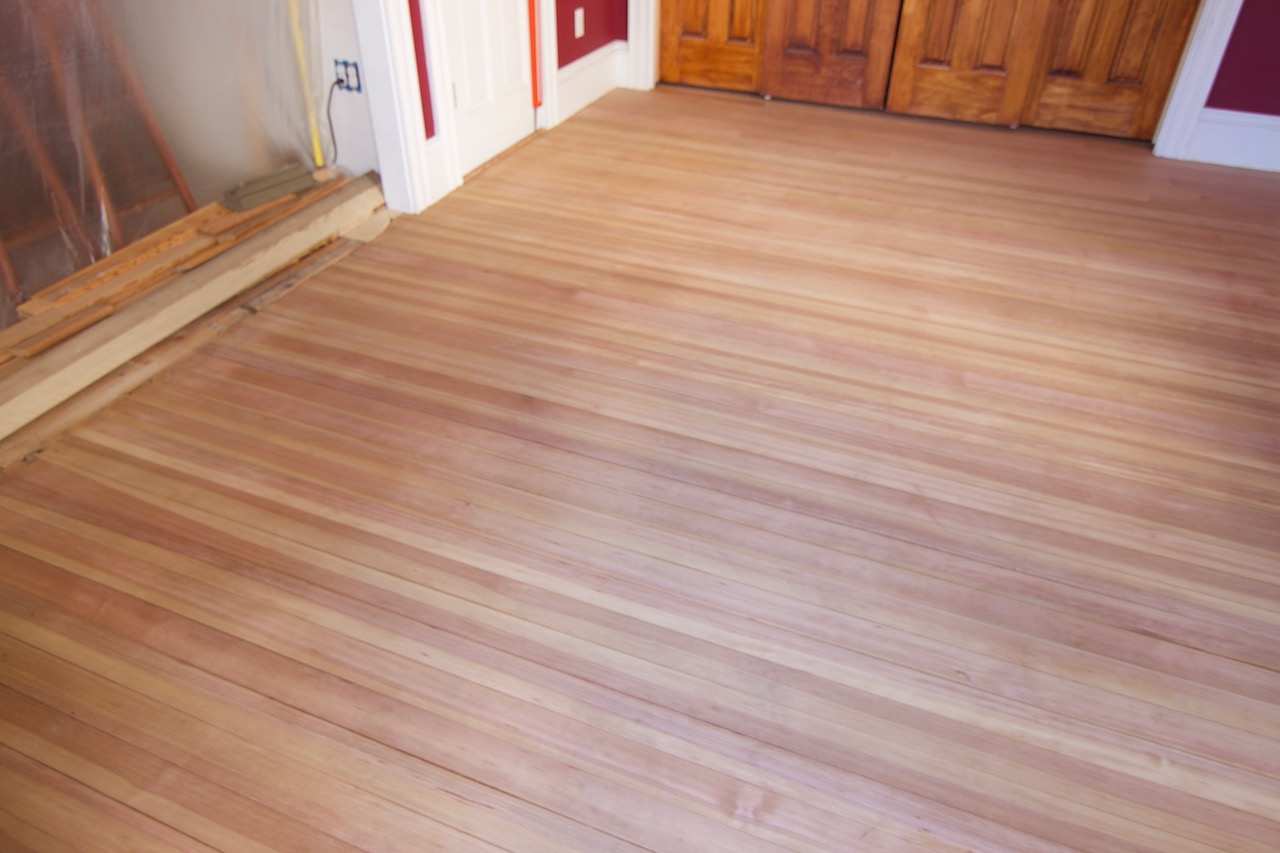 After: bleach treatment - 4 treatments total After: bleach treatment - 4 treatments total |
Before you start, is your floor stain ready?
Ready to apply your wood floor stain? Before you start are your floors stain ready? You are probably wondering, what do I mean? Is my stain ready?
If, this is your first time staining a floor. It is more than likely and probable. That it is also, your first sanding job. And if, you were told to just remove the shiny finish on your floors. Then it is more probable and likely that. You're floors are not stain ready. All wood floor sanding should be done to NWFA (National Wood Flooring Association) standards cleaned, vacuumed and tacked thoroughly. Before continuing, check the details in your sanding. Make sure you have removed all existing finish, before applying your wood stain. Simple test is to wipe down the surface with a damp rag. The color of the flooring should be even. If, there is any uneveness, then you will need to bring the sanding equipment back in. And resand the floor until all the existing floor finish have been removed. Check for swirls and flatness, correct them before continuing.
How to apply wood floor stain
Oil based Wood floor Stain - The basic application method of this wood floor finish product is to apply and then clean off. Wood stains can be applied in many, many different ways. There are also, many ways to clean them off.
Before you apply your wood stain color, water-pop your wood grain first. This will prevent blotching, any unevenness and provide a richer color. Eliminating the need for a second coat application. Which can create issues with drying and topcoat adhesion. Simply apply water and let dry before applying wood stain. Methods for water-popping: using a damp rag, roller or hvlp style sprayer (mist) . Damp the surface evenly and avoid missed spots. Any missed spots will result in uneven stain penetration.
Pro tip: an hvlp sprayer is handy for water-popping. Biggest benefit is speed and dry time. You can mist water onto a 200 sq. ft. room under 5 minutes. You're also, able to apply less water, which mean less grain raise and faster drying time. If, production time is important to you, invest in a turbine style hvlp sprayer for water popping. The money you spend on an hvlp unit, will pay itself back in no time.
You can apply hardwood floor stains, by using the following methods.
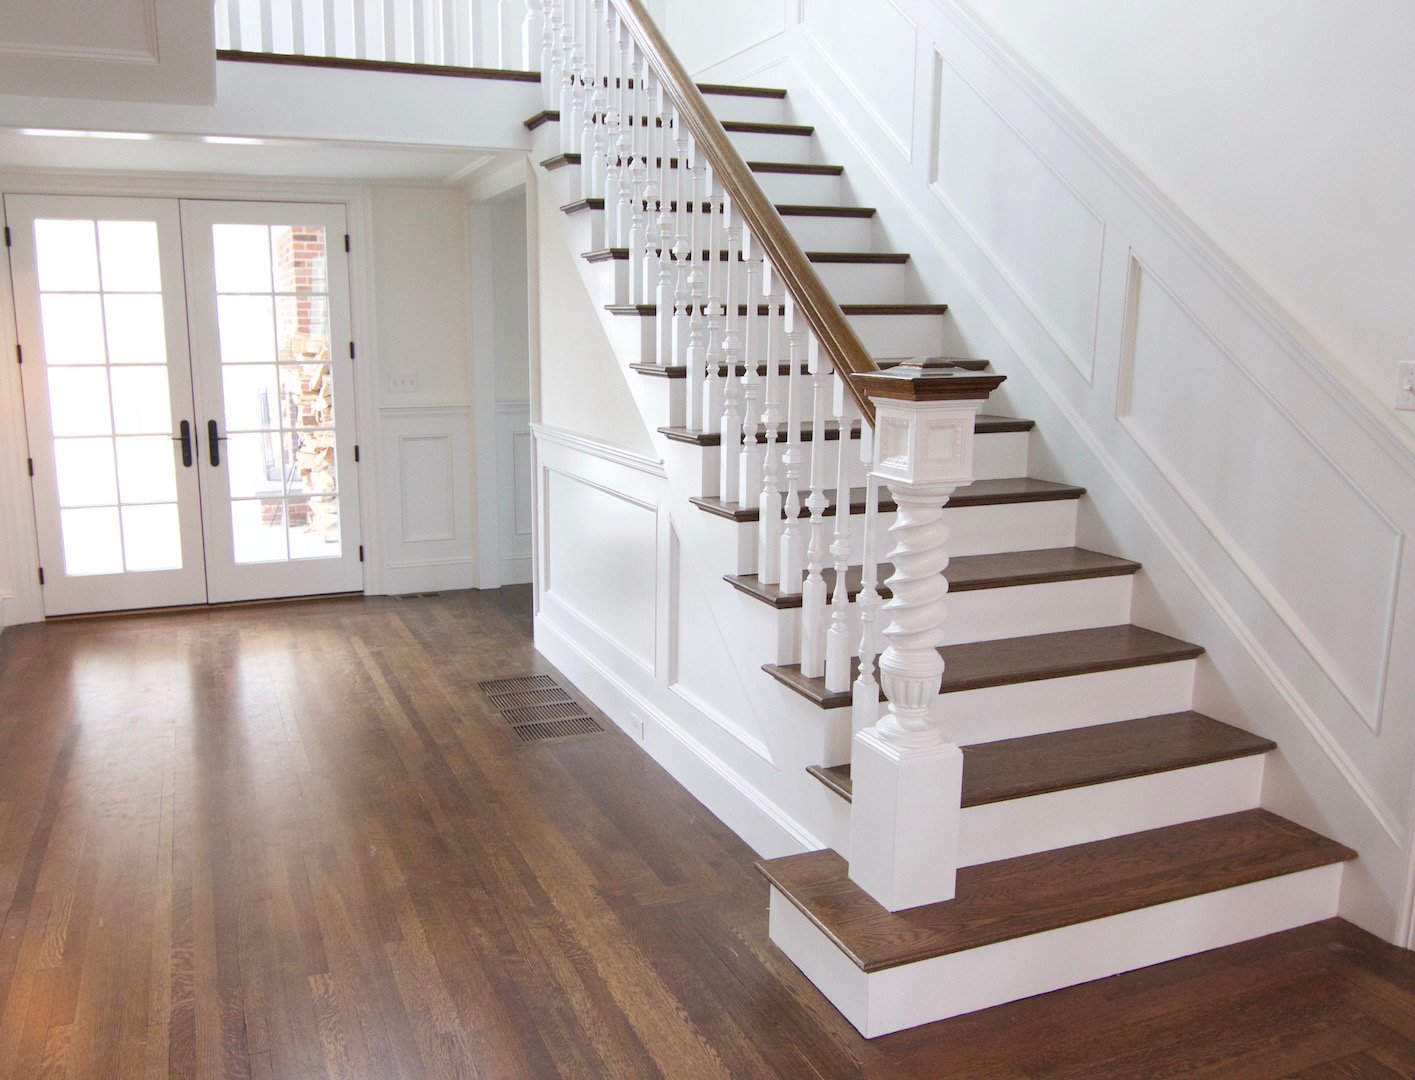 Bona Antique brown oil base stain with three coats of Poloplaz Primero Satin
Staining hardwood floors - Brush And Lambs Wool Applicator
Start from furthest from your exit and work towards it. Using a brush and lamb's wool applicator to apply your wood stain colors. Use an angle brush to cut along the edges. Then use a lamb's wool applicator to stain the main body of the wood flooring.
Try and squeeze out the wood stain, that's in the lamb's wool and avoid leaving any standing puddles. Some wood species are very porous, puddles can leave darker spots.
Apply a thin, even coat throughout your wood floor. Don't worry about foot prints, wet footprints can be wiped up.
Note: The lambs wool applicator, really soaks up the stain, avoid fully submerging the applicator in the stain color.
Wood Stain Removal - Cleaning
Cleaning - Using a lightly damped stained rag, wipe off any excess wood floor stain. Avoid leaving smudges, marks, drips, puddles or lap marks. After, the stain dries, it can be difficult to remove and tricky to blend in.
You can also, use a floor buffer with a carpet disc, 3M driver pad or Norton's white polishing pad to clean the excess stain, also. This is covered later on, in the article. This cleaning method is useful when your dealing with a large amount of sq. footage.
Staining hardwood floors - Rag-On, Rag-Off
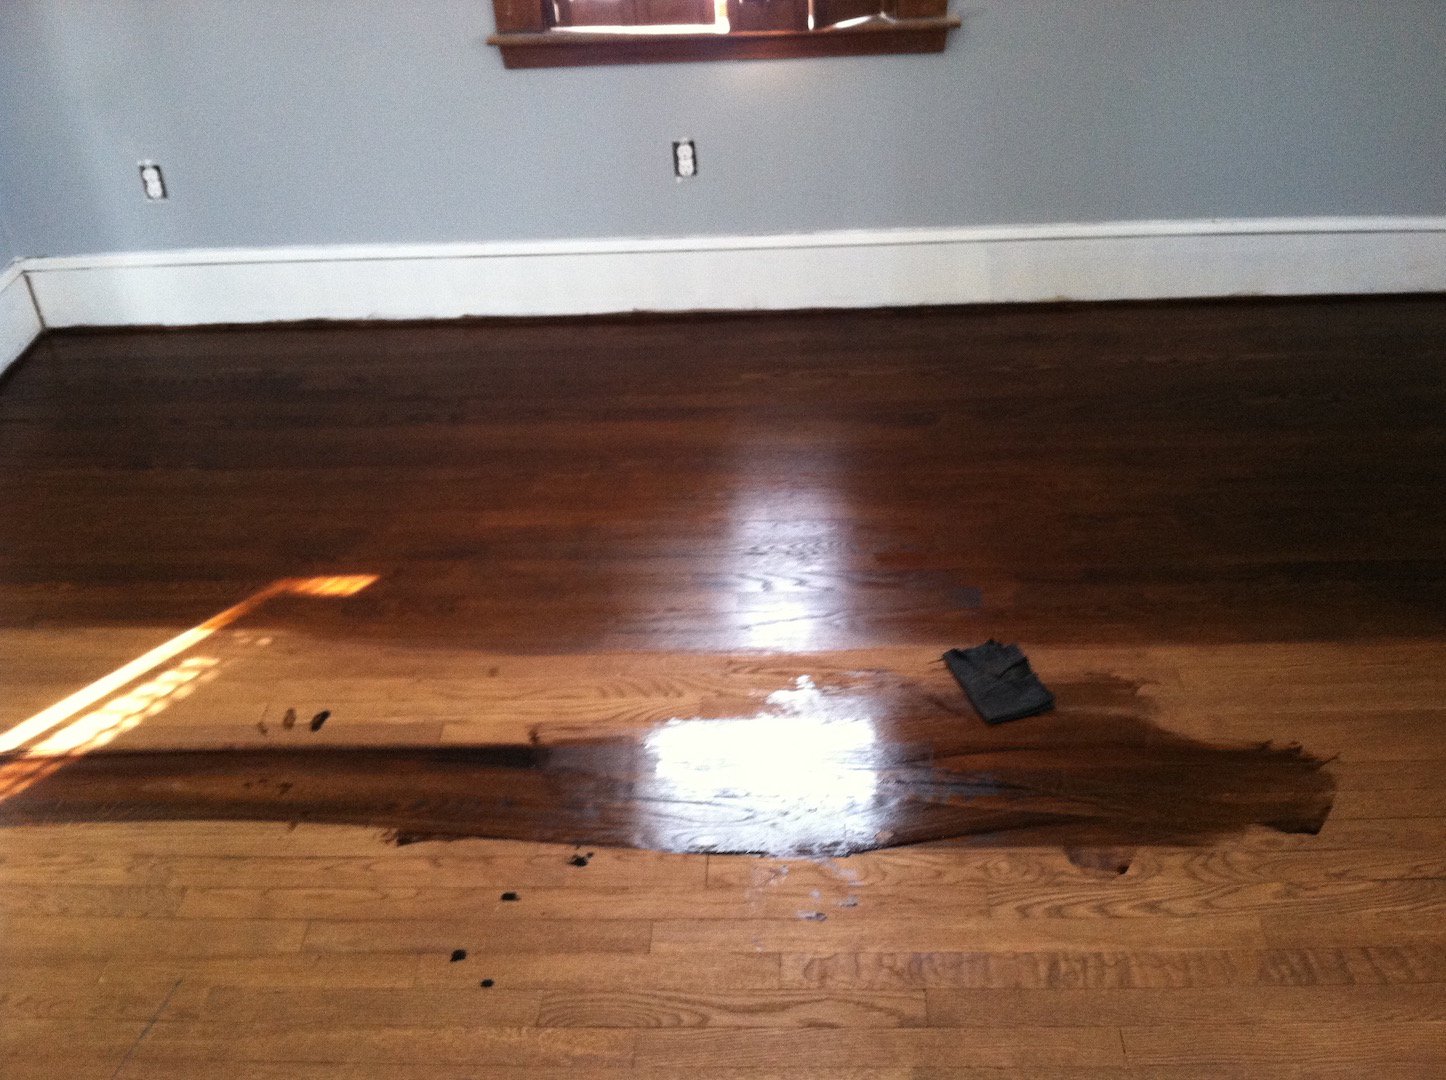 Stain layering with aniline dye and oil base wood stain
Rag on, rag off method is good for small jobs or small areas. After careful planning, starting from the furthest wall from your exit. Applying the wood stain the same direction as the grain, lengthwise of your flooring boards.
Pre-stain a 18-24 inch wide, a distance that is within your reach and the entire length of the room with wood floor stain color. Wait about 3-5 minutes for the stain to penetrate, porous wood requires less time, sometimes no waiting. Then wipe-off any excess stain with a lightly damp stained rag.
Repeat this process until, you've complete the project. Avoid leaving any lap marks, drips, splashes etc..
Staining hardwood floors - Hand Spray Bottle And Flooring Buffer
Note: Wear a respirator, when using this method, to prevent from breathing in the over spray.
Using a clean spray or spritz bottle. Fill the bottle with your wood floor stain color. Use a rag containing stain, apply wood floor stain around the edges. Then, with the spray bottle, apply stain by spraying it or spritzing, directly to the floor.
Note: Avoid getting wood stain color on other finished surfaces, mask off, if necessary.
Spray the entire room or a small area. It's also, helpful to have a helper spray the wood stain color. While you operate the wood floor buffer with a Norton's white polishing pad, begin to equalize the wood floor stain thoroughly. Then buff the room a second time to clean-off excess stain, slings and swirls, starting at furthest point from your exit.
Remove all buffing marks and splashes that the buffer may produce.
When you reach the exit, remove the buffer, then clean off, any left over wood floor stain with a lightly stained rag.
Staining hardwood floors - Buff-On and Buff-Off
Cut in the edge with wood stain color, using either a rag or a brush. Then clean the wood stain.
Using a white cleaning pad, pour your stain directly onto the pad. Pour a generous amount onto the pad. So the pad is damp, not soaked. Add more as needed.
Buff-on your stain using your buffer. The direction which you move is not important for the buff-on process, work from the center of the area out to the edges. Apply the stain color to the entire room.
Buff-off your wood floor stains by continuously working the buffer until the pad stops releasing wood stains and the color is even. You can also, use a separate clean white polishing pad, remove all swirls and splashes as you work your way towards the exit.
As you exit the area, remove the buffer onto a protected surface, away from the work area. Clean-off your shoes and wipe off the remaining wood floor stains with a rag at the exit and allow wood stain color to dry.
For Uneven staining or lap marks, use mineral spirit to clean or lighten stain, then re-apply stain if needed. For, a stronger cleaning solution, use Acetone.
Drying
Allow wood floor stain colors to dry naturally at room temperature, should be around 70 degrees.
If, stain is tacky after 8-12 hours, Wipe down with a clean dry rag, turn up the heat to a higher temperature. Then allow to dry. Keep warm air inside the home to help dry-off the stain. Use a dehumidifier to remove moisture from the air. Wet air will prevent stain from drying.
If, wood stain color remains tacky after using all these drying methods. Wipe down wood stain with mineral spirit, then allow to dry. Check the home for moisture issues. Once the moisture issue is resolved, re-apply a coat of stain.
Note: For sealing stains like Bona, Duraseals and Poloplaz. If, the stain has dried more than 48 hours, lightly abrade the stain with a maroon pad using a sanding pole to promote adhesion and prevent adhesion issues.
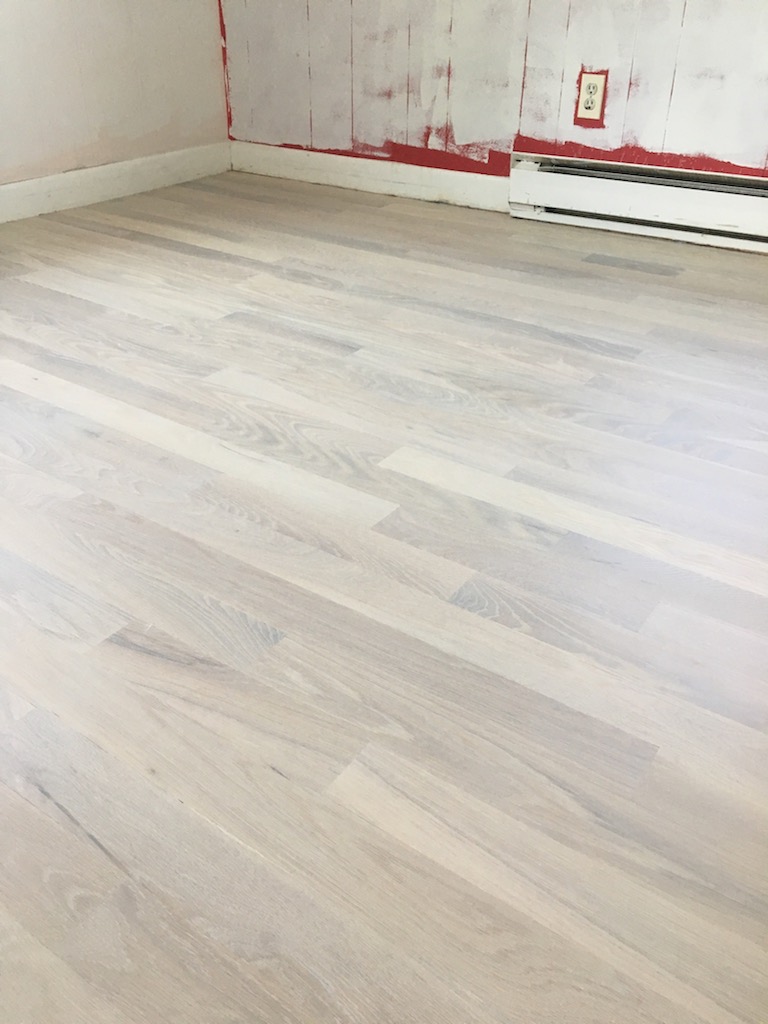
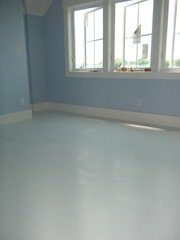
White Wood Stain
White wood stain - Not one of the easiest stain colors to achieve. Wood specie, stain, and top coat will make it a challenge to achieve the right results. And for white, most clients are looking for a super white, end result.
Samples, samples, samples...
Wood specie. If, you do not have clear maple, white birch, white ash or white oak. It will be nearly impossible for you to achieve a white floor finish. The challenge is to hide the natural tone of the wood specie itself. Example: red oak, you know red and white makes pink. Save yourself the aggravation. Look into doing a medium to dark stained finish instead.
Stain: Choose a stain with high pigments to get the intensity you want. Not all stain mfg, have the same quality. You will need to shop around to see what is available to you. The higher the pigment, the less work.
Top coat (finish): Your top coat selection is critical. Research, and sample your finish first before starting. Stay away from oil base finishes. Use only waterborne polyurethane finishes. Use a waterborne polyurethane finish that will not yellow after it cures. You can call mfg's tech support line to get recommendations on their products. I've gotten into trouble with this part. Receiving a call back, a week after project completion. No one wants call backs or reworks.
Other techniques, you can use for white floors, pre-treating your wood floor or apply a hard wax oil system.
Pre-treating your floor by water-popping or pre-toning will help enhance the look of your white floors. Water=popping will allow the stain to penetrate more for a whiter result. Pre-toning is the same as water-popping. Instead of using clear water, you are using waterborne coloring finish to help intensify the finish color. Using 1-2 coats of Pre-tone white, will add to the intensity you want to achieve.
Hard wax oil or penetrating oil system will be the easiest way to achieve a white floor. You start with 2 coats of pre-tone white and top coat with 2 coats of white penetrating oil. There is a variety of whites available from manufacturers like, Pallman, Loba, Rubio Monocoats, etc.
Stain Repairs
Repairing wood floor stains can be a tedious job. You can actually turn a small job into a big one with this wood floor finish. If, it's a small little spot, that may get covered with furniture or rugs. You should leave it alone. Save yourself the aggravation. Otherwise, try these tricks and techniques to help you fix your wood stain job.
- Wet Spots or Bleed Backs - These are excessive wood stain applied to your hardwood floors. Simply wipe away with a dry rag and allow stain to dry.
- Lap marks, dark spots and Lines - Wipe down with a rag lightly damped with mineral spirit, until the color matches. If, too light, re-apply a thin coat of wood floor stain, then allow to dry. If, necessary apply additional coats of stain.
- Clean off overlapping wood floor stains - with mineral spirit. For a stronger solvent use Acetone
- Note: Lines can be created from a poor sanding job, if so, re-sand spot then re-apply stain.
- Spot Sand - only spot sand if you discover foot prints or unwanted marks in your stain, that cannot be cleaned off with mineral spirit. Repeat the same exact sanding procedure, using the same sanding grits. And then hand sand with the grain using the final grit, feathering out the edges. Apply the stain and use mineral spirit to clean-off overlapping stain, to avoid a blotchy look.
- Note: The same piece of wood will not stain the same. In some cases, it may be necessary, that you re-sand the area, wall to wall, and as many rows of flooring needed, then re-applying your wood floor stain, to achieve the best match.
These four methods are the most effective on how to stain wood floor finishes.
Some wood species will be more challenging than others.
Always test a small area, before applying stain.
Learn more about wood stains at www.Bona.com.
Now, that you're a Pro on wood floor staining. Let's apply the protective top coats.
Wood Stain colors
Wood stain colors
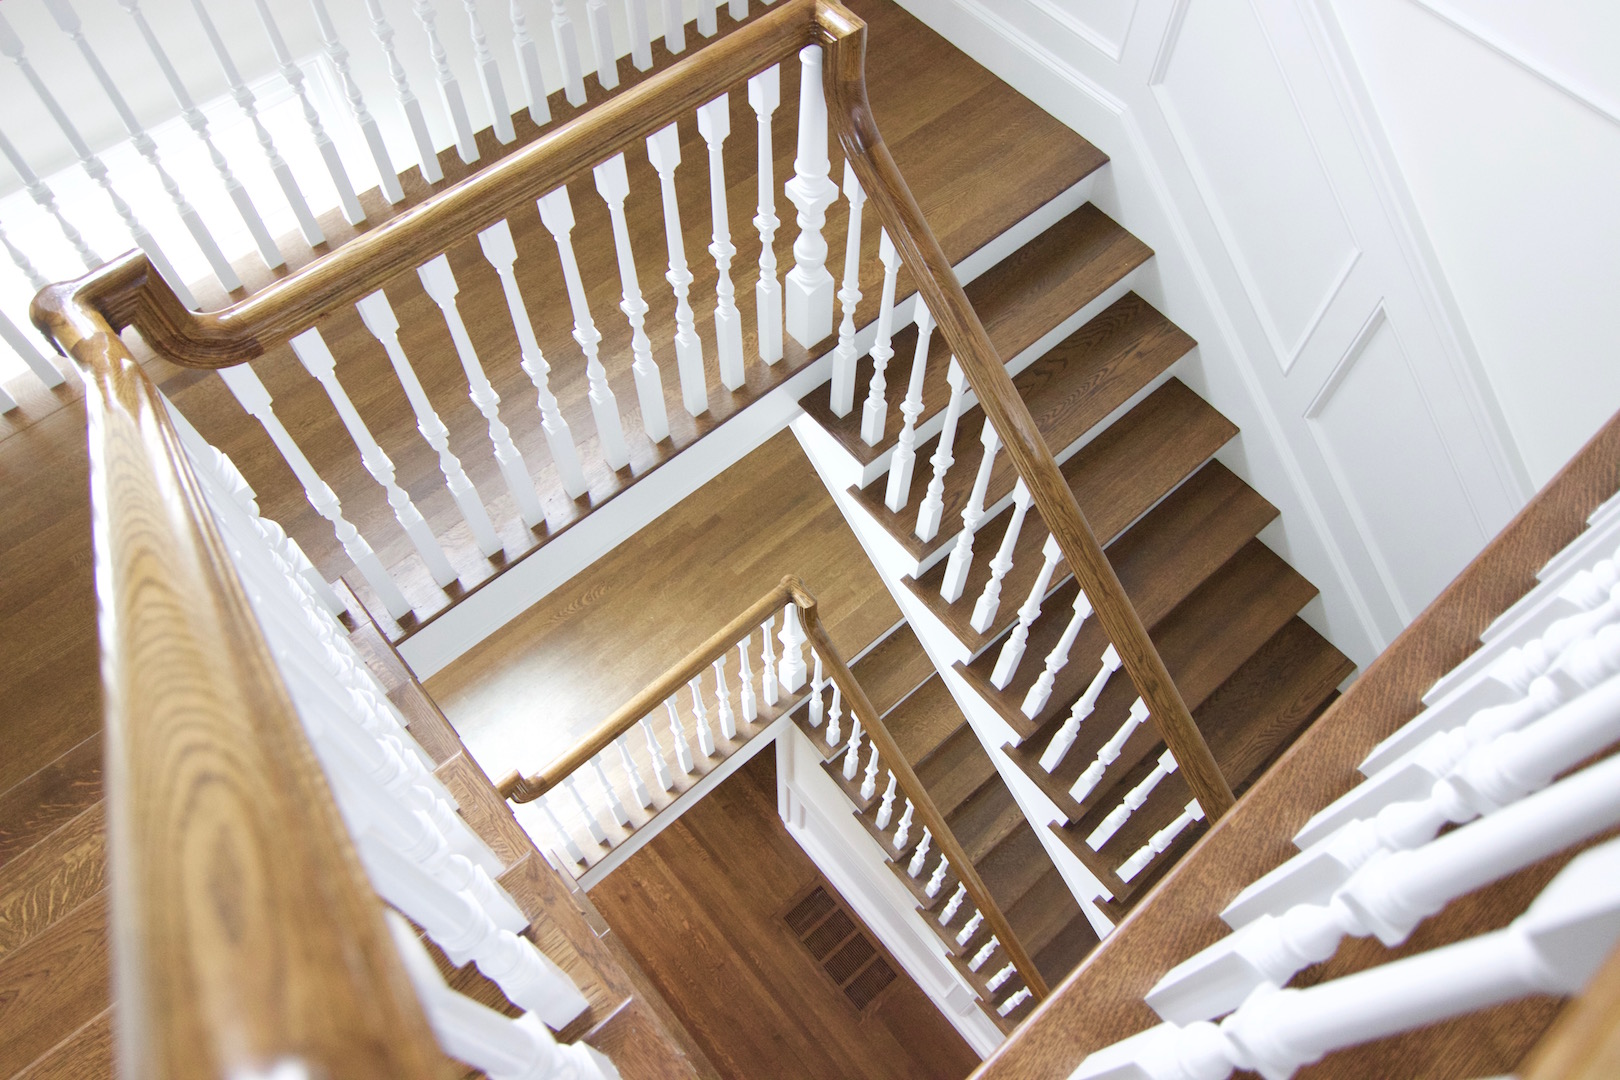
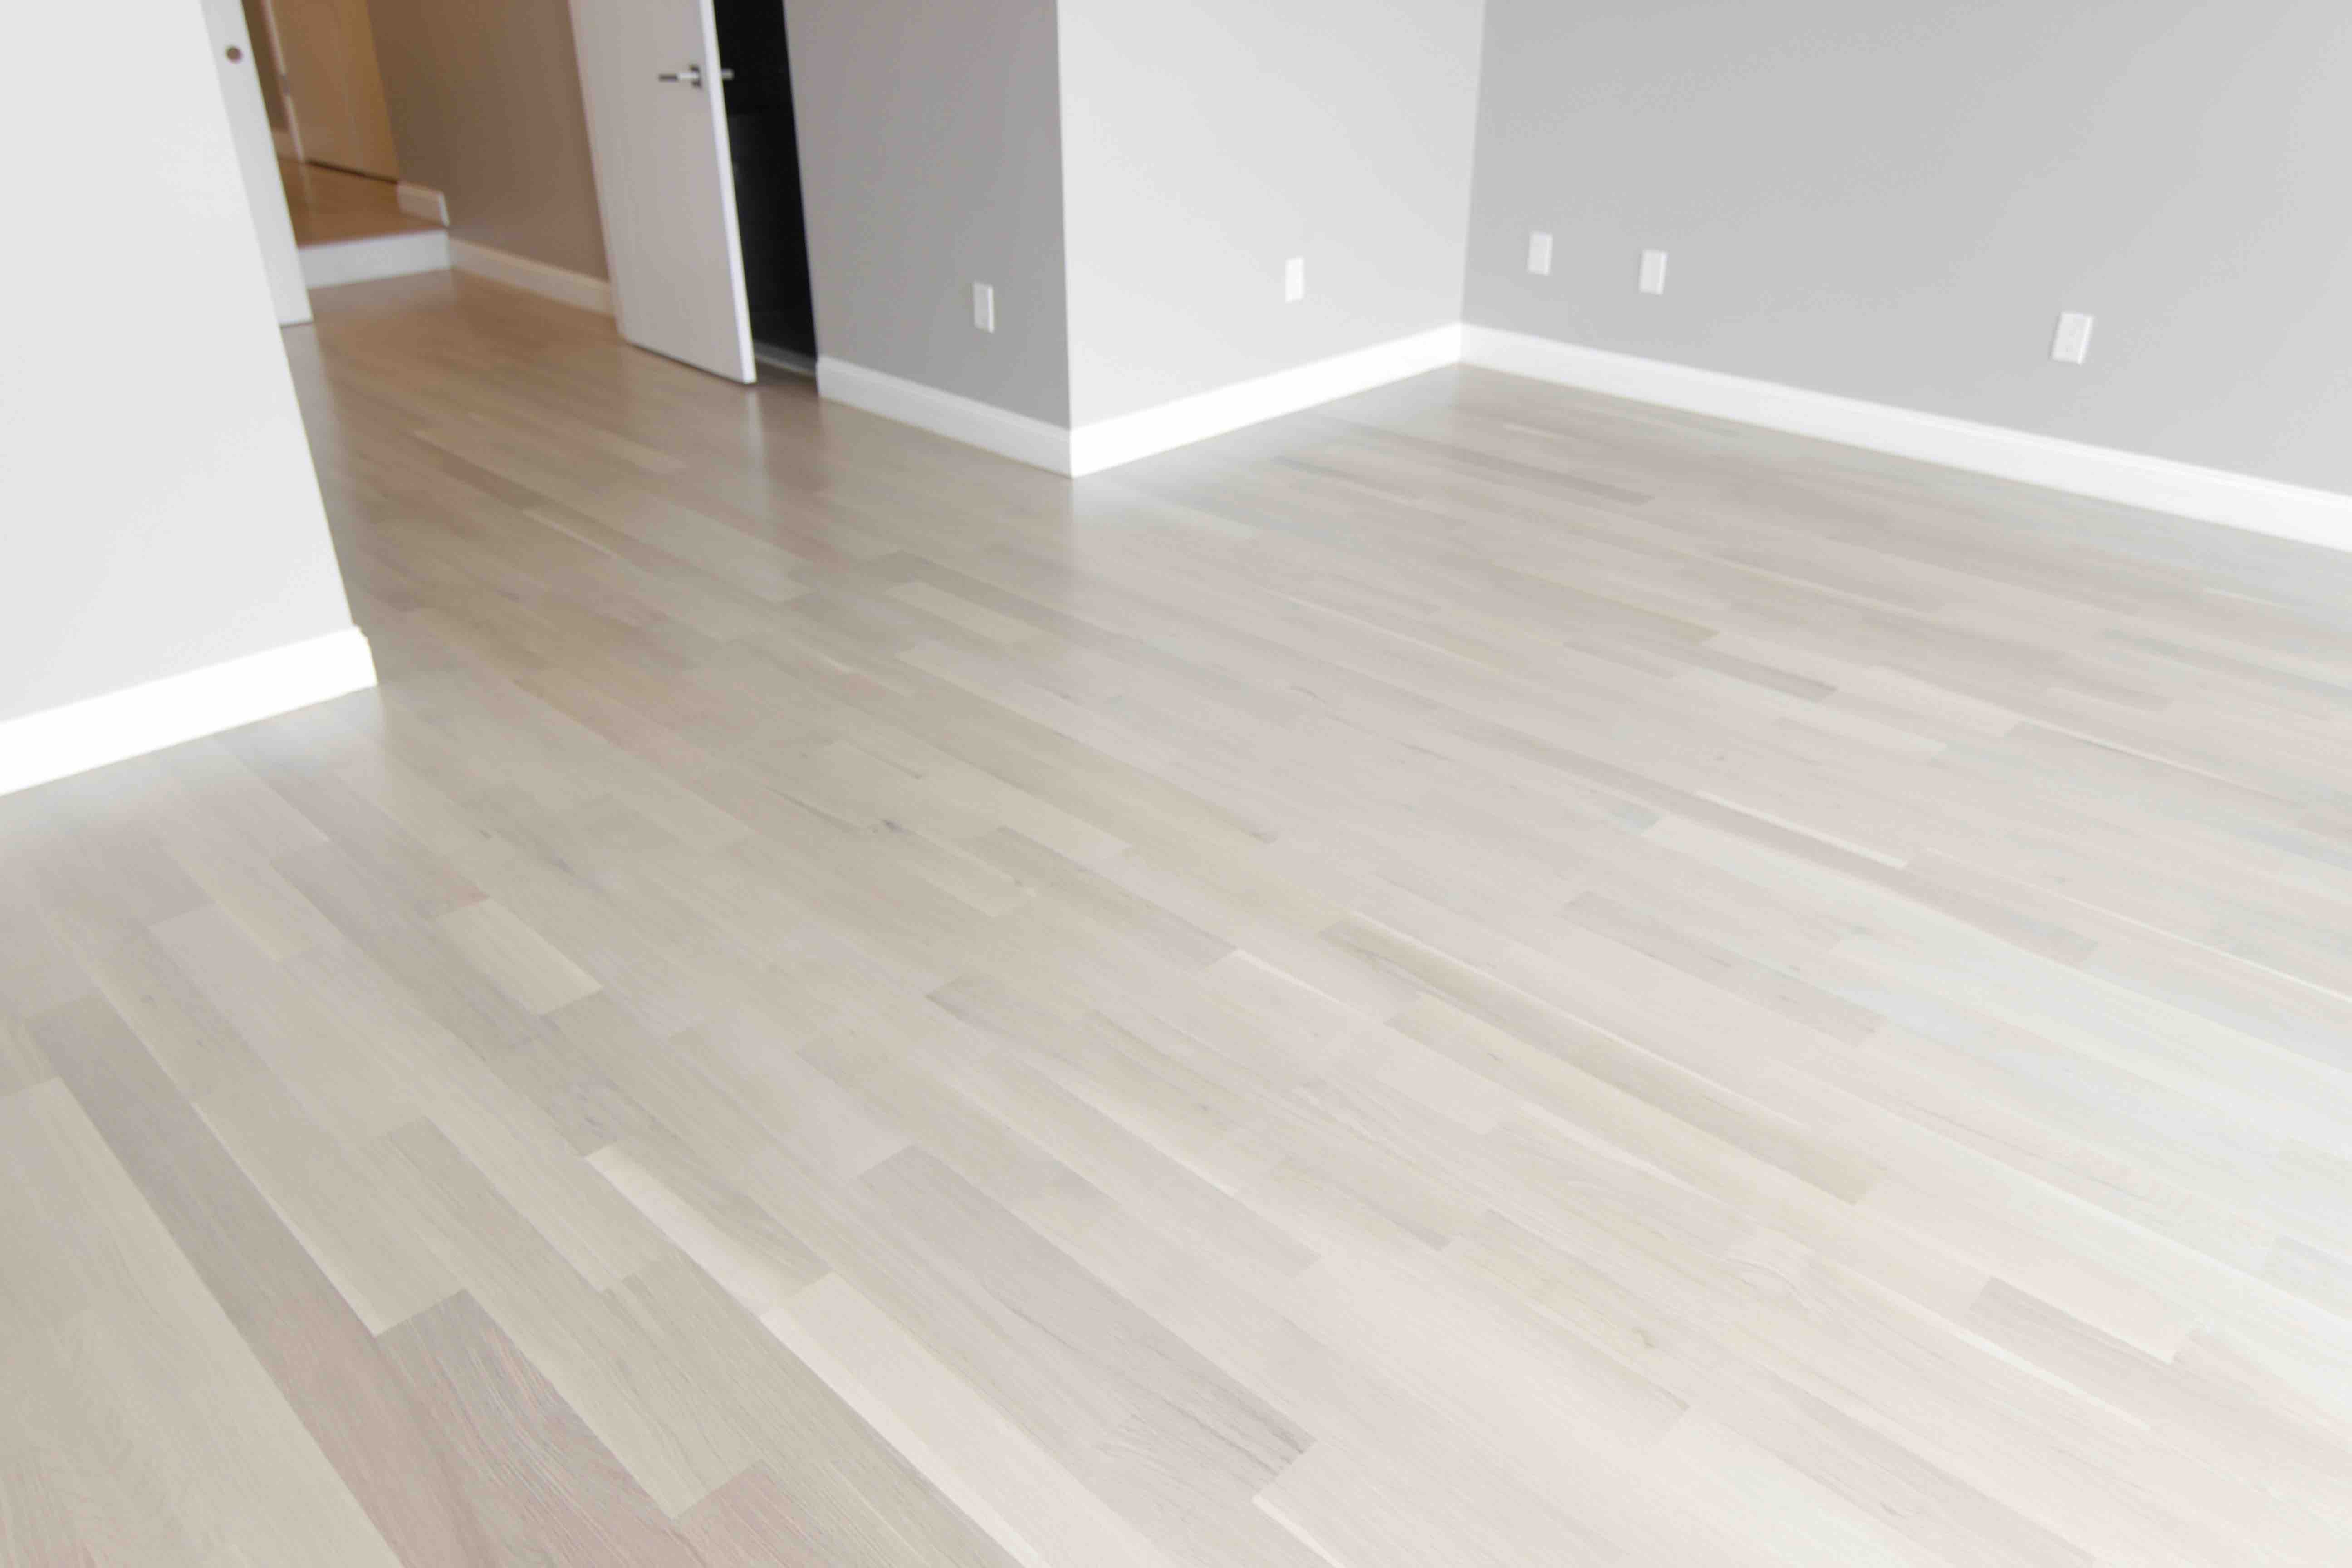 4" rift and quarter sawn white oak hardwood flooring coated with 2 coats Bona Nordicseal and 2 coats of Bona Traffic HD
East Boston, Mass.
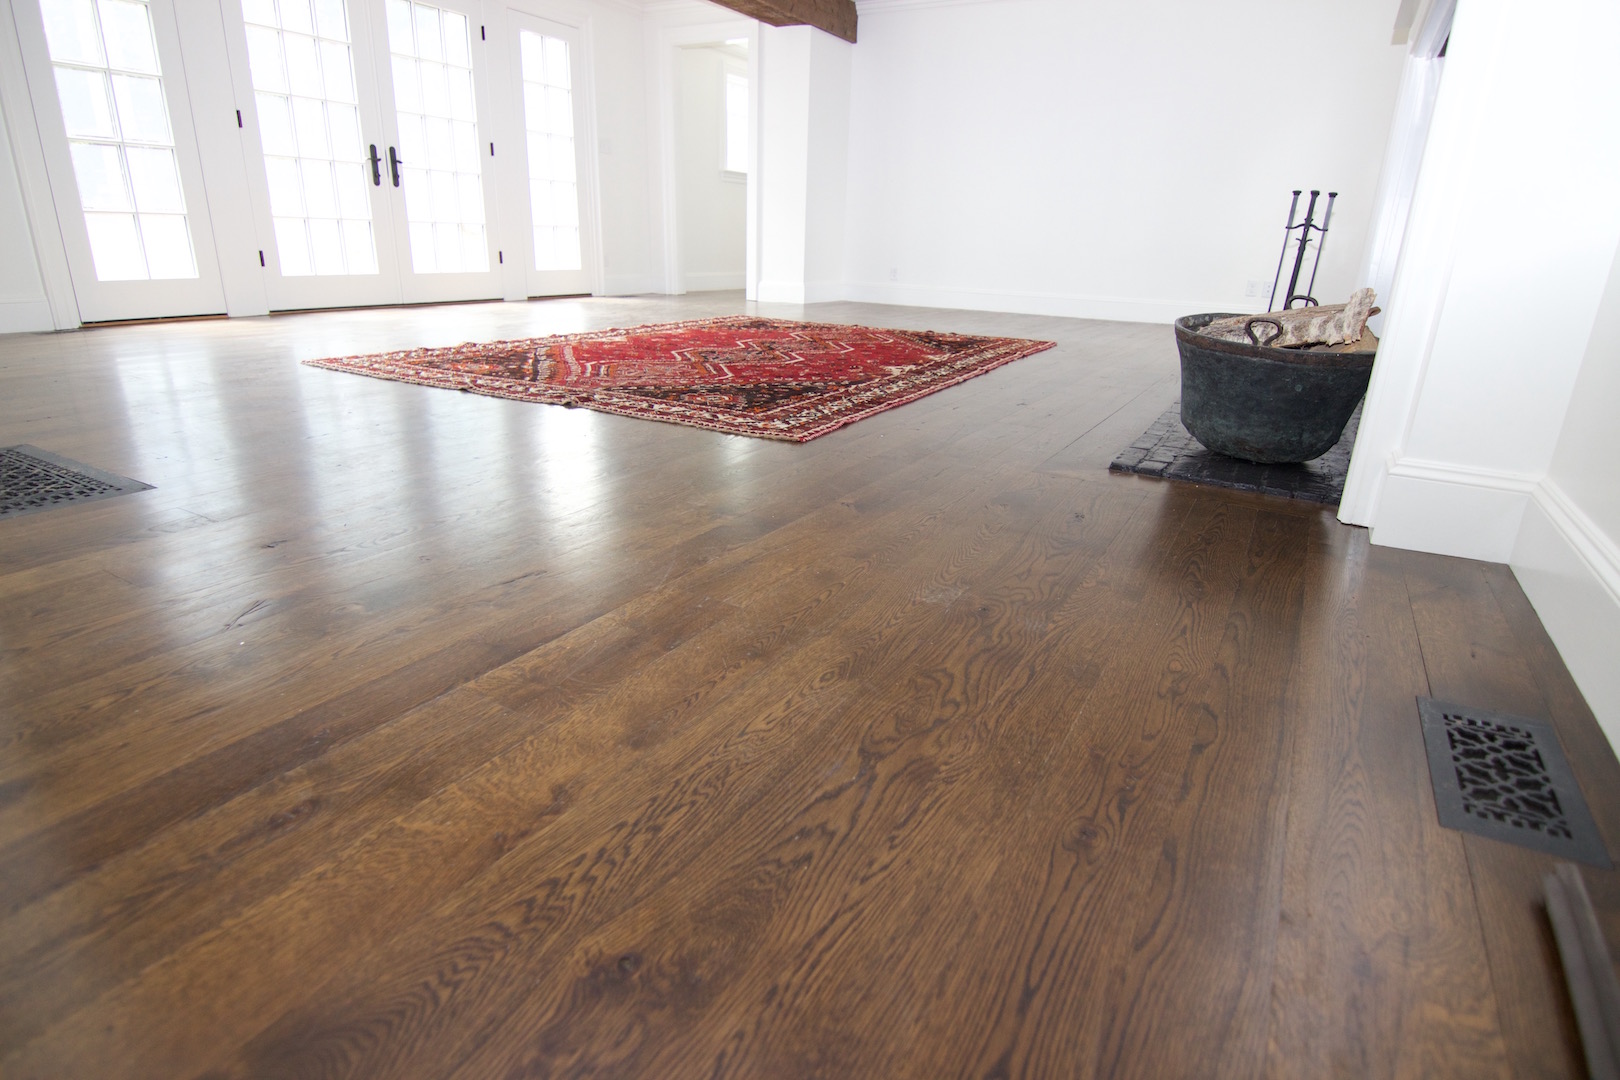
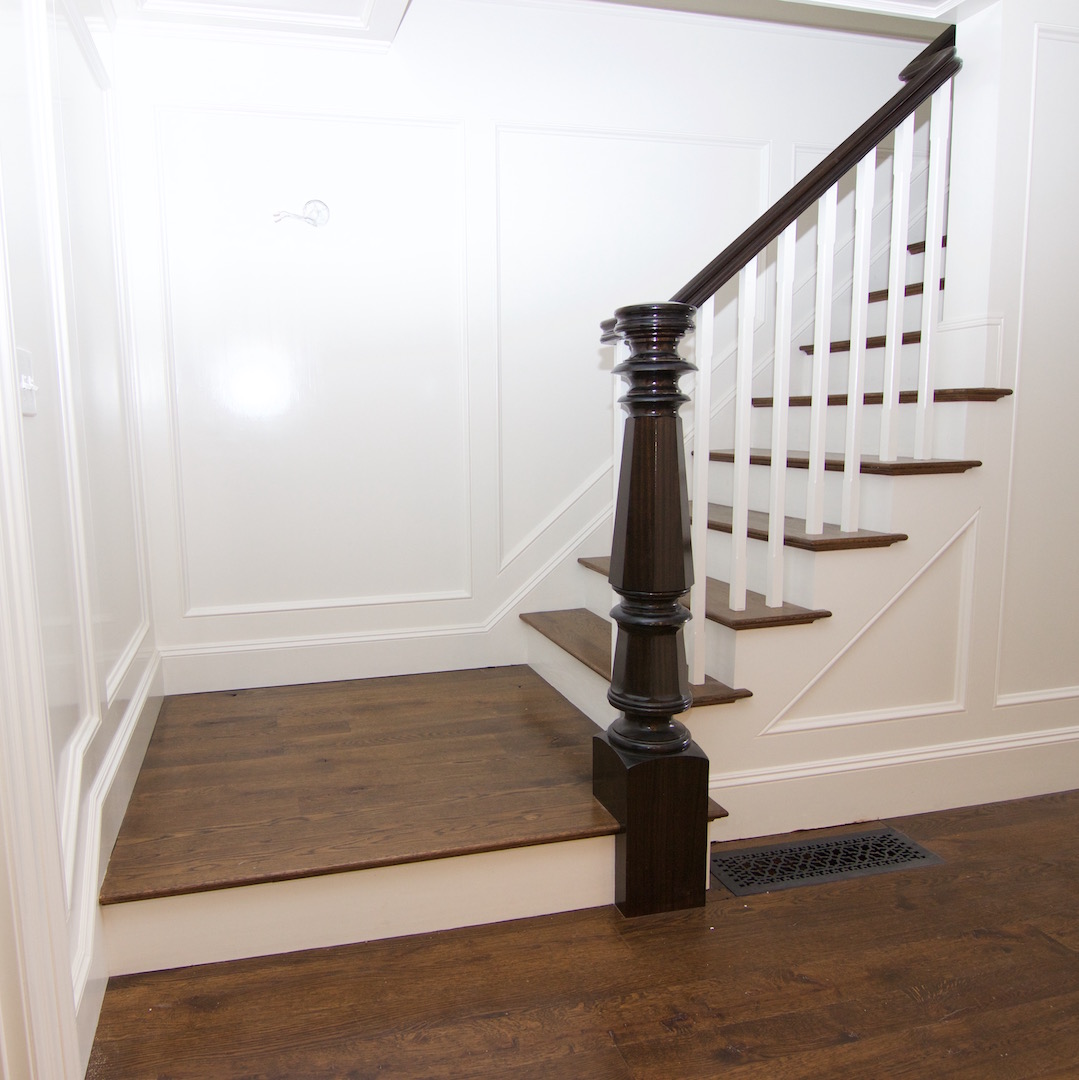
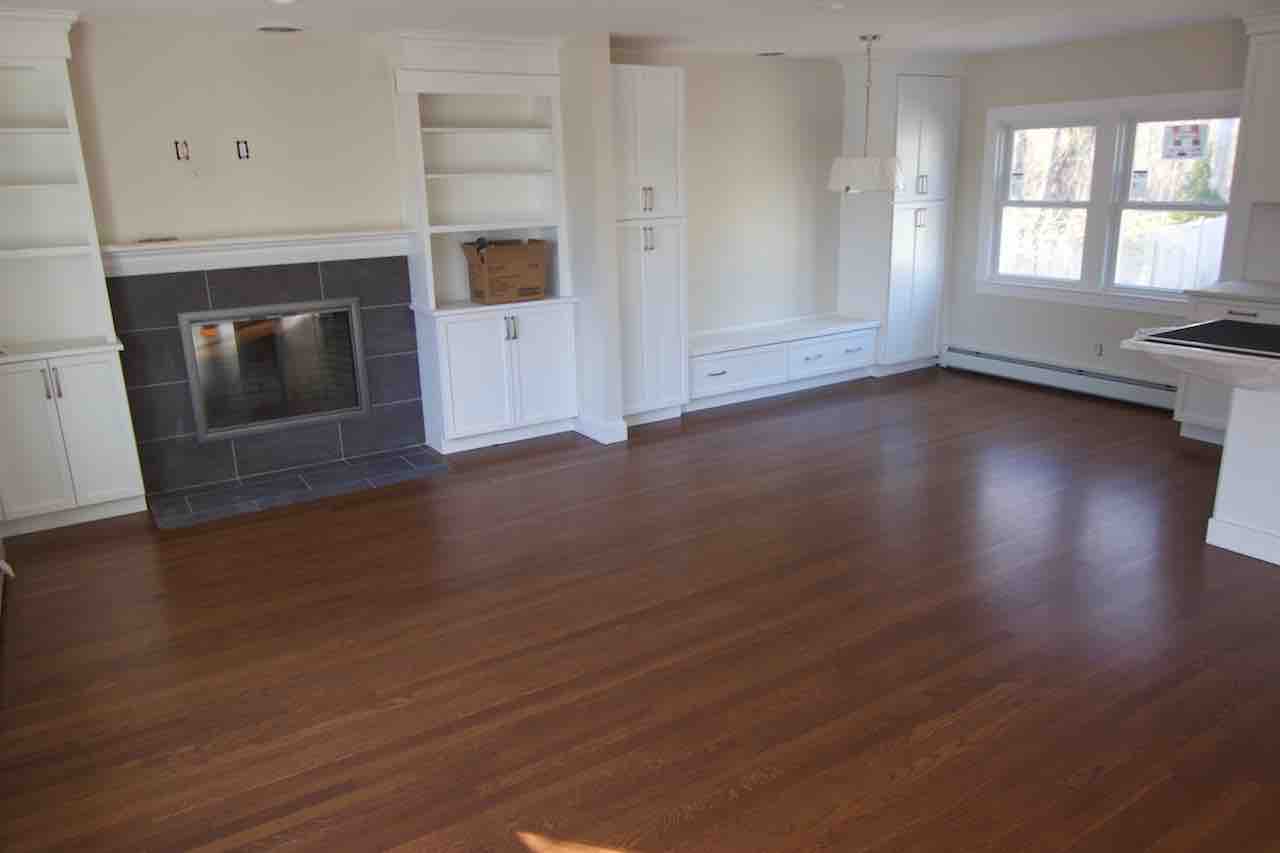 2 1/4" white oak hardwood flooring stained with Bona Special Walnut and top coated with Loba Supra AT ceramic water base polyurethane floor finish
Marblehead, Mass.
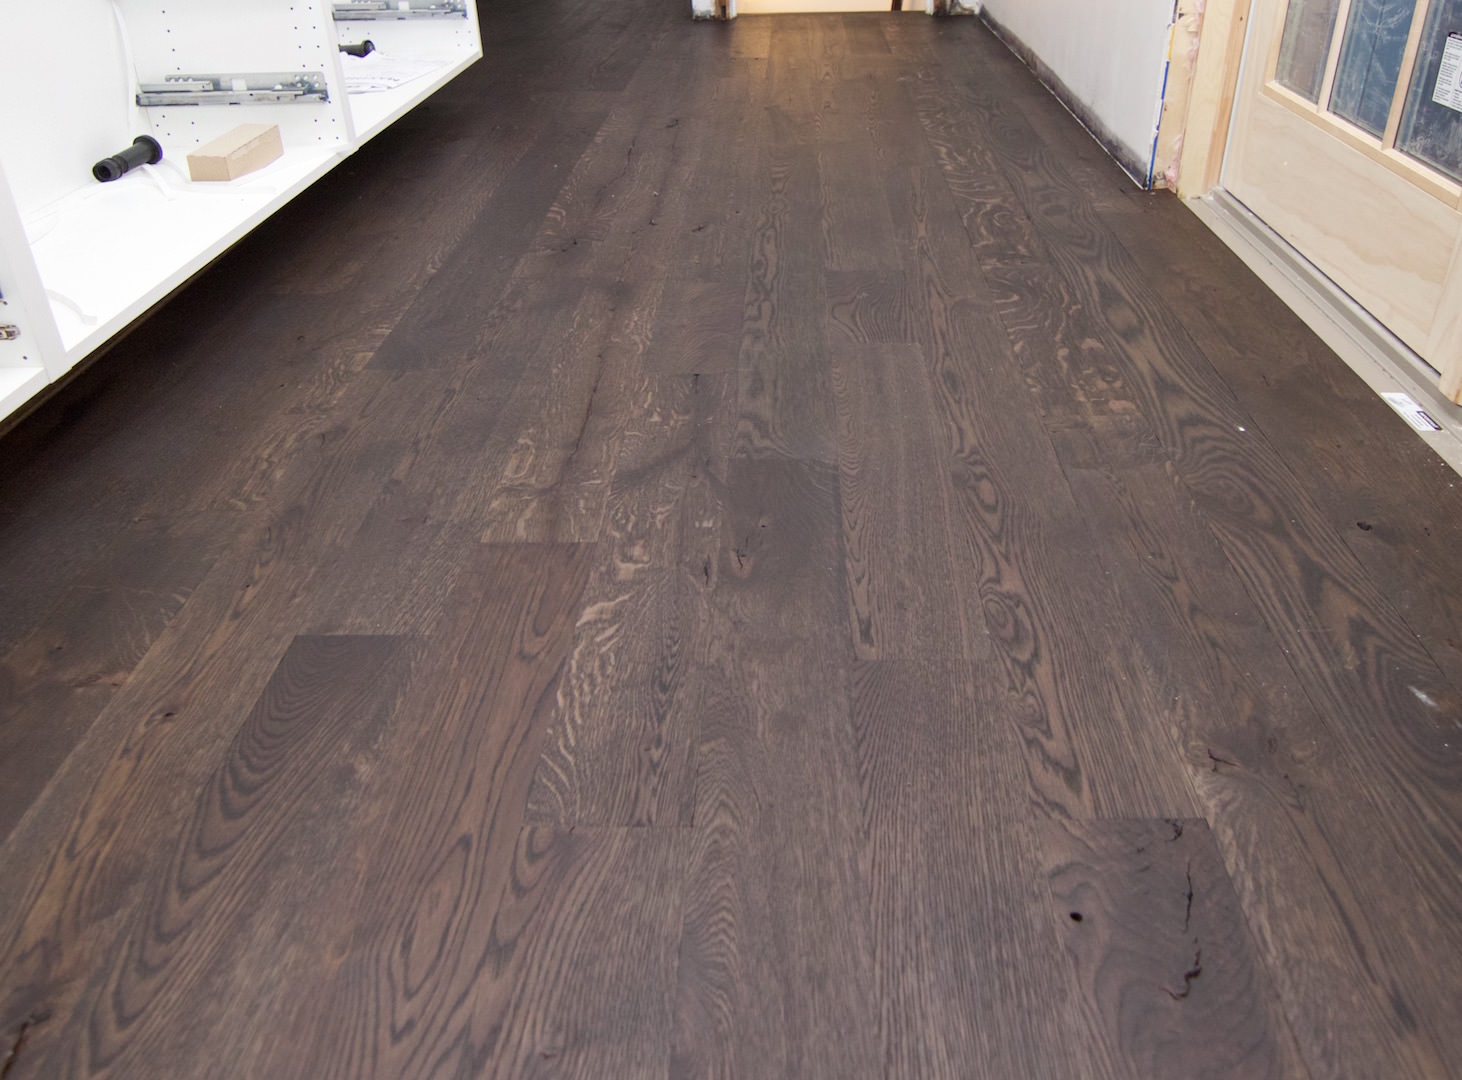 Ciranova burnt oak reactive stain with Loba impact oilWestwood, MA.
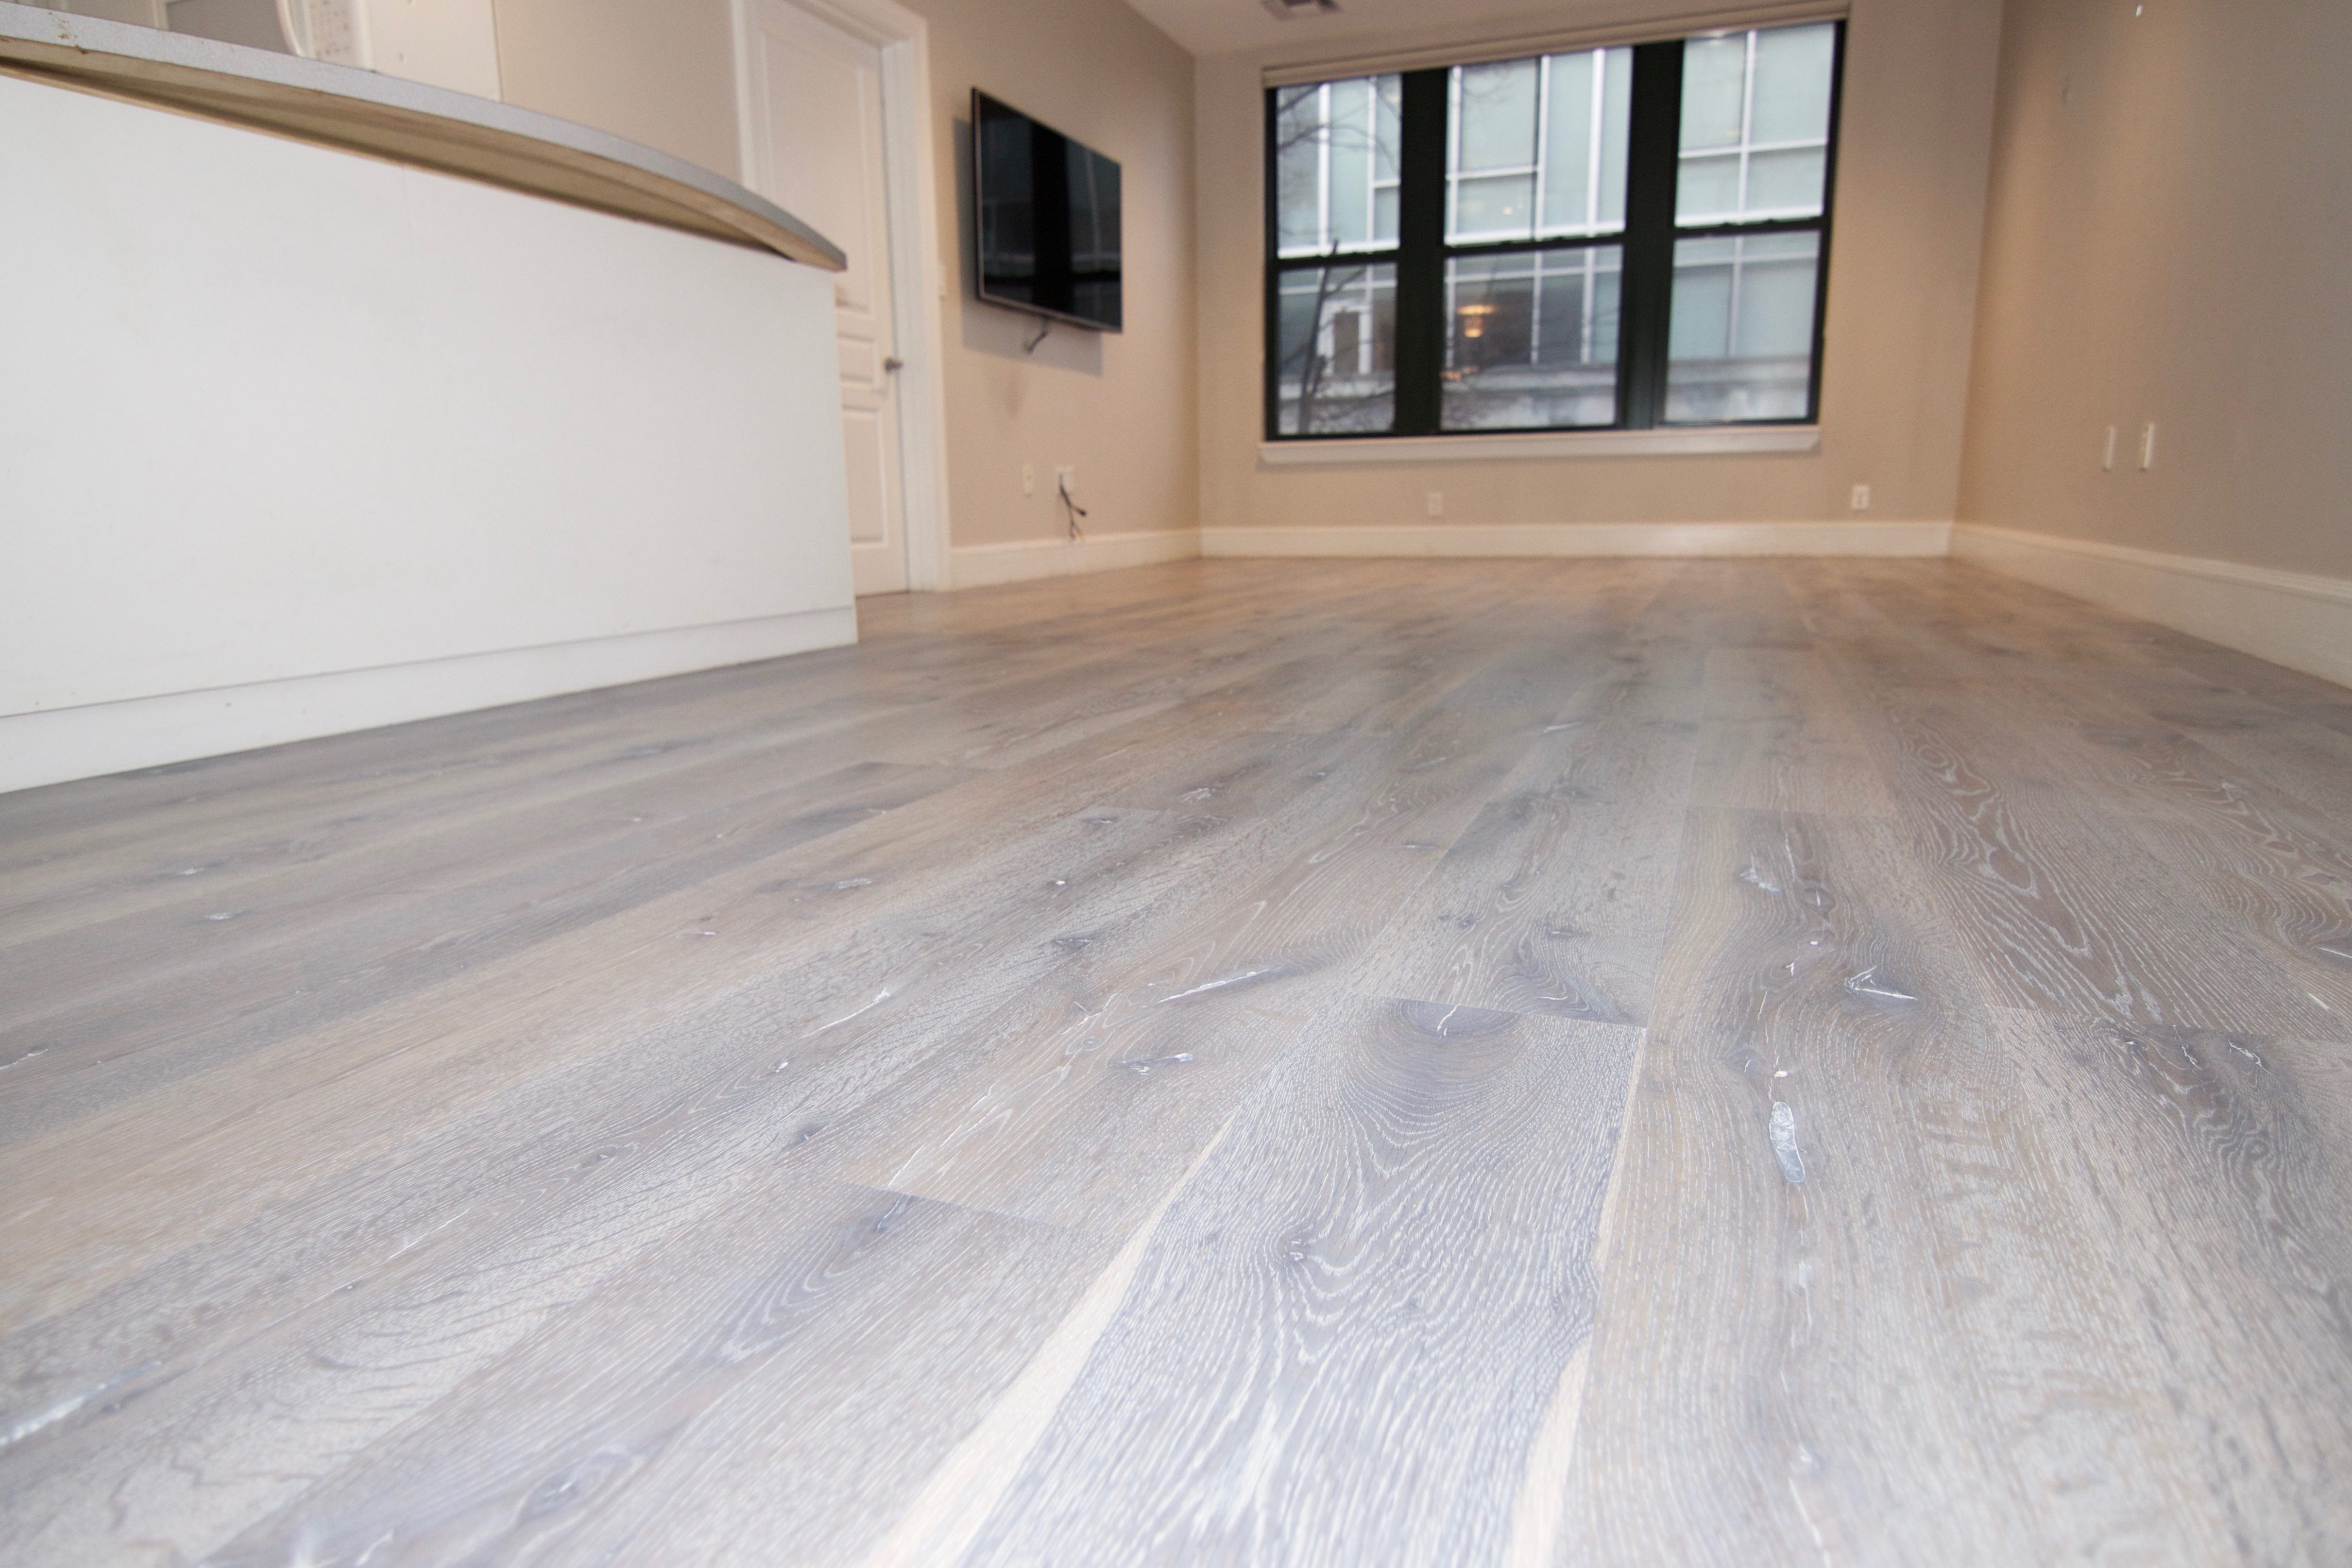 Loba Reactive stain grayPallmann's white hard wax oilSouth end, Boston
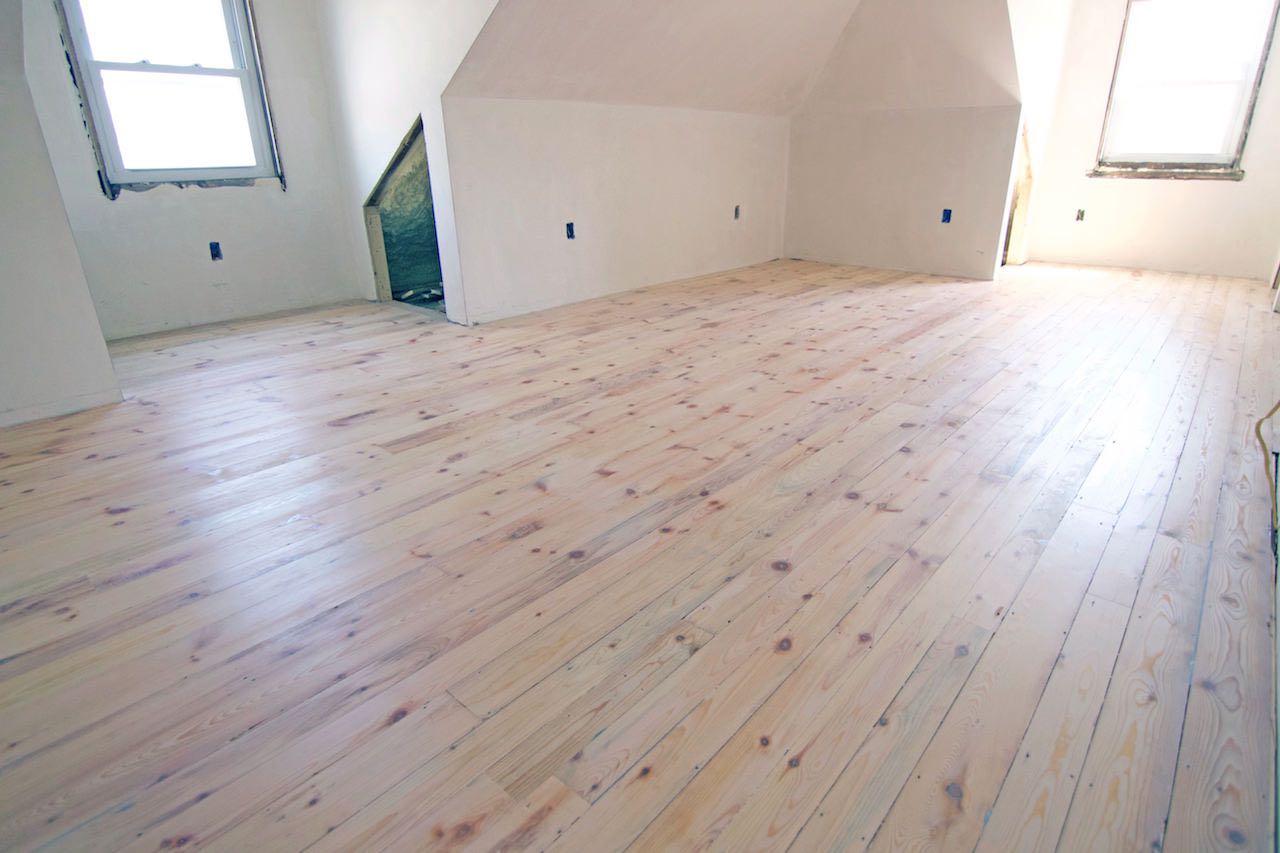 Pallman magic oil white Beverly, MA
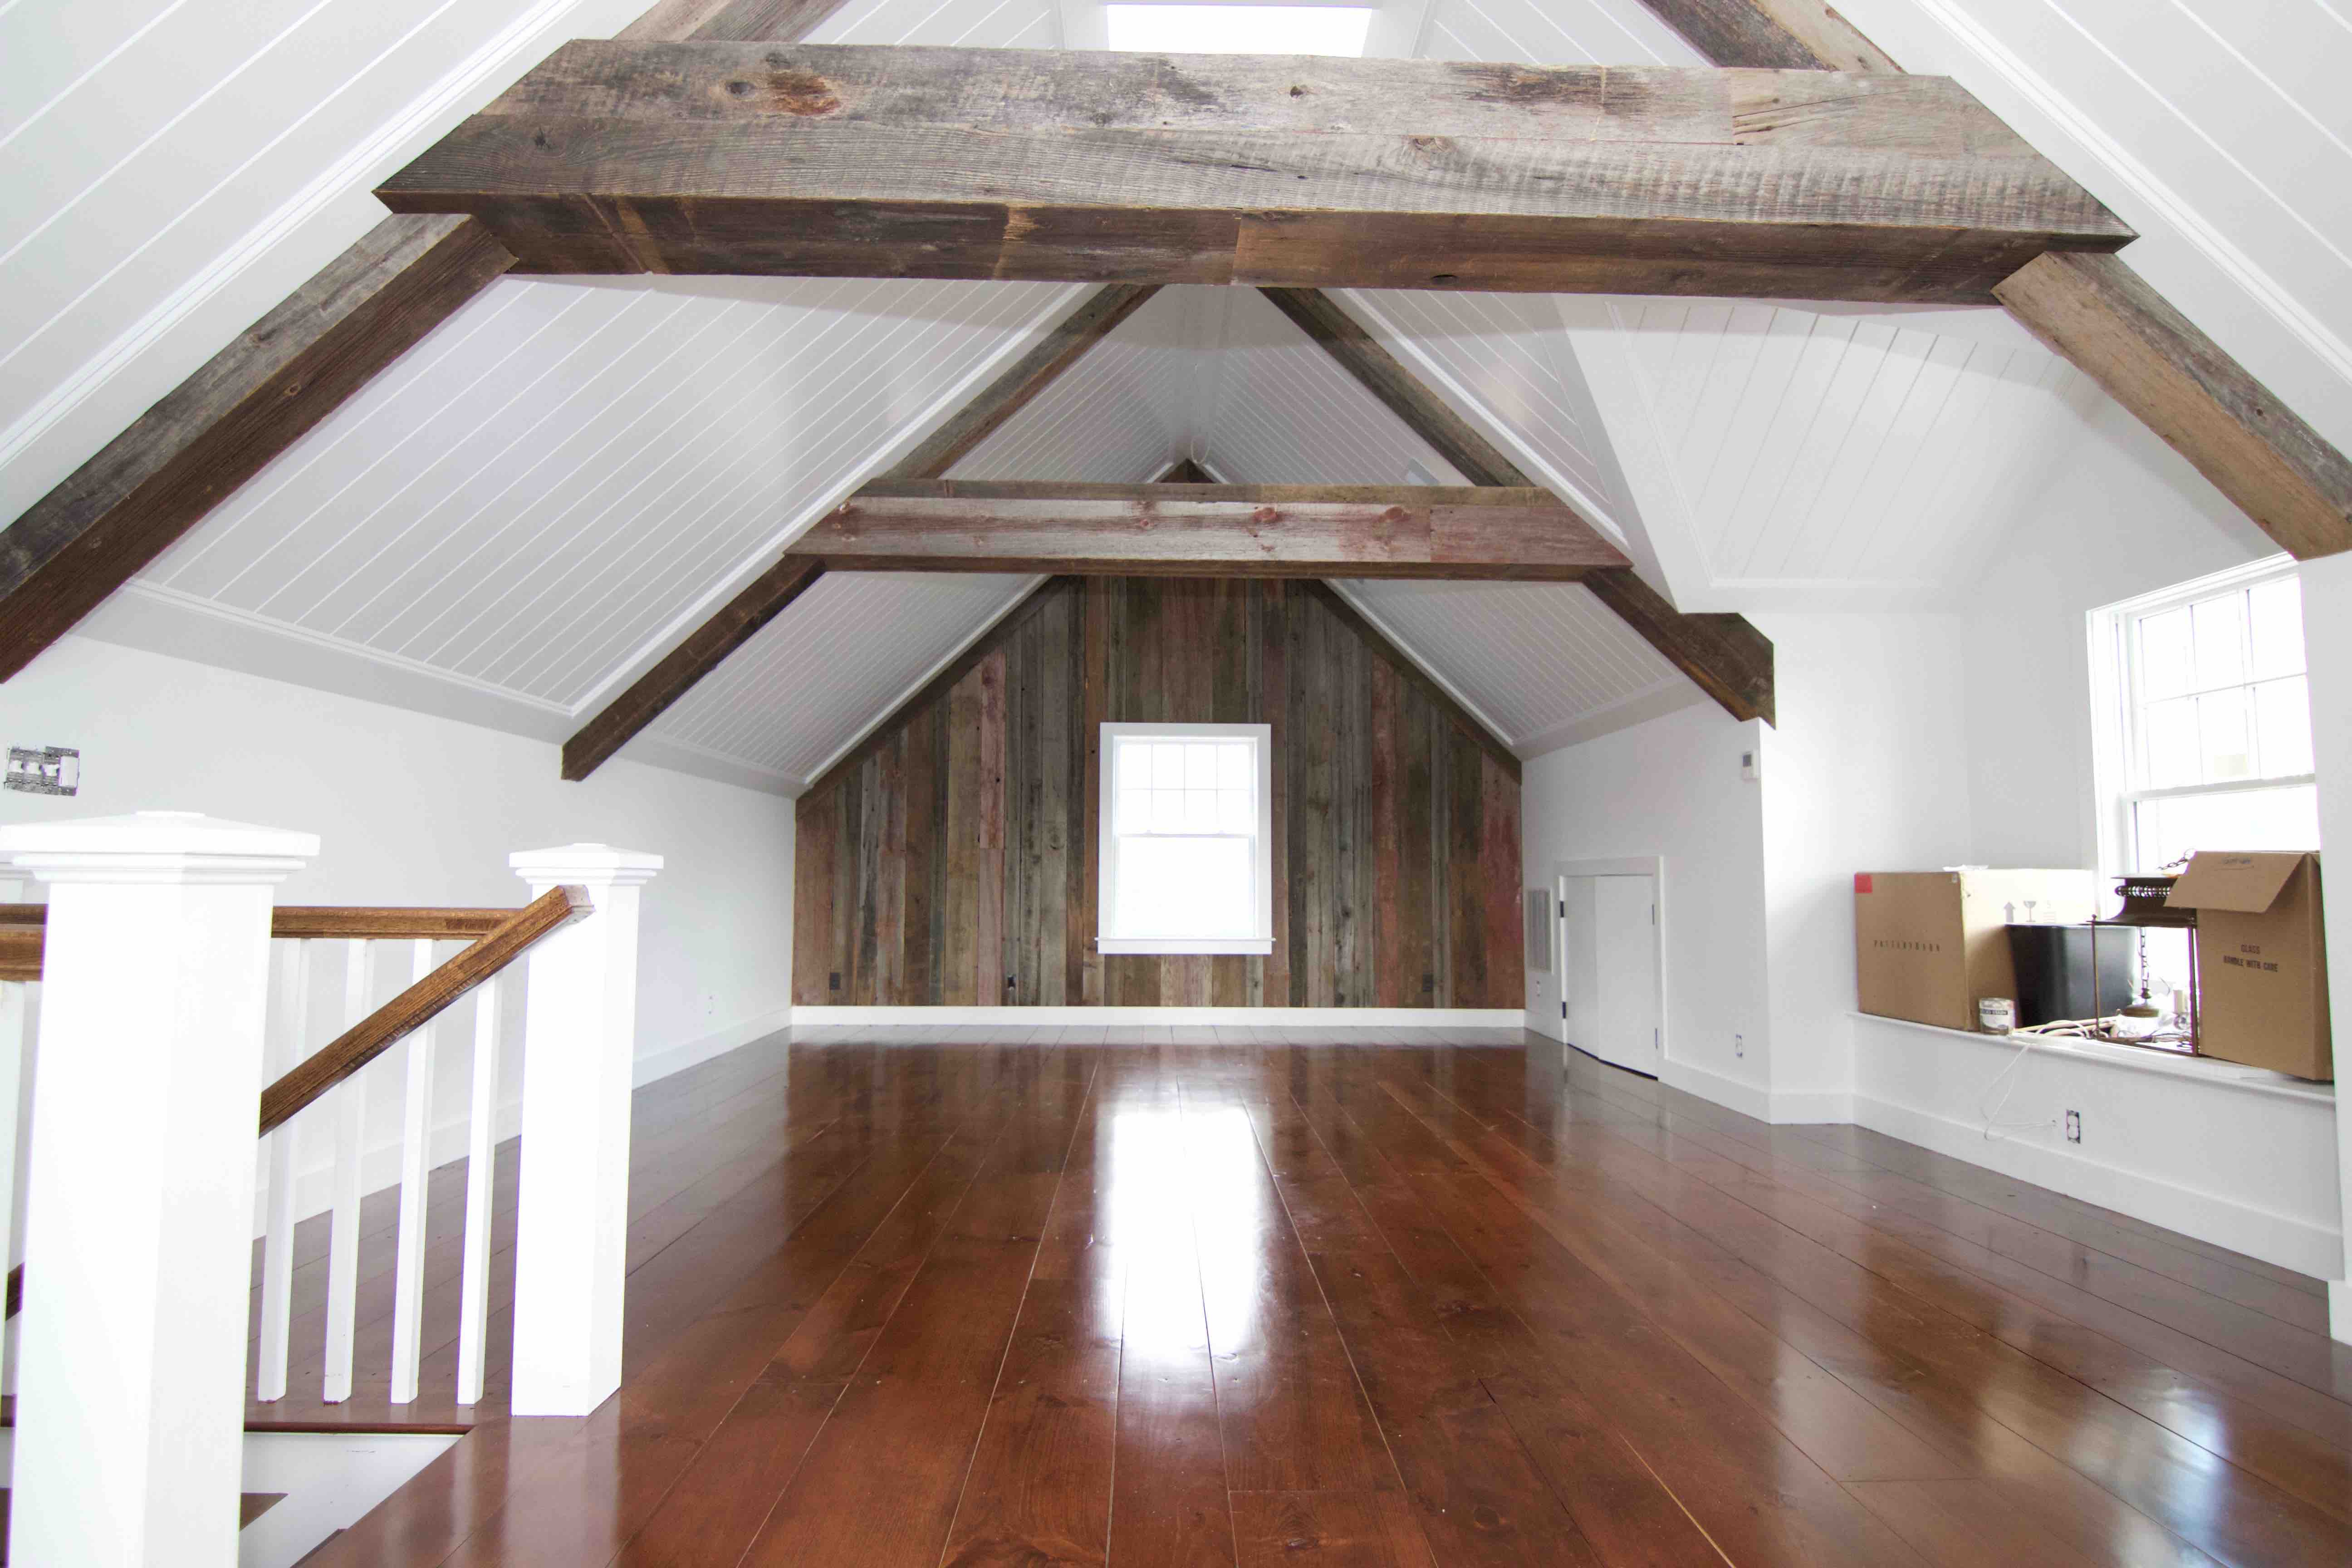 Eastern white pine with English Chestnut stain Three coats of Poloplaz Primero satinWinchester, MA.
 Ciranova Old Oak reactive stainRubio Monocoat Oyster Lynn, MA.
 Loba reactive stain gray Marblehead, MA.
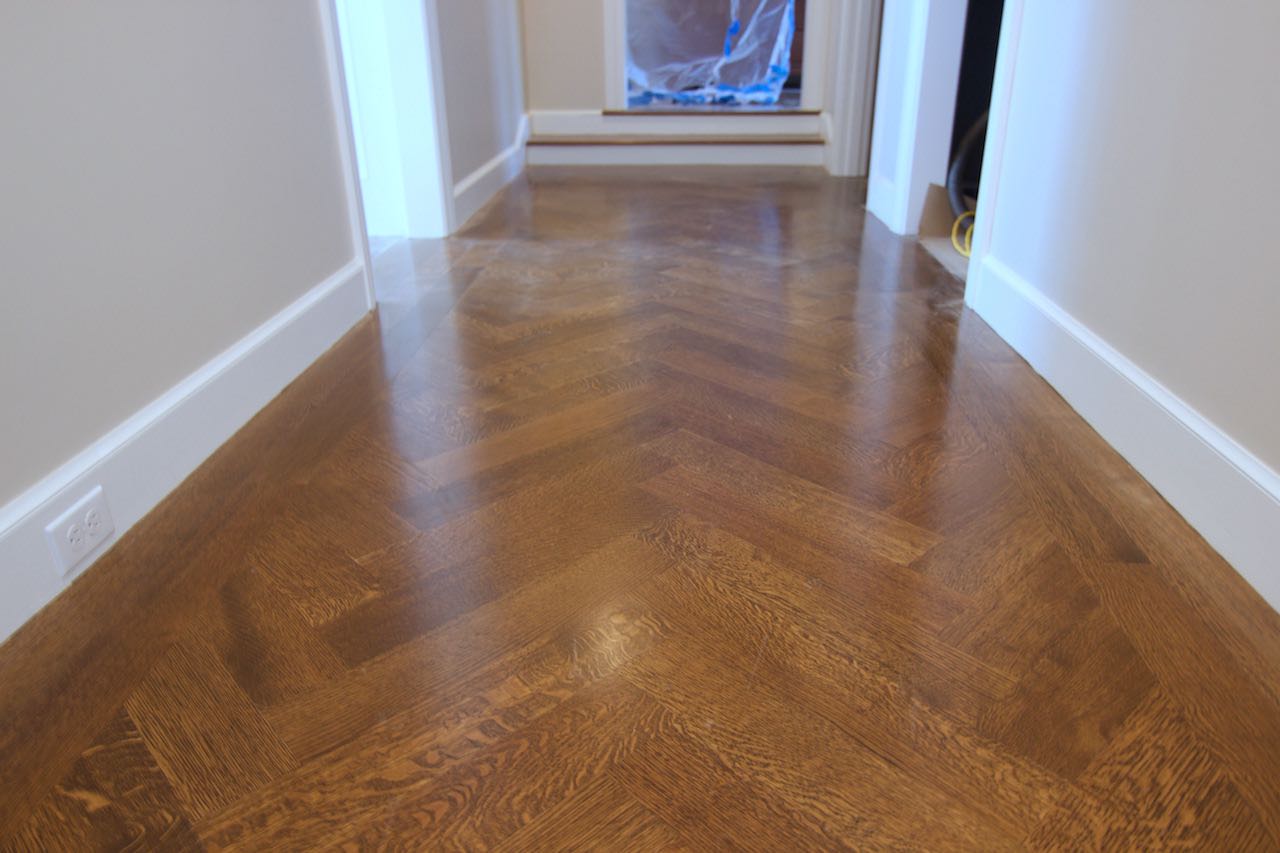 Jacobean stain with three coats of Poloplaz Primero Satin Wellesley, MA.
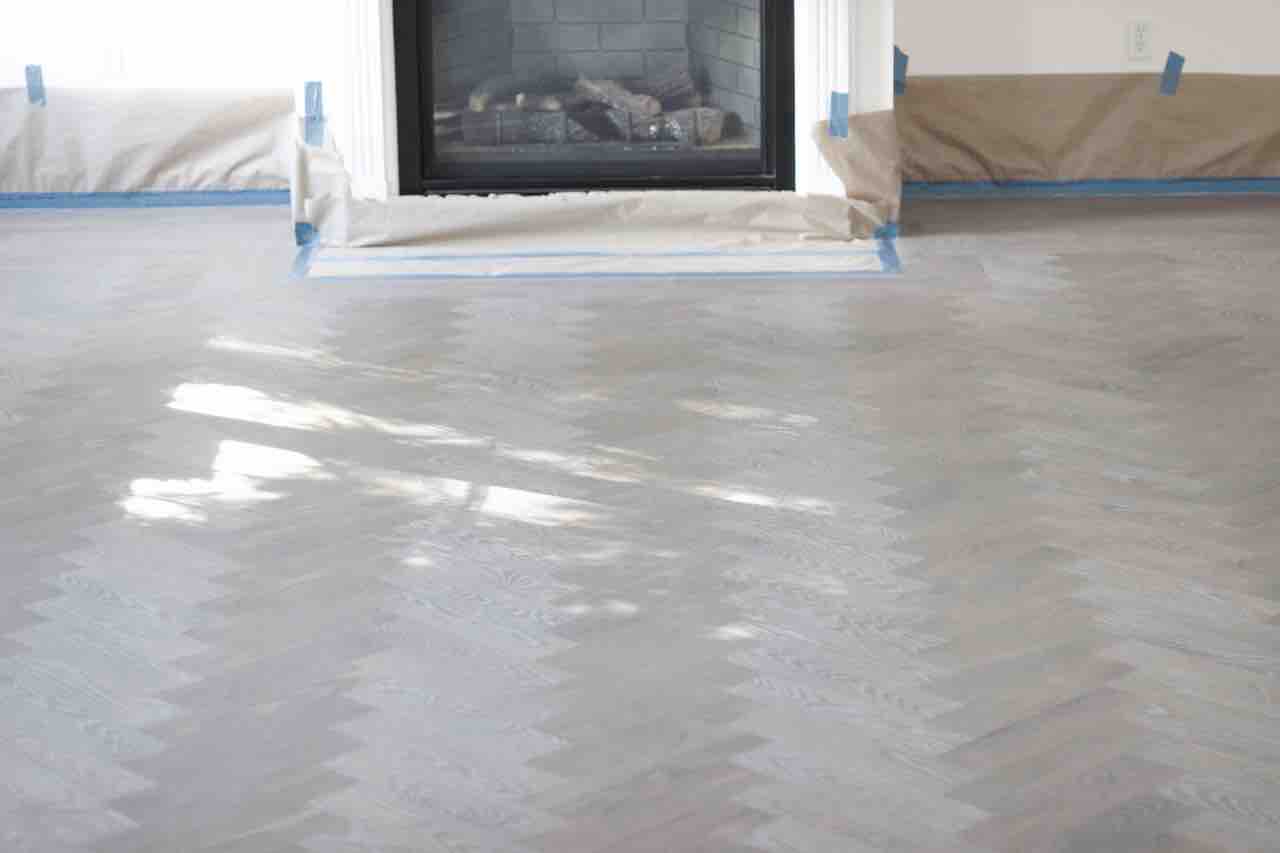 Ciranova Stripped Oak reactive stainPallmann magic oil whiteNewburyport, MA.
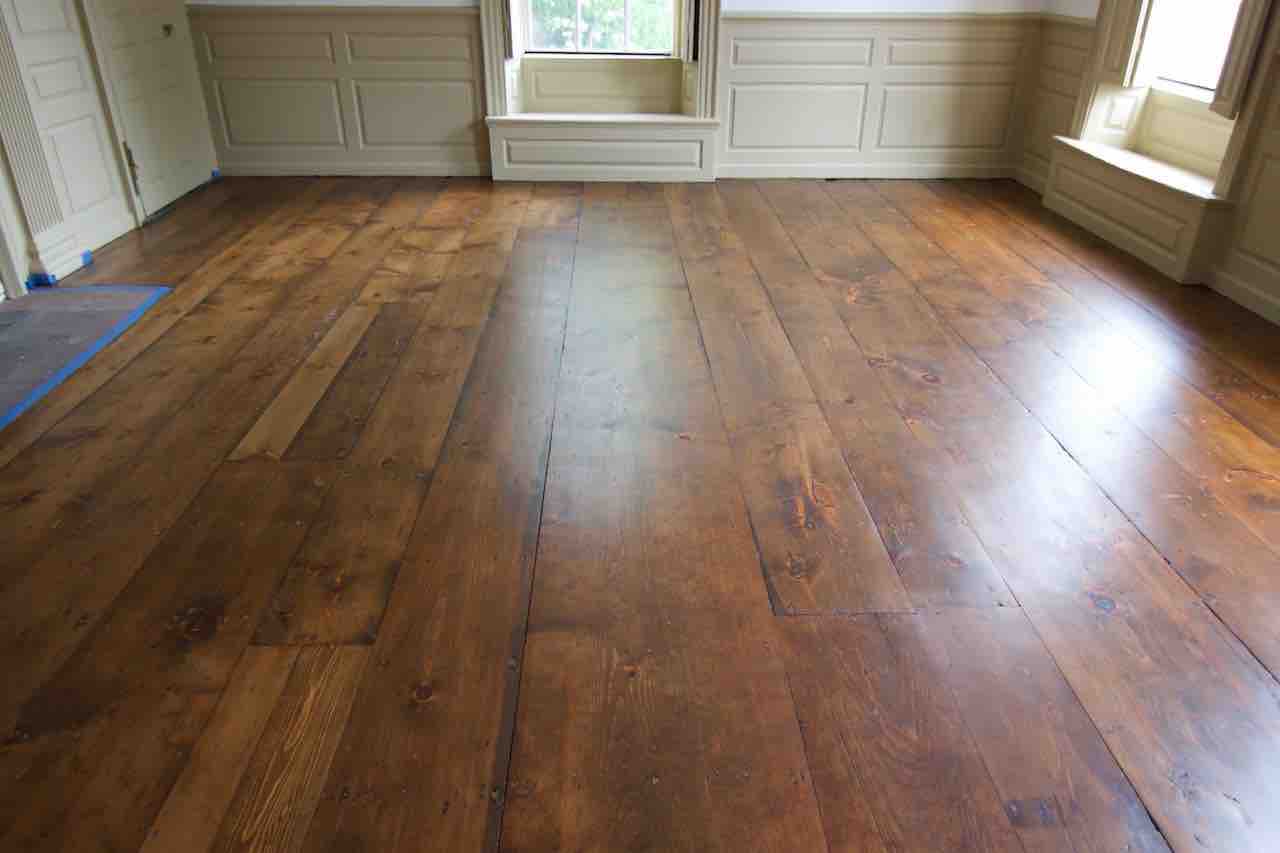 Bona Provincial stain topcoat with Bona Traffic HD MatteMarblehead, MA.
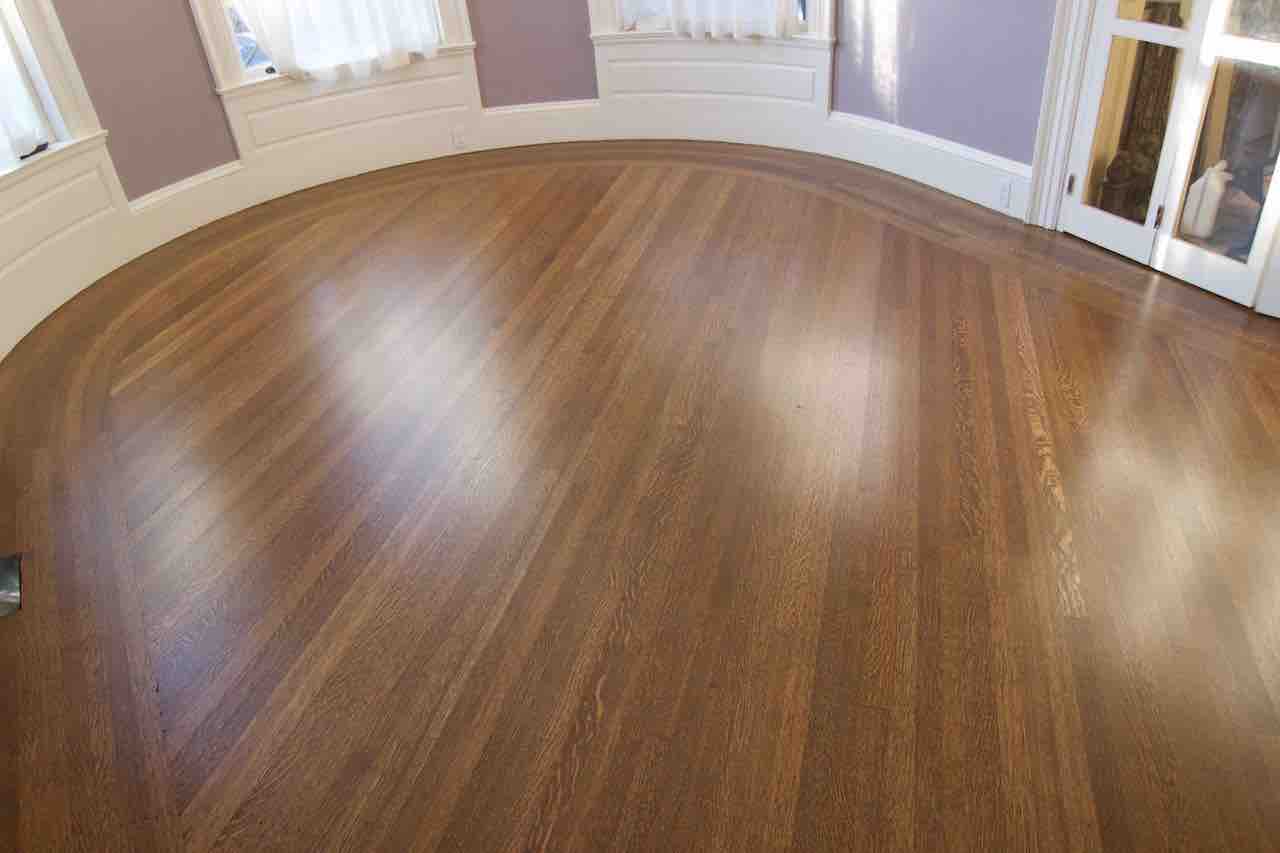 Bona Medium Brown stain, topcoat with Bona Traffic HD SatinSwampscott, MA.
Next step, How to apply protective top coats
or continue scrolling for images
For more information and colors on wood floor stain click here: Bona floor stains
Choose an ideal company
You have done all the research and now have the knowledge. Don't choose the wrong flooring company.
Why work with average, when you can work with an ideal hardwood flooring company? Avoid opting for sub-par products, poor workmanship, the lack of industry knowledge and training for the sake of something new.
With G & S Floors, you will experience optimum personal service, with superlative, effective premium quality workmanship in the industry and high quality products. Homes are one of the biggest and most important investments and should be cared by an ideal company.
We've been in business over 19 years. We are a NWFA flooring contractor and follow industry standards and best practice for hardwood flooring installation, sand and finishing. We have access to training and ongoing professional development. We have a well trained staff and we never stop learning. We have a powerful network of talented professionals, distributors, manufactures and experts.
Invest in "Quality" for better service and hardwood flooring that can last a lifetime or centuries!

