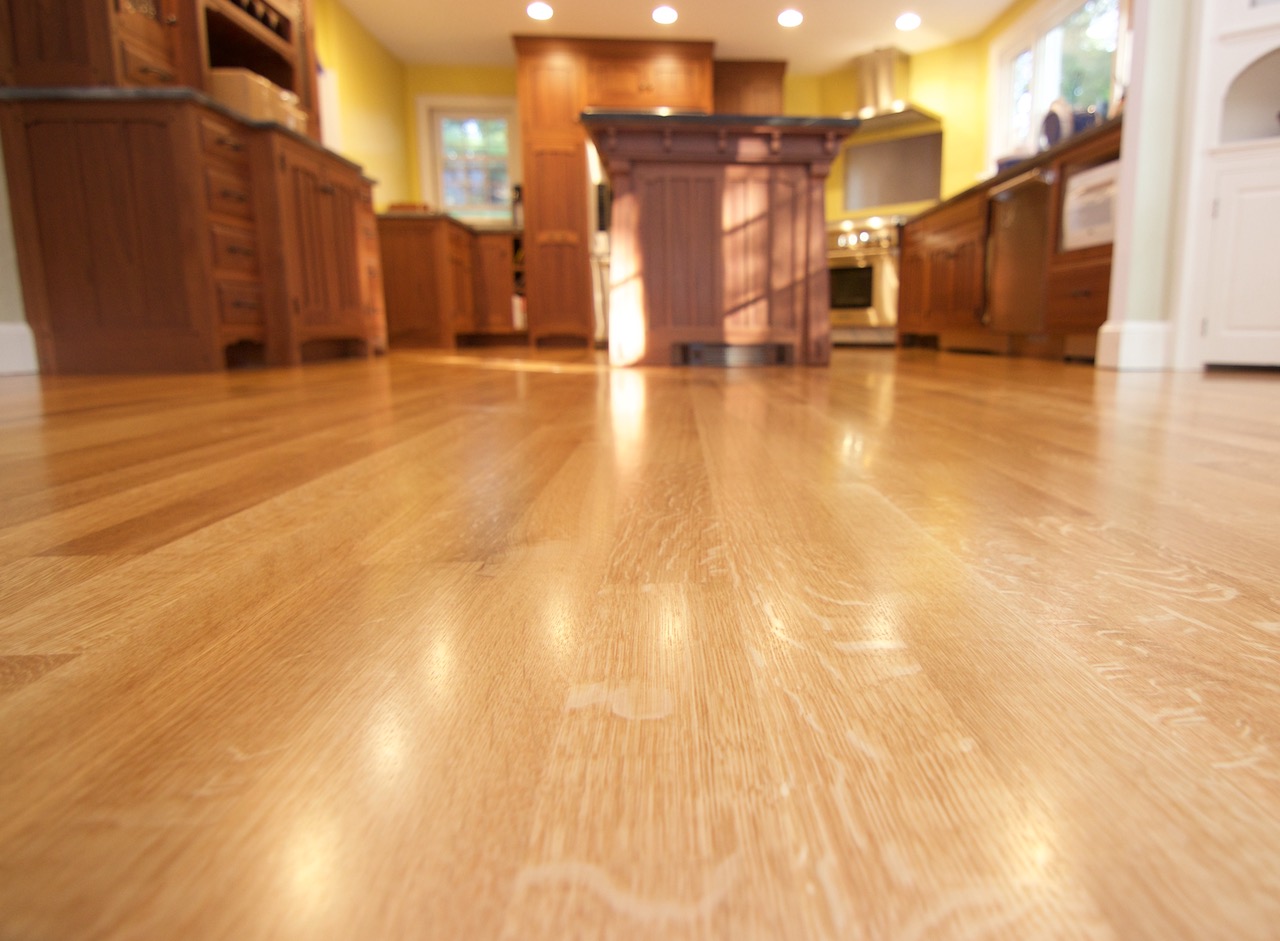
Your wood floors is only as good as your subfloor
Subfloor - We have all heard all the horrific stories of underperforming wood floors. Finish wearing off immaturely, cupping, squeaking, buckling, etc. The stories all have one thing in common, improperly installed subfloor. If, you want your wood floors to last and perform properly. Your subfloor must meet industry standards. You can search all the forums on the internet. You will find common issues, floor installation, sanding and finishing problems that traces back to sub-floor issues. Cupping, squeaks, loose boards, unevenness, etc. all traces back to the sub-floor. Your floor is only as good as the sub-floor that it is laid on. Avoid experiencing what other homeowners went through. Educate yourself about industry standard subfloor requirements to prevent future headaches.
 Your wood floors is only as good as your subfloor
Industry standard minimum wooden subfloor requirements
- Thickness: minimum 5/8" x 4'x8' tongue and groove panel or 3/4" square end 4'x8'panel, suitable for all thickness of flooring
- Durability: CDX exposure 1 or OSB exposure 1
- Minimum 3/4" x 5 1/2" (1x6) solid boards, installed perpendicular or on a 45 degree angle from joist, is suitable for 3/4" thick flooring only
- Flat within 1/4" over 10 feet for nail down installation, flat within 3/16" for glue down installation, includes glue assist or nail assist installation
- Clean, no squeaks, oil, wax, grease, non-compatible sealers, paint, drywall compound or protruding fasteners
- Moisture content should not exceed 12%
- Moisture content to be within 4% of flooring widths up to 3"
- Moisture content to be within 2% of flooring widths over 3"
- Use a breathable vapor retarder with a perm rating between 1 and 10. Do not install vapor barriers, this will trap moisture and cause mold growth.
- Advantech panels needs to be abraded with 40 grit for glue down, glue assist or nail assist installation. The wax coating will prevent adhesion.
- Particle boards are not acceptable, it should be removed or a layer of 1/2" cdx exposure 1 should be installed over it.
- Existing wood flooring, should be sanded flat and new flooring should be laid perpendicular to it.
Concrete slab requirements
- Cured for more than 30 days minimum
- Must handle minimum 3000 lbs psi, cannot be lightweight concrete, if a nail can scratch it, it's lightweight.
- Flat: 3/16" over 10 feet radius
- Free of oil, wax, paint, sealers, drywall compound, water, clean
- Cannot be burnished or smoothed: sand or buff with minimum 30 grit abrasives, adhesive will not bond
- No vapor barrier required if moisture is less than 3%
- Vapor barrier required if, moisture is between 3-7%, cupping can occur if, there is no vapor barrier installed
- Moisture should not exceed 7%, do not install wood floors with moisture over 7%, adhesive will fail
- Mixing, grinding or sanding concrete will release silica dust. Use dust containment, respirators, hepa filtrations, vacuum dust do not sweep, or use water to keep dust down. Follow OSHA's regulation on silica dust.
Wood Subfloor installation types over concrete
- Glue down: requires impermeable(non-breathable) moisture barrier installation. This can be a urethane coating, epoxy coating or a trowelable adhesive. Then install either 3/4"x4'x8' or 3/4" x2'x8' CDX exposure 1 panels.
- Floating: requires impermeable moisture barrier installation - 6 mil plastic with 6 to 8" overlapping seams taped with Tyvec weather tape. Then glue and screw to 3/8"x4'x8' CDX exposure 1 panels, overlapping seams. Use decking screws, so it doesn't corrode.
- Nail down: requires impermeable(non-breathable) moisture barrier installation - 6 mil plastic. Then shoot down 3/4"x4'x8' CDX exposure 1 panels with powder coat concrete nails. Stagger joints.
- Screed system,: requires impermeable(non-breathable) moisture barrier installation. This can be a urethane coating, epoxy coating or trowel able adhesive. Glue down 3/4" screed strips and then install hardwood flooring or glue and screw 3/4"x4'x8' CDX exposure 1 panels, using decking screws to prevent corrosion.
- Note: Always follow adhesive manufacturer's guidelines for proper subfloor installation.
Sub-floor preparation
Clean
This one is a no brainer, sweep and vacuum the floor. Remove all debris, waxes, oil, grease, paint, drywall compound etc.
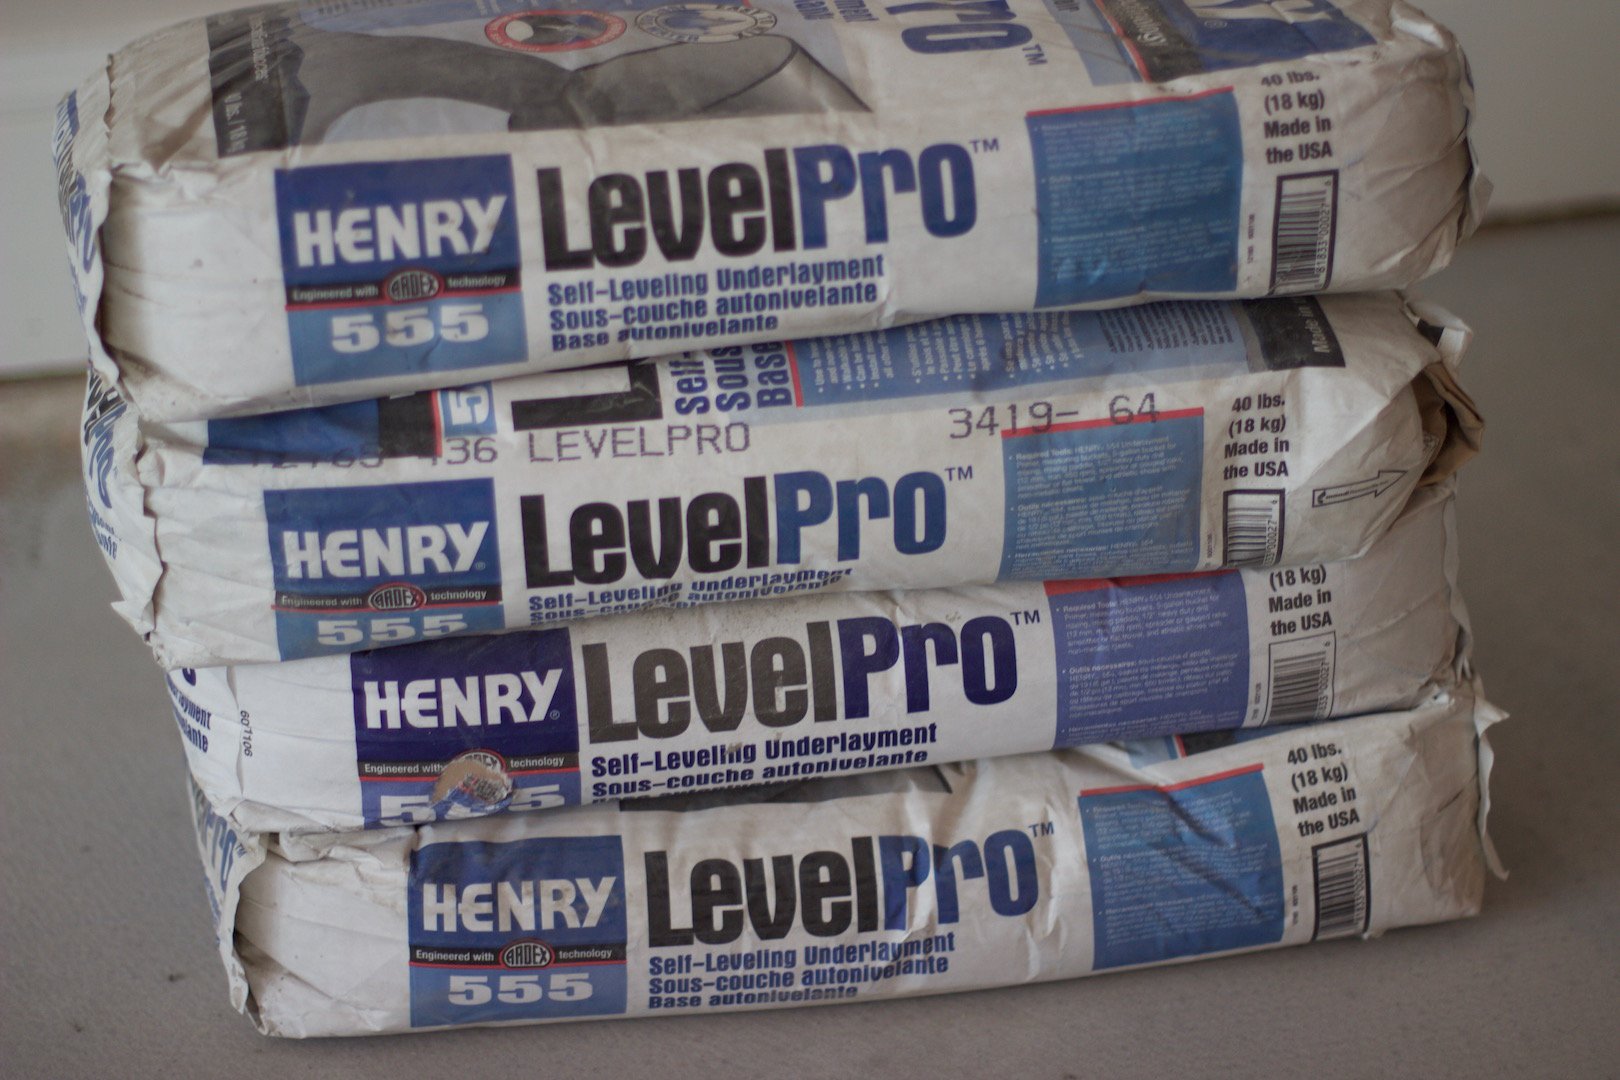 Self-leveling compound Self-leveling compound |
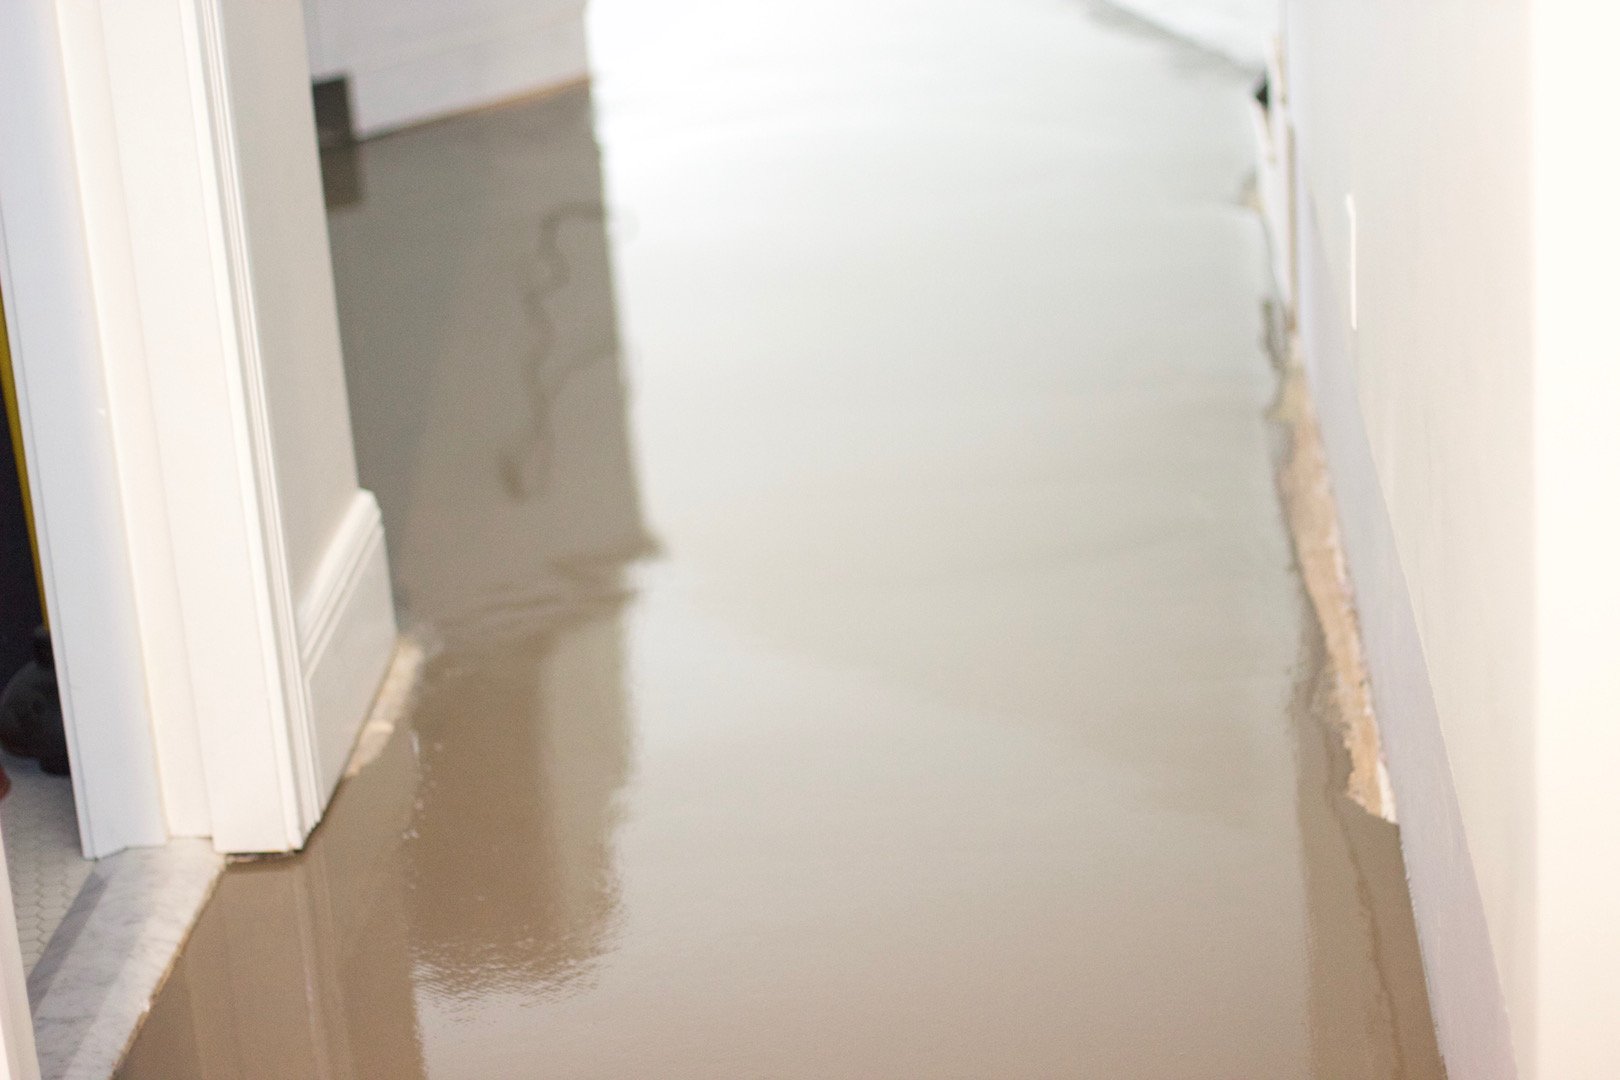 Concrete slab repair and leveling Concrete slab repair and leveling |
Flatness
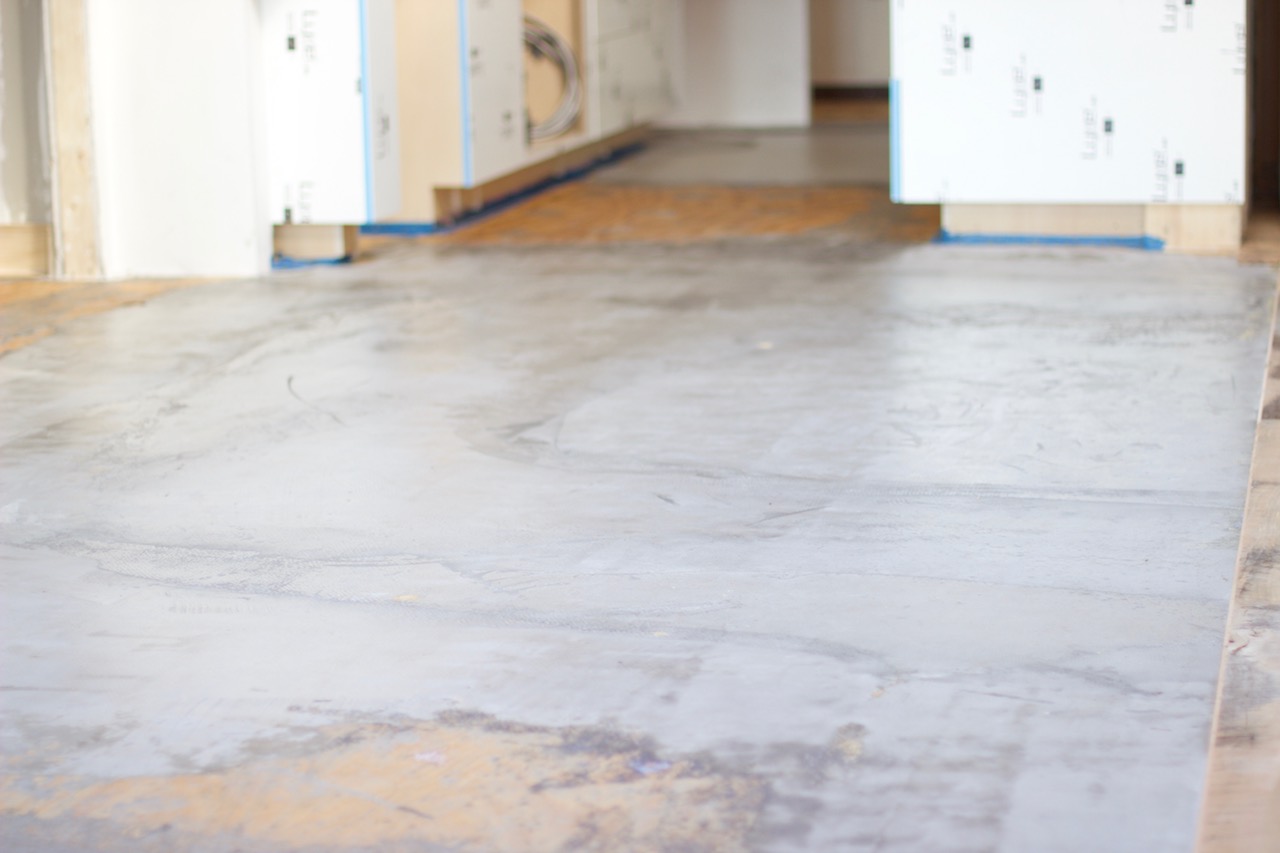
Check surface for flatness. The tolerance for wooden surface flatness is 1/4" variation, over a 10 ft. diameter. A flat floor will make your hardwood flooring installation process easier. We are laying the floor boards in it's free state. No bending or twisting the floor boards in place. This will require less fasteners and less stress on the floor boards and your body. The finish will have a nice even sheen and not glaring light in all different directions. Furnitures will sit on your wooden floors with all four legs touching it and not rocking back and forward. You do not need to worry about anyone slipping and falling when the floors are wet or if, you have a slick finish. Cleaning is much easier because you do not have to worry about undulations in the wood floors. The benefits goes on and on.
- Repairing undulations: Sand high spots and use a skim coat floor compound for low spots, surface prep product, like Henry's 547 Unipro universal patch and skim coat. Make sure you follow manufacturer's instruction, and perform a moisture test after it has dried, to prevent cupping with your hardwood flooring. Screening with a 30 grit or using a bond enhancer maybe necessary depending on your situation.
Correcting low and high spot is an important step, especially for floating floor installation or glue down flooring installation. This will allow these type of flooring to lay in it's free state and not constricted. Which will prevent the wood flooring from separating, squeaking, bouncing and many other problems.
Some homes that are very old, requires structural work to correct the flatness of the subfloor, such as joist, beam or foundation repairs. Which may involve moving Hvac, plumbing pipes or electrical wires. Hiring a licensed trade contractor to handle these tasks is required by state law. Check with your local building codes on the requirements.
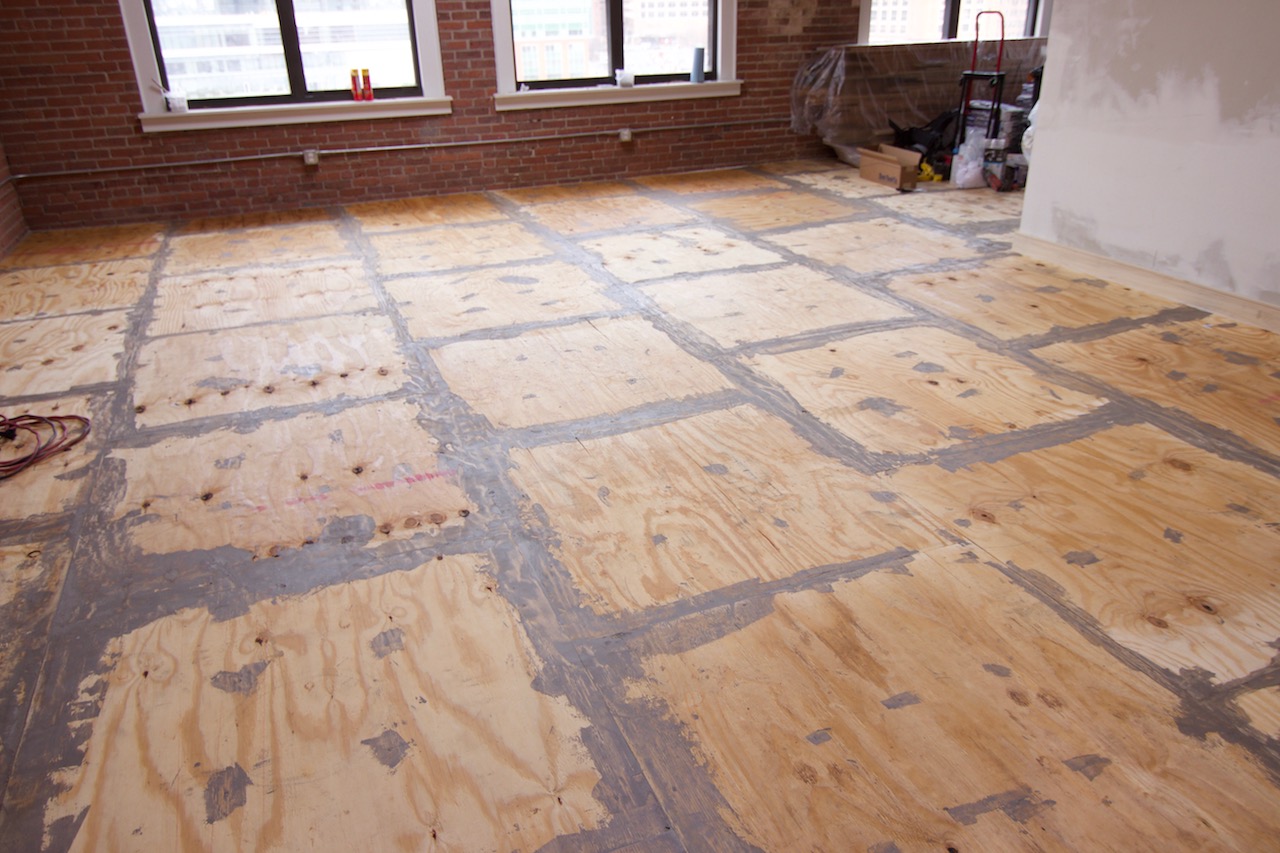 Fill in the joints before pouring self-leveler Fill in the joints before pouring self-leveler |
 Leveling off low spots in a wooden sub-floor Leveling off low spots in a wooden sub-floor |
Stop squeaks and eliminate bounce
Nows, the time to tighten that floor, before you start to install new hardwood floors on top. Avoid annoying loose, bounce and squeaky wooden flooring boards.
- Squeaks are commonly caused from a loose subfloor or improper expansion gap along the perimeter and between subfloor panels. Industry standards requires expansion gaps to be equal to the thickness of the sub-floor panels. So a 3/4" thick panel will require a 3/4" expansion gap. Also, there needs to be a 1/8" gap between each panel. Without these gaps, panels can be rubbing up against each other, producing unwanted noise. Panels should be glued and fastened with non-corrosive fasteners.
- With existing sub-floor panels, fastened the panels into the flooring joist with a non-corrosive screws like decking screws. If, you already have hardwood floors installed in your home and have squeaks. Try fixing it from below. As long as you have access to your floor joist. You can fix them, by apply glue to shims and inserting shims between the floor joist and floor panel. You then won't have to deal with an annoying squeaky floor boards, ever again.
- Existing flooring should be fastened using non-corrosive screws.
Check for Moisture
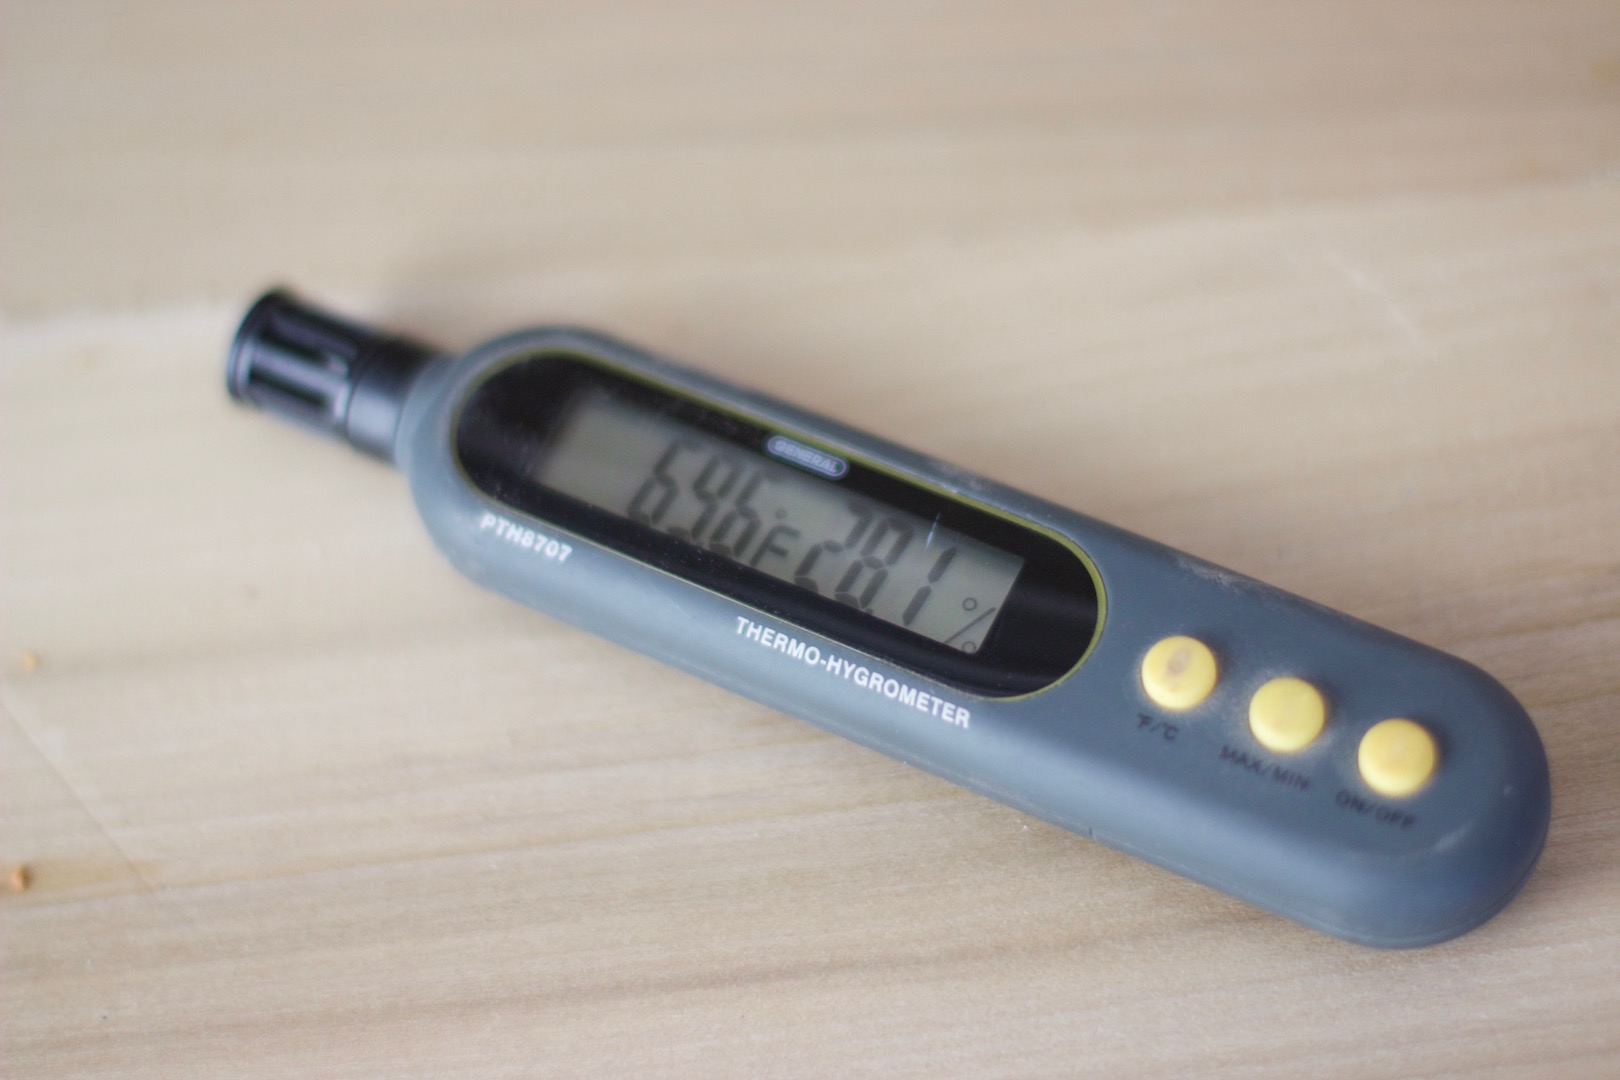 Thermo Hygrometer Thermo Hygrometer |
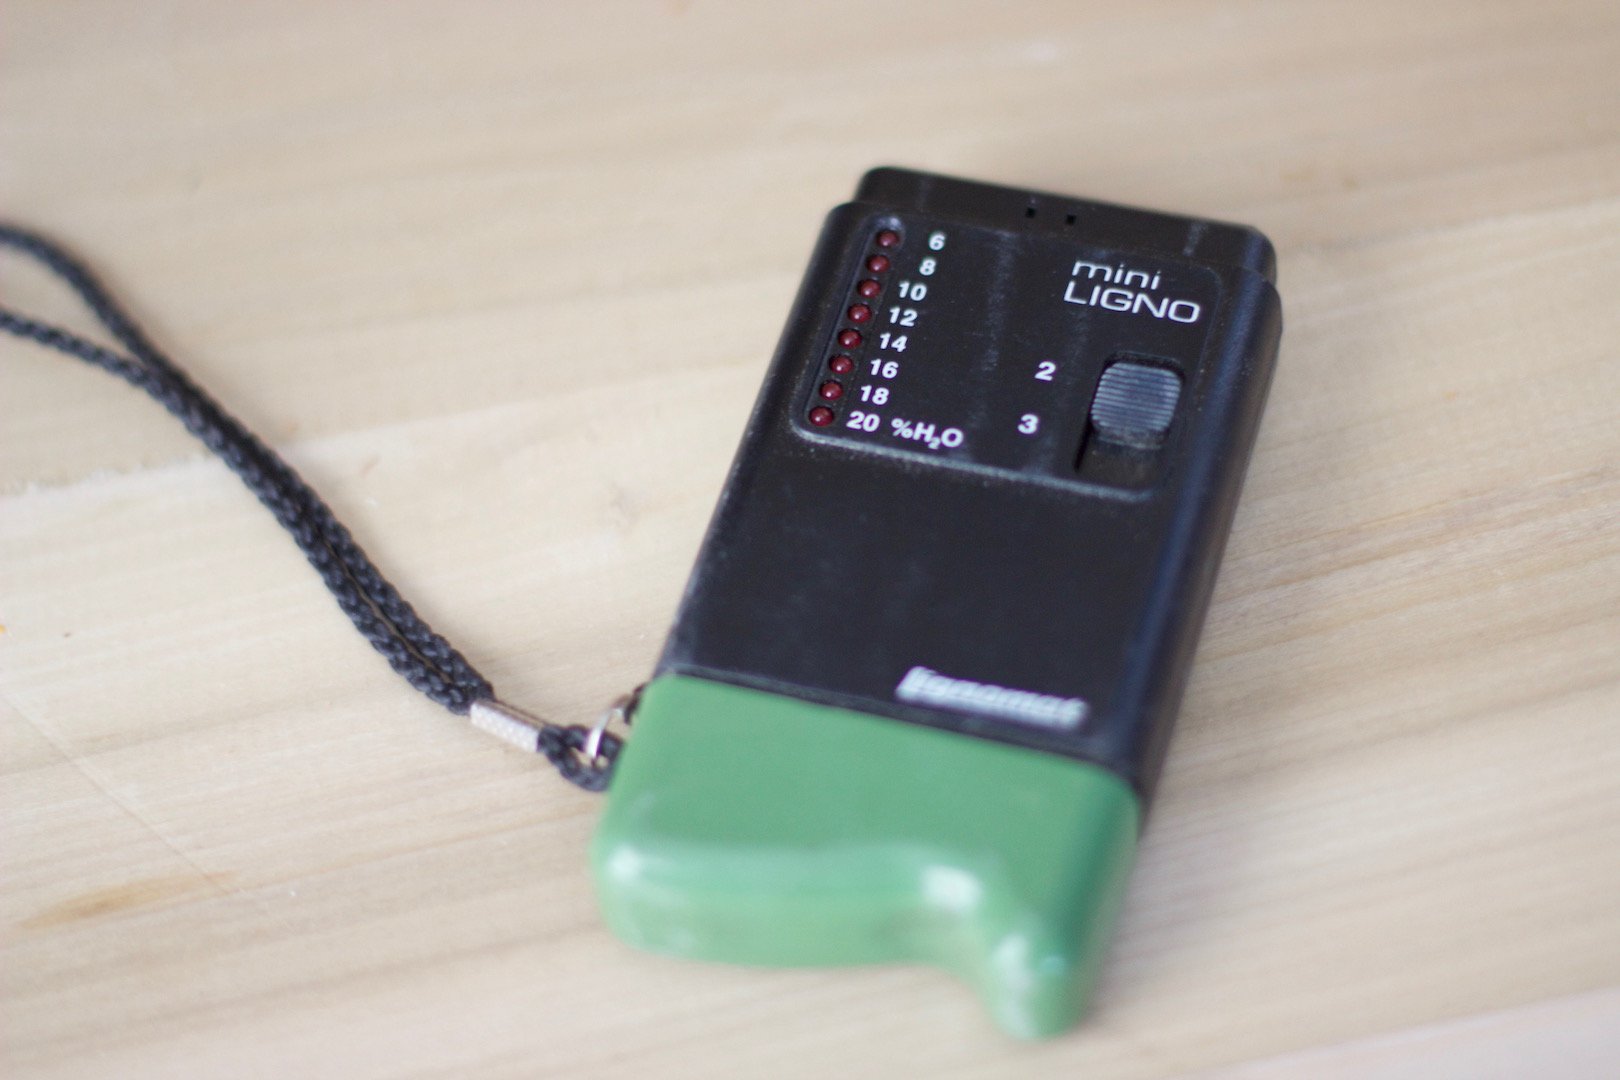 Moisture meter for wood Moisture meter for wood |
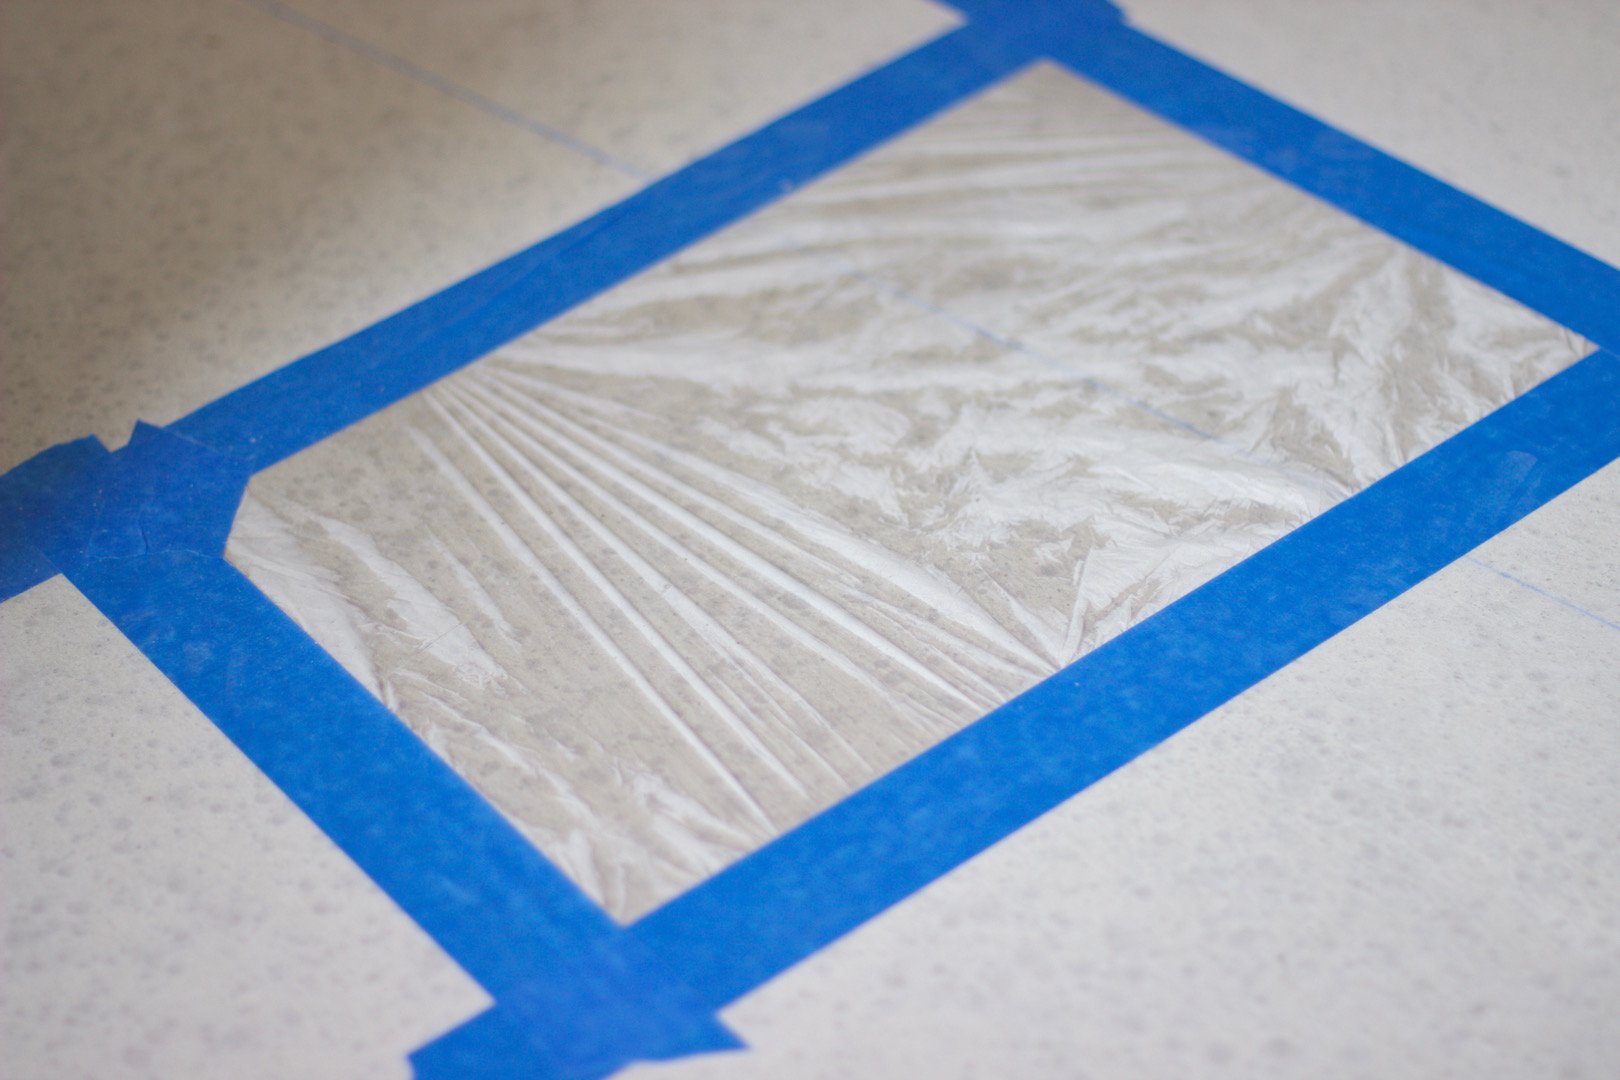 Plastic test for moisture Plastic test for moisture |
Check for signs of moisture that can damage your wood floors. Use a Thermo-Hygrometer to monitor indoor room temperature and relative humidity. It is the homeowners responsibility to maintain proper living conditions for a properly performing wood floor. Not only wood floors but all the wood work in the home. Normal living conditions is between 60-80 degree Fahrenheit and 30-50% relative indoor humidity. The use of a humidifier or dehumidifier should be used if, conditions are out of range. This will help minimize seasonal shrinkage and expansion. Maintaining normal living condition will help prevent cupping, crowning and buckling.
- Wood subfloor - Moisture test your wooden subfloor using a moisture meter. Moisture meters are available in a Pinless or pinned meter. Moisture level in a wooden sub-floor should not exceed 13%. If, it does exceed, Add a dehumidifier to help bring down the level. Your wood flooring should be acclimated to within 2-4% moisture reading. 4% under 3 inch width flooring and 2% over 3 inch width flooring. Failing to do so can cause problems with excessive shrinkage or expansion.
- Concrete subfloor - Moisture testing should be done with a concrete moisture meter, plastic film test and calcium chloride test. You need to these test in various areas. In front of windows and doors, along outside walls and several areas in the middle of the room. The most important test is the calcium chloride test, which test the weight of water in the area. Not doing so can cause failure to your subfloor or hardwood floor installation.
- Approved calcium chloride concrete test conditions are: under 3 lbs - slab is dry and requires no vapor barrier. Between 3-7 lbs - slab is wet and requires the installation of a vapor barrier. Over 7 lbs, wood flooring should not be installed in these conditions.
- Approved vapor barriers are 6-8 mil heavy duty plastic, urethane or epoxy coating or trowel able adhesive. Vapor barriers should not be punctured to properly perform.
Damaged subfloor
Check for damaged sub floor. Make the necessary repairs as needed following industry standard guidelines.
Preventing squeaks
Floor squeaks - one of the biggest nuisance for a homeowner, contractor, builder and architect. Let's face it, no one enjoys it, except for a parent. It notifies them when the kids are sneaking around or in and out of the house. Other, than that, there isn't much joy for it. Squeaks are usually blamed on the finished flooring. But, did you know that squeaks can be an indication of other building issues in the property, just beginning?
If, there is a squeak in your floors. It's a sign of many, many things that can be possibly wrong with the design and construction of your flooring system. You need to eliminate the movement to eliminate the squeaks. Otherwise, it's not worth the investment to install a high quality floor onto a sub-par subfloor system. It's like doing an engine swap on a car. Installing a 1000 hp motor onto a car that does not have the frame, transmission, brakes or suspension to handle all that power. You need a quality subfloor system for quality floors. Read on to find out more.
Causes of squeaks
Squeaks caused from movement in the flooring system. Below is a list of the possible causes.
- Hardwood flooring - loose flooring due to insufficient fasteners or wrong type of fasteners, humidity level too low, wrong installation method
- Subfloor panels - loose panels, too much shrinkage, insufficient expansion gaps along perimeter and between panels, insufficient fasteners and adhesives
- Fasteners - missed joist, wrong type, corroded, requires glue assist
- Joist - wrong joist size or selection, joist not stable in size, too much movement, damaged joist
- Floor span - floor span exceeds joist limitation, causing excessive deflection
- Joist hangers - hangers installed wrong, wrong size nails for fasteners
- Experience - lack of knowledge for flooring system requirements or installation
How to prevent squeaks
How do you prevent squeaks in your hardwood flooring? It starts with the design. The wrong type of design will result in poor or incorrect material selection and installation. Your floors will not have long lasting durability and you will not be a satisfied customer. Here is how to prevent squeaks.
- Start with your flooring selection - hardwood floors require a stiff subfloor system to prevent squeaks
- select and build the proper subfloor and joist frame system that exceeds code and minimum requirements
- Use materials that will withstand weather. Why? Remodels and new construction homes are open to the elements in the early stages of work. Do not allow the elements to cause issues during the process.
- Use high performance fasteners and adhesives: non-corrosive screws and moisture cured adhesives prevents fasteners from failing
Joist frames
There are two types of joist frames to choose from: solid 2x's or I-joist.
- Solid 2x's, exist in a lot of old homes, usually spaced at 16 on center. The biggest issue with solid 2x, is movement. It is not a stable joist system. It shrinks, twist, bows, has a short span under 17 feet and are narrow. So missed nailing is common. Which can cause squeaks. Wooden blockers should be installed to reduce movements.
- I-joist, is a high performance floor frame. It is wider, Can be spaced up to 24" on center, it can handle longer span, 25 feet or more and is more stable, less shrinkage, less deflection equals less squeaks
Subfloor panels
Flooring industry minimum requirement for subfloor panels is 3/4" thick. Acceptable types of panels is CDX plywood, OSB and high performance OSB. Below is a list of the pros and cons of each panels.
- Cdx Plywood - Pros: stable, has good nail holding power, resist edge swelling, durable and stiff. Cons: excessive moisture absorption, delaminate and not all plywood is equal in quality and build
- OSB (orient strand boards) - Pros: inexpensive, available in commodity and average grade Cons: commodity grade not recommended for wood floor installation, soft, excessive deflection, excessive water absorption, edge swells, poor nail holding power.
- High performance OSB - Pros: More stable, stronger, stiff, better nail holding power, more moisture resistant, no edge swelling compared to both plywood and OSB. Less chance of movement, less chance of squeaks
Subfloor system Installation - what you should know
When installing your flooring system. Here are a few things you should know, before you install it.
- Flatness - Flatness tolerance is 1/4" over 10 feet radius for a wooden subfloor system.
- Thickness - Using a thicker subfloor will help reduce movement
- Deflection - Deflection should not exceed the joist's limitation, install blockers to reduce deflection
- Installation - Industry standards for installation is nail and glue assist. Upgrade on the glue and use proper coverage. Use a non-corrosive ring shank nail or screws to reduce slippage. Edges should be nailed every 6" and 12" for the field.
- Hangers - Joist hangers should be used to reduce movement. Use the proper size nail for the hangers to prevent movements.
- Moisture content - Moisture content in panels should not exceed 12 % for wood floor installation. Wood floors should be acclimated to within 2-4% of subfloor panels, depending on the width of the flooring.
- Expansion gaps - Expansion gaps for panels should be thickness of panels with 1/8" joint lines.
- Upgrade - Upgrade to high performance joist, panels, adhesives and fasteners to prevent squeaks.
Hardwood floor installation - how to prevent squeaks
Aside from upgrading to a high performance subfloor frame and panels. Here are a few hardwood floor tips for you to use, when selecting and installing your hardwood floors.
- Installation - use a glue and nail assist method to prevent noise
- Long boards - use long boards instead of shorts. Long boards will guarantee that the flooring boards will lay over a floor joist. It helps stiffen up the floor
- Underlayment - use a quality underlayment, such as 1/8" cork to reduce movement.
Conclusion
Your wood floors will only be as good as the subfloor holding it down. Make sure you have the correct type of subfloor system, along with the correct underlayment for your wood flooring installation. Choose a subfloor system that exceeds code and minimum requirements, so that it can perform properly in your current homes condition. Make the necessary repairs and preparation. Maintain an ideal living condition and use a humidifier or dehumidifier to keep moisture level within normal range. This will help ensure that your wood floors perform at it's best, last centuries and give you the piece of mind you invested in..
For more information on hardwood flooring industry standard requirements and procedures visit Nwfa.org
Choose an ideal company
You have done all the research and now have the knowledge. Don't choose the wrong flooring company.
Why work with average, when you can work with an ideal hardwood flooring company? Avoid opting for sub-par products, poor workmanship, the lack of industry knowledge and training for the sake of something new.
With G & S Floors, you will experience optimum personal service, with superlative, effective premium quality workmanship in the industry and high quality products. Homes are one of the biggest and most important investments and should be cared by an ideal company.
We've been in business over 19 years. We are a NWFA flooring contractor and follow industry standards and best practice for hardwood flooring installation, sand and finishing. We have access to training and ongoing professional development. We have a well trained staff and we never stop learning. We have a powerful network of talented professionals, distributors, manufactures and experts.
Invest in "Quality" for better service and hardwood flooring that can last a lifetime or centuries!
