Hardwood floor installation tips
Hardwood floor installation tips: If, you plan to tackle a hardwood installation on your own. You will find these wood floor installation tips handy. Here a few tricks of the trade that you can use on your wood floor installation project.
Cutting floor boards for the "end of the run"
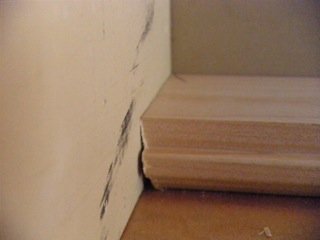
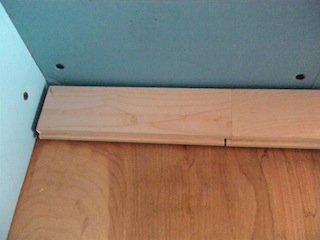
You can see the relief cut, here. This will make putting in the final piece much easier without damaging your baseboards. And if you left the baseboards in place, you'll be able to make tight fit cuts.
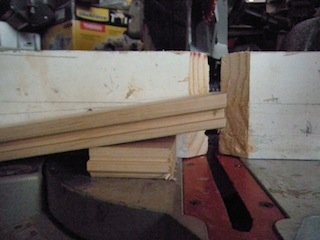
A quick and easy way to cut a relief angle on the end is to shim the flooring up with a scrap block. Make sure it is not in the saw blades path. You can get seriously injured. A more safer method is to tilt the head of the chop saw to 5 degrees. Becareful and keep your fingers away from blades path.
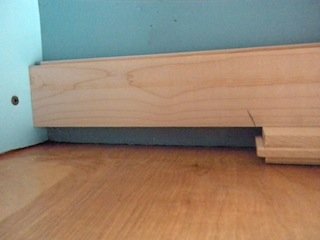
A quick and easy way to compensate for an expansion gap. Is to measure to the front of the tongue, see image above. When you cut the board, cut off the mark. Industry standard allowance for expansion gaps is always thickness of flooring. Example: 3/4" thick flooring would be 3/4" expansion gaps.
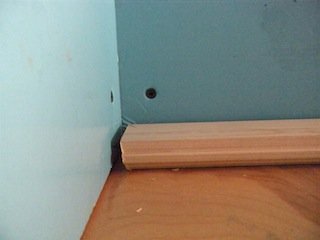
Use this quick easy cutting method, to compensate for expansion gap, when you remove the baseboards.
Hardwood floor installation tips
How to make a tight fit cut
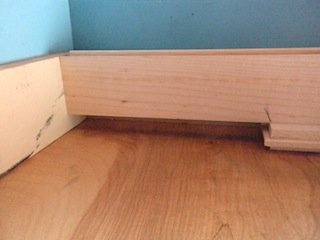
Use this hardwood floor installation tips, for a tight fit cut. With baseboards in place, make your cut mark at the edge of the top face of the hardwood flooring.
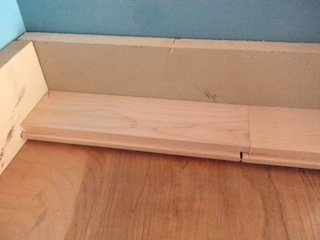
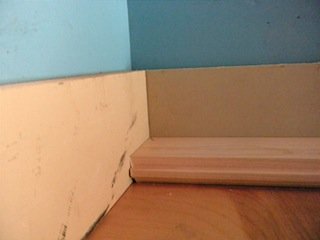
Make a relief cut and you'll have an exact fit. Some walls are not perfectly straight, you can adjust the miter angle to compensate for any variance.
Hardwood floor installation tips
Cutting final filler strips "slivers"
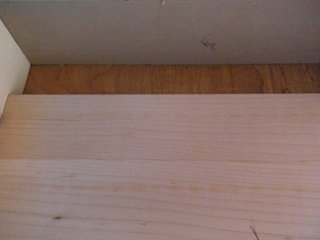
You'll always need to cut in filler strips or slivers at some point of the job. This scribing method will work on all hardwood flooring installation method, Staple, Glue down flooring or Laminate floating floors.
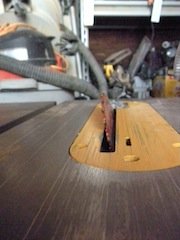
Hardwood floor installation tips: Set your table saw to cut a relief, so that your hardwood flooring is easier to install.
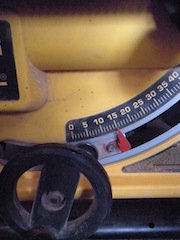
The perfect relief angle is 15 degrees, too great of an angle and you will have a feather edge that can break or splinter. Too little, and you'll have a difficult time installing the piece and will most likely break your piece or damage the baseboards.
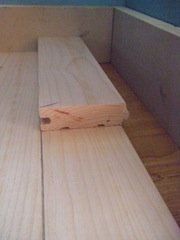
Using a straight piece, place it on top of the final row. Align the edge with the joint below, indicated as a pencil mark in this image
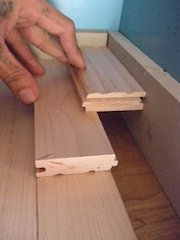
For a tight fit cut, using a scrap piece as a scribe block, place it upside down with the relief facing upwards, and the groove side against our baseboard.
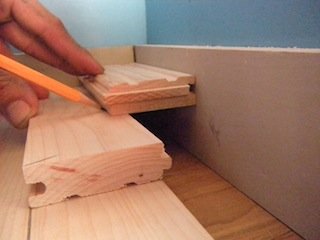
Holding your piece in place, using a sharp pencil, make a mark.
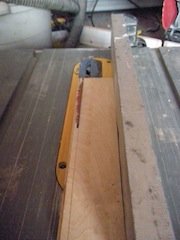
When you make your cut, be sure to cut the relief on the proper side. The groove side should always be on the right side of your table saw.
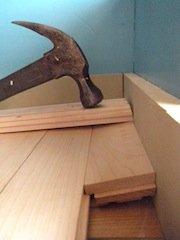
Use a tapping block to prevent damages from your hammer. Also, cutting a relief on your tapping block will help prevent damage to your baseboards.
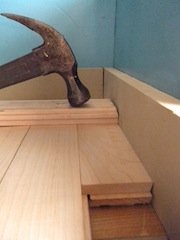
The tapping block should be tapped tight to your hardwood flooring to ensure that it is completely down, as shown in the above image.
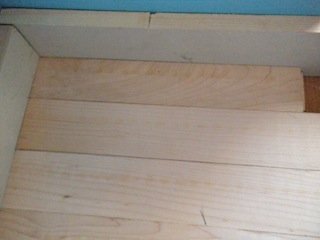
Properly acclimate your hardwood flooring followed with a properly cut piece, demonstrated here. You do not need to remove your baseboards, to do a tight fit hardwood flooring installation.
Hardwood floor installation tips: Moisture range for a properly acclimated floor boards: Industry standards, using a moisture meter for wood, flooring and subfloor should be within 4% for 2 1/4" strips, flooring and subfloor should be within 2% for 3" or wider flooring.
Hardwood floor installation tips
Marking slivers with expansion gaps
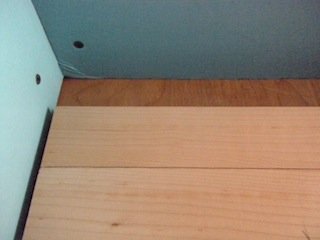
With the baseboards removed, set-up and mark your filler strip as explained in the previous steps
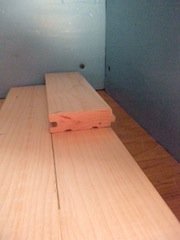
Align a straight piece on top of the final row, that was installed.
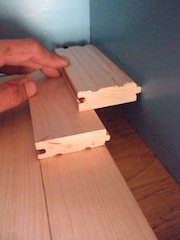
To allow for expansion gaps, when scribing your filler strip without the baseboard in place. Place the tongue side against the wall, as shown.
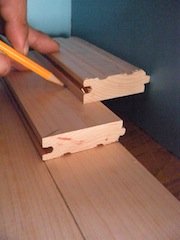
Scribe your floor board. When making your cut marks, keep your pencil sharp to a point, this will help you make an accurate cut. For strips narrower than 3/4", apply wood glue to the groove side and that will help keep the strip in place.
Choose an ideal company
You have done all the research and now have the knowledge. Don't choose the wrong flooring company.
Why work with average, when you can work with an ideal hardwood flooring company? Avoid opting for sub-par products, poor workmanship, the lack of industry knowledge and training for the sake of something new.
With G & S Floors, you will experience optimum personal service, with superlative, effective premium quality workmanship in the industry and high quality products. Homes are one of the biggest and most important investments and should be cared by an ideal company.
We've been in business over 19 years. We are a NWFA flooring contractor and follow industry standards and best practice for hardwood flooring installation, sand and finishing. We have access to training and ongoing professional development. We have a well trained staff and we never stop learning. We have a powerful network of talented professionals, distributors, manufactures and experts.
Invest in "Quality" for better service and hardwood flooring that can last a lifetime or centuries!

