Glue Down Flooring
How to glue down flooring
Installing glue down flooring isn't difficult to do. But, requires a lot of awareness, and cleaning along the way. Get your knee pads, for this one.
Like all wood flooring installation. Let's be sure that our sub-floor is well prepared. If you need help with this part, please refer back to the sub-floor preparation, on the hardwood flooring sub-floor prep page.
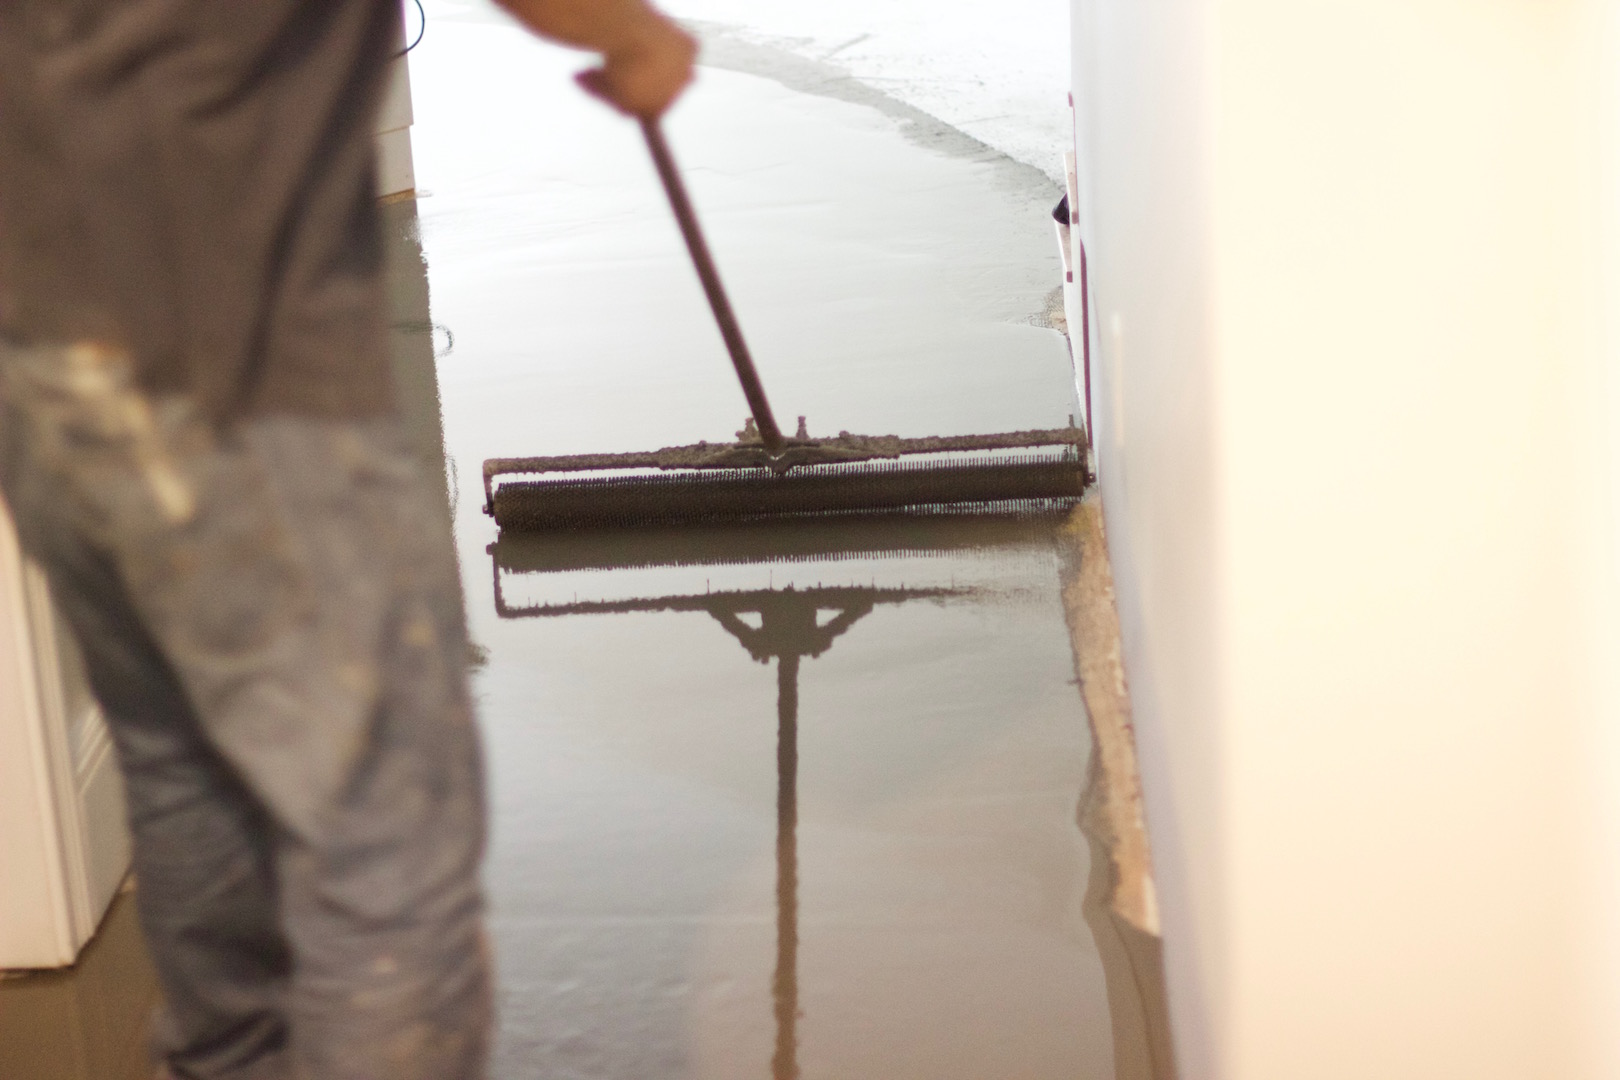
Tip: If, you have to fill in any low spot, use a subfloor skim coat or leveling compound like a Henry's product. Perform a moisture check in this area. We don't want our flooring installation to fail.
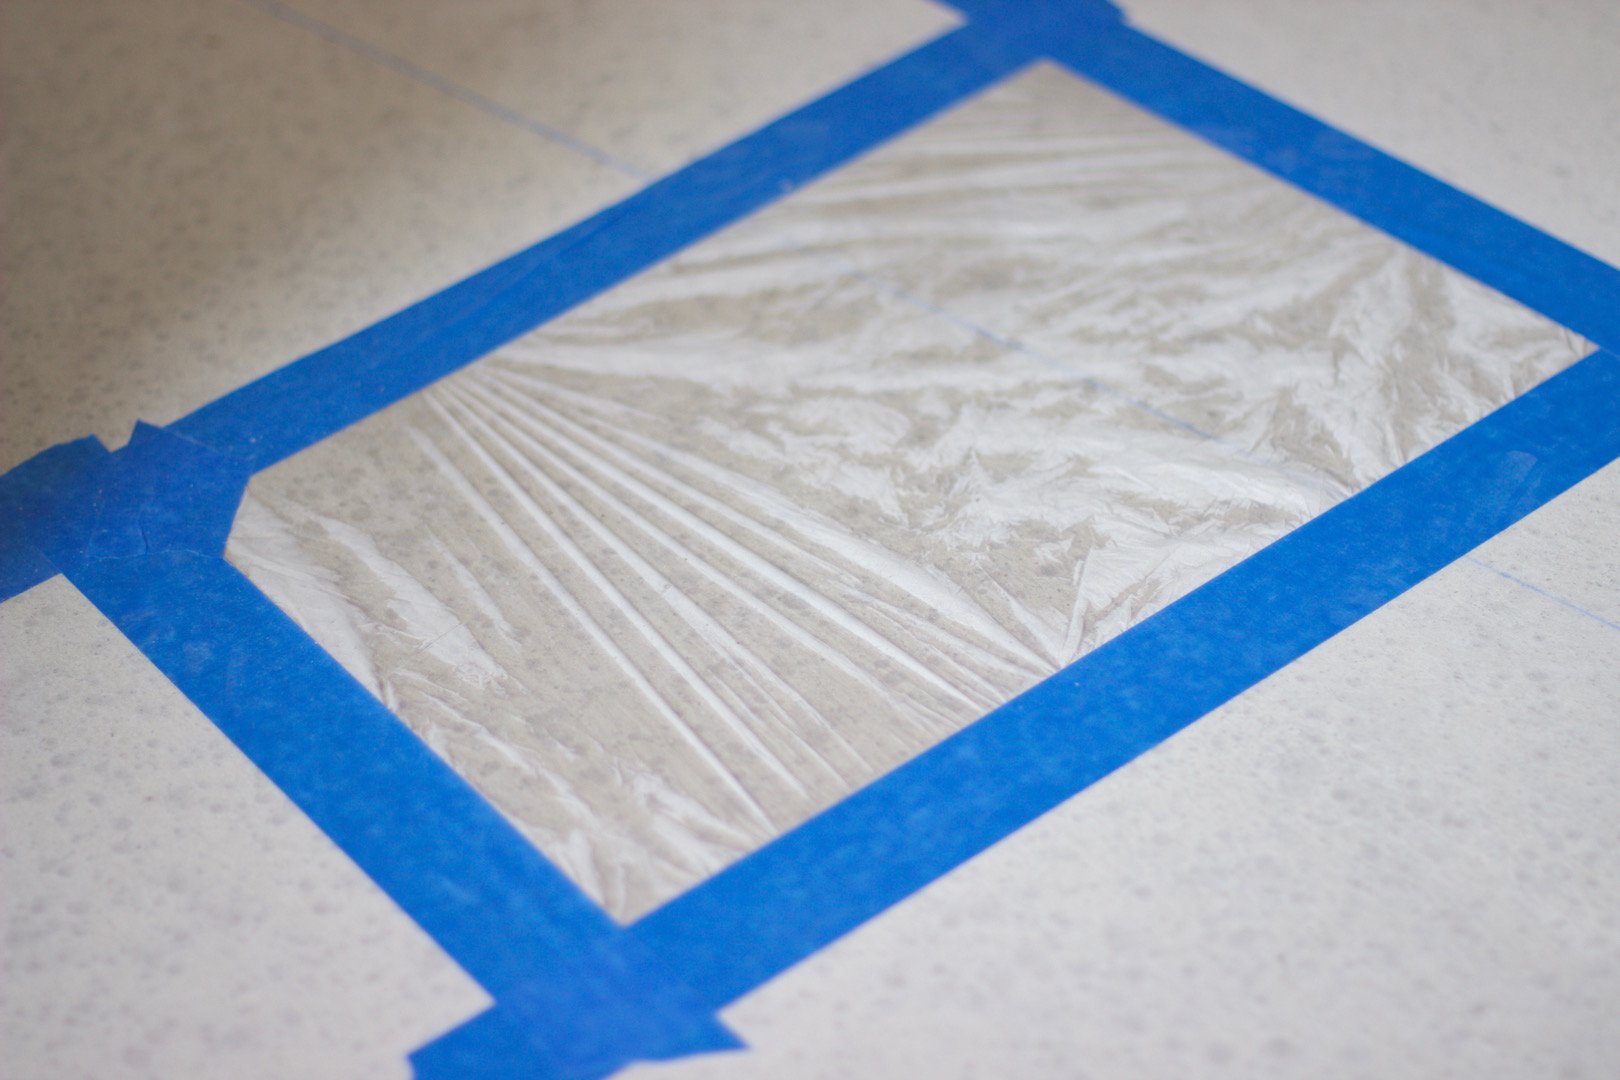
 Moisture test
 Sub-floor restoration
Materials needed:
- Engineered Hardwood Flooring: round up to the nearest full carton to cover waste
- Flooring adhesive: recommended for glue down flooring, moisture cure polyurethane flooring adhesive, not latex
- Adhesive remover: Use either Bostik adhesive remover or Wakol's cleaning wipes.
- Rags: to use with glue remover
- 1/4 v-notched flat trowel: This large notch will wear down during usage, when used over concrete, will handle 500s.f.
- Rubber mallet
- Hammer
- Flooring puller: or flooring jack, if obtainable. You can also pick-up a hardwood floor installation kit, which comes with spacers, tapping block, and puller. Be sure the puller is made, from a quality material. These cheaper ones will bend on you.
- Tapping block : You can use scrap pieces for this.
- Chalk line
- 1/4 spacers You can use spacers up to 3/8". These can be purchased or you can make your own. Just purchase square wooden square stock and cut them to 2" lengths.
- Flush cut saw or multi-tool Under cut your trims and jams at doorways. Multi-max or simular tools are good, for this task.
- Pencil
- Blue Masking tape
- Tape measure
- 6 ft straight edge
- 150 lb. floor roller rental tool
- Chop saw miter saw
- Table saw
- Hot glue gun and glue stick
- Adhesive primer: bond enhancer
- roller: 3/8 nap
Tip: When choosing flooring adhesive. Choose an adhesive with high shear strength (cut strength) not tensile strength, 600 lbs or more to prevent your flooring boards from ripping away from the sub-floor. And a high moisture resistant ( vapor pressure ) 10 lbs of pressure or more to prevent glue bonding failure. If, vapor pressure is greater than 10 lbs. I recommend applying a vapor barrier, such as epoxy sealers and primers to block off the wet vapors. Take a look at Wakol's or Stauf's adhesives.
After you've, cleaned and prep the sub-floor, test your sub-floor.
Prior to installation, the sub floor must be checked according to NWFA installation guidelines. It must be solid and sound, flat, permanently dry, and clean. Moisture content of all floors must be measured before installation. Moisture content in concrete sub floors must be below 3lbs per 1,000 sq. ft. using the Calcium Chloride Test or concrete moisture meter.
All wood floors should have 6-9% moisture content at installation. There should be no more than a 4-5% variance in moisture content between the wood flooring and any wood sub floor. See NWFA guidelines and the wood flooring manufacturer's recommendations for details.
- 1. Apply a liberal amount of adhesive primer or bond enhancer using a roller and a blow to dry to a clear film. This will give the adhesive a better grab on the substrate.
- 2. Snap a starting line. 2 points make a straight line. Begin by measuring 36" from each corner, of your starting wall. Then chalk a line. You can spray the line with, hairspray, to keep it from wiping away.
- 3. Start spreading, your adhesive, onto the sub-floor. Work in small areas, amounts where you can do the hardwood floor installation within 15-20 minutes.
Tip: When spreading glue, use the trowel in a plowing motion (snow plow). Hold the trowel at a 45 degree angle (floor up), push glue along, with a slight angle, like a snow plow, you'll be able to direct the glue, away or towards you. If, your flooring boards have stress reliefs on the bottom. Your trowel lines should be perpendicular to your stress relief grooves to ensure proper glue contact. If, it is smooth, then direction is not important.
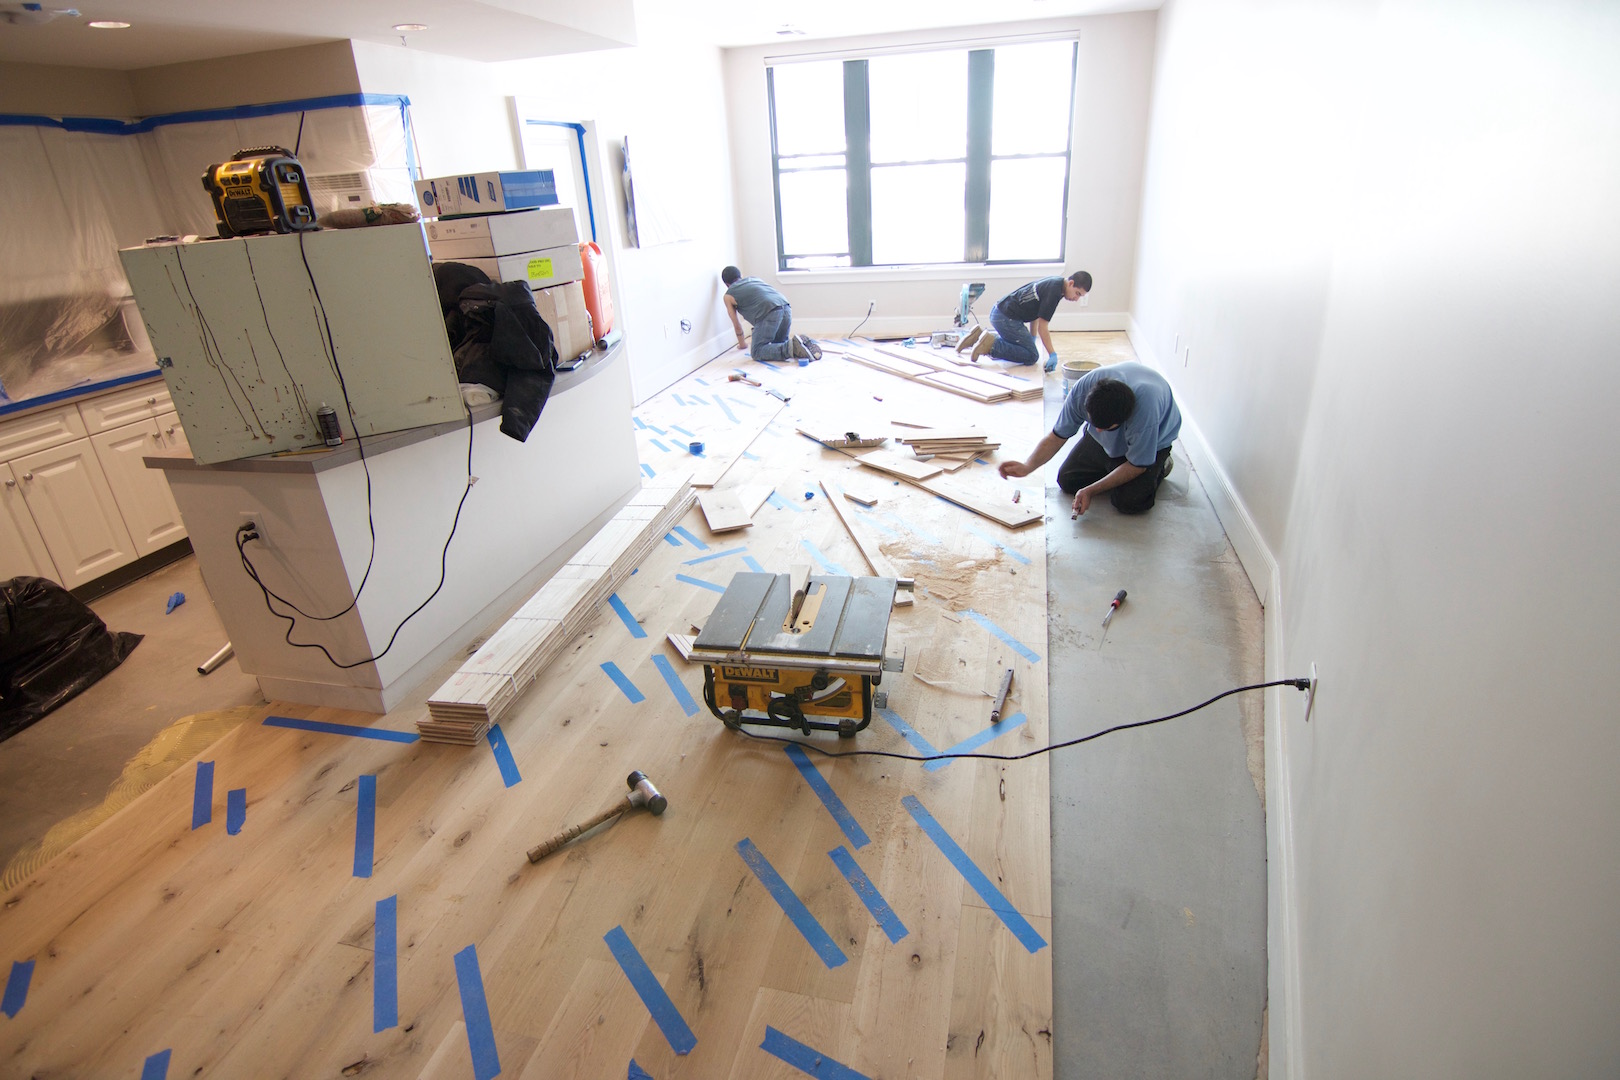
 3/4" x 8" unfinished engineered "live sawn" white oak glue down flooring
- 4. Install your first row of glue down flooring, varying the lengths as you go along. By aligning the groove edge, along with your chalked line. Be sure to check, for movements or row shifts. It's very important, to keep, your row straight, as possible for the first 2ft of rows, when installing glue down flooring. Hot glue the backside of the flooring boards to the slab to keep it from shifting on you. Hot glue points should be 8-10 inches apart.
- If you removed your baseboards, be sure to allow 1/4"- 3/8" expansion gap. Use the flooring puller, to pull your cut piece tight. You do this, by placing it, on the cut edge, then with a hammer, tap it tight. The tab on a low quality puller, will bend, during excessive usage. If, possible, use a quality one.
If, you did not remove the baseboards, make sure the engineered hardwood flooring is cut tight.
- 5. Start, the next row, by placing a board, in front, groove to tongue. Lay the board down. Carefully, pull the board towards the first row, you may tap it with the rubber mallet, while you're pulling them together. Do this until the boards are tight together. Apply a piece of tape, over the joint, to prevent the engineered hardwood flooring from seperating. Check to make sure that, the first row is still align, with your chalked line.
Repeat, this step, varying the engineered hardwood flooring lengths, until you complete the row. Apply glue as needed. Then repeat process, until you've completed the glue down flooring, about 18"-24" of flooring depth. Clean off, any adhesive, that gets on the surface of the flooring, with Bostik remover. Make reference check to your wall, to keep a parallel distance, then use the straight edge, to make sure your rows are straight. Also, make a visual inspection. If it doesn't look straight, fix the hardwood floor installation, before moving on.
- 6.Apply foot traffic, in the glue down flooring area that you've completed. This will help, press the engineered hardwood flooring tight to the adhesives. Place a couple of bundles on top as weights.
- 7.Complete the hardwood floor installation on opposite side, from groove side to starting wall. As, you get closer to the wall, use the floor puller, or a woodflooring jack to pull the boards tight.
- Be sure to make reference checks to your starting wall, measuring to the corners. Maintain a parallel, distance. Use a straight edge to make sure rows are straight. Complete the hardwood floor installation in this section.
- 8. For pre-finished flooring, cover completed areas with the empty engineered hardwood floor cartons, be sure to flatten them. Then take the roller, roll over the entire completed area. Be careful and don't accidentally mark up your new wooflooring. Roll lengthwise, then widthwise. Check to make sure the joints in the floor, are still tight.
- 9. Complete the glue down flooring installation for the remainder of room. Rolling the wood floor every time you complete 3 feet of rows. Remove, all adhesive residue, and keep your flooring covered. This will prevent any glue that's stuck under your foot, from getting onto pre-finished engineered hardwood flooring.
Note: If, you restored your sub-floor to 1/8" flat tolerance over a 5 foot radius. Very little rolling is needed.
That's all there is to a glue down flooring. Key thing is to keep the hardwood flooring installation
tight, straight, and clean. Enjoy your glue down flooring! Find this page helpful?
Don't forget to click the "like and share button" down below, so we can bring you more helpful information.

Are you sure, you are using the right flooring adhesive?

